This shop has been compensated by Collective Bias, Inc. and its advertiser. All opinions are mine alone. #PottyTrainTogether #CollectiveBias
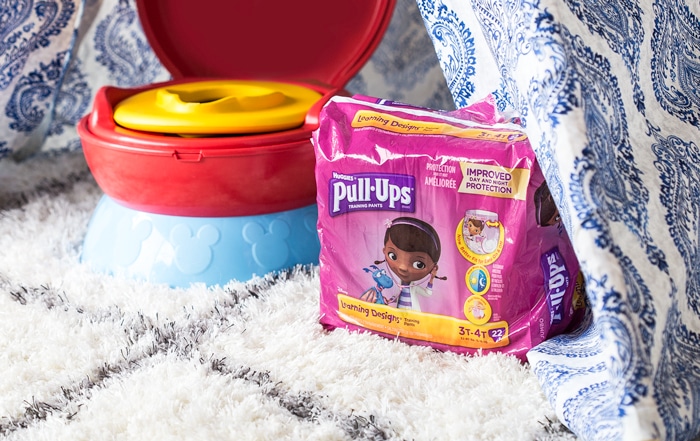
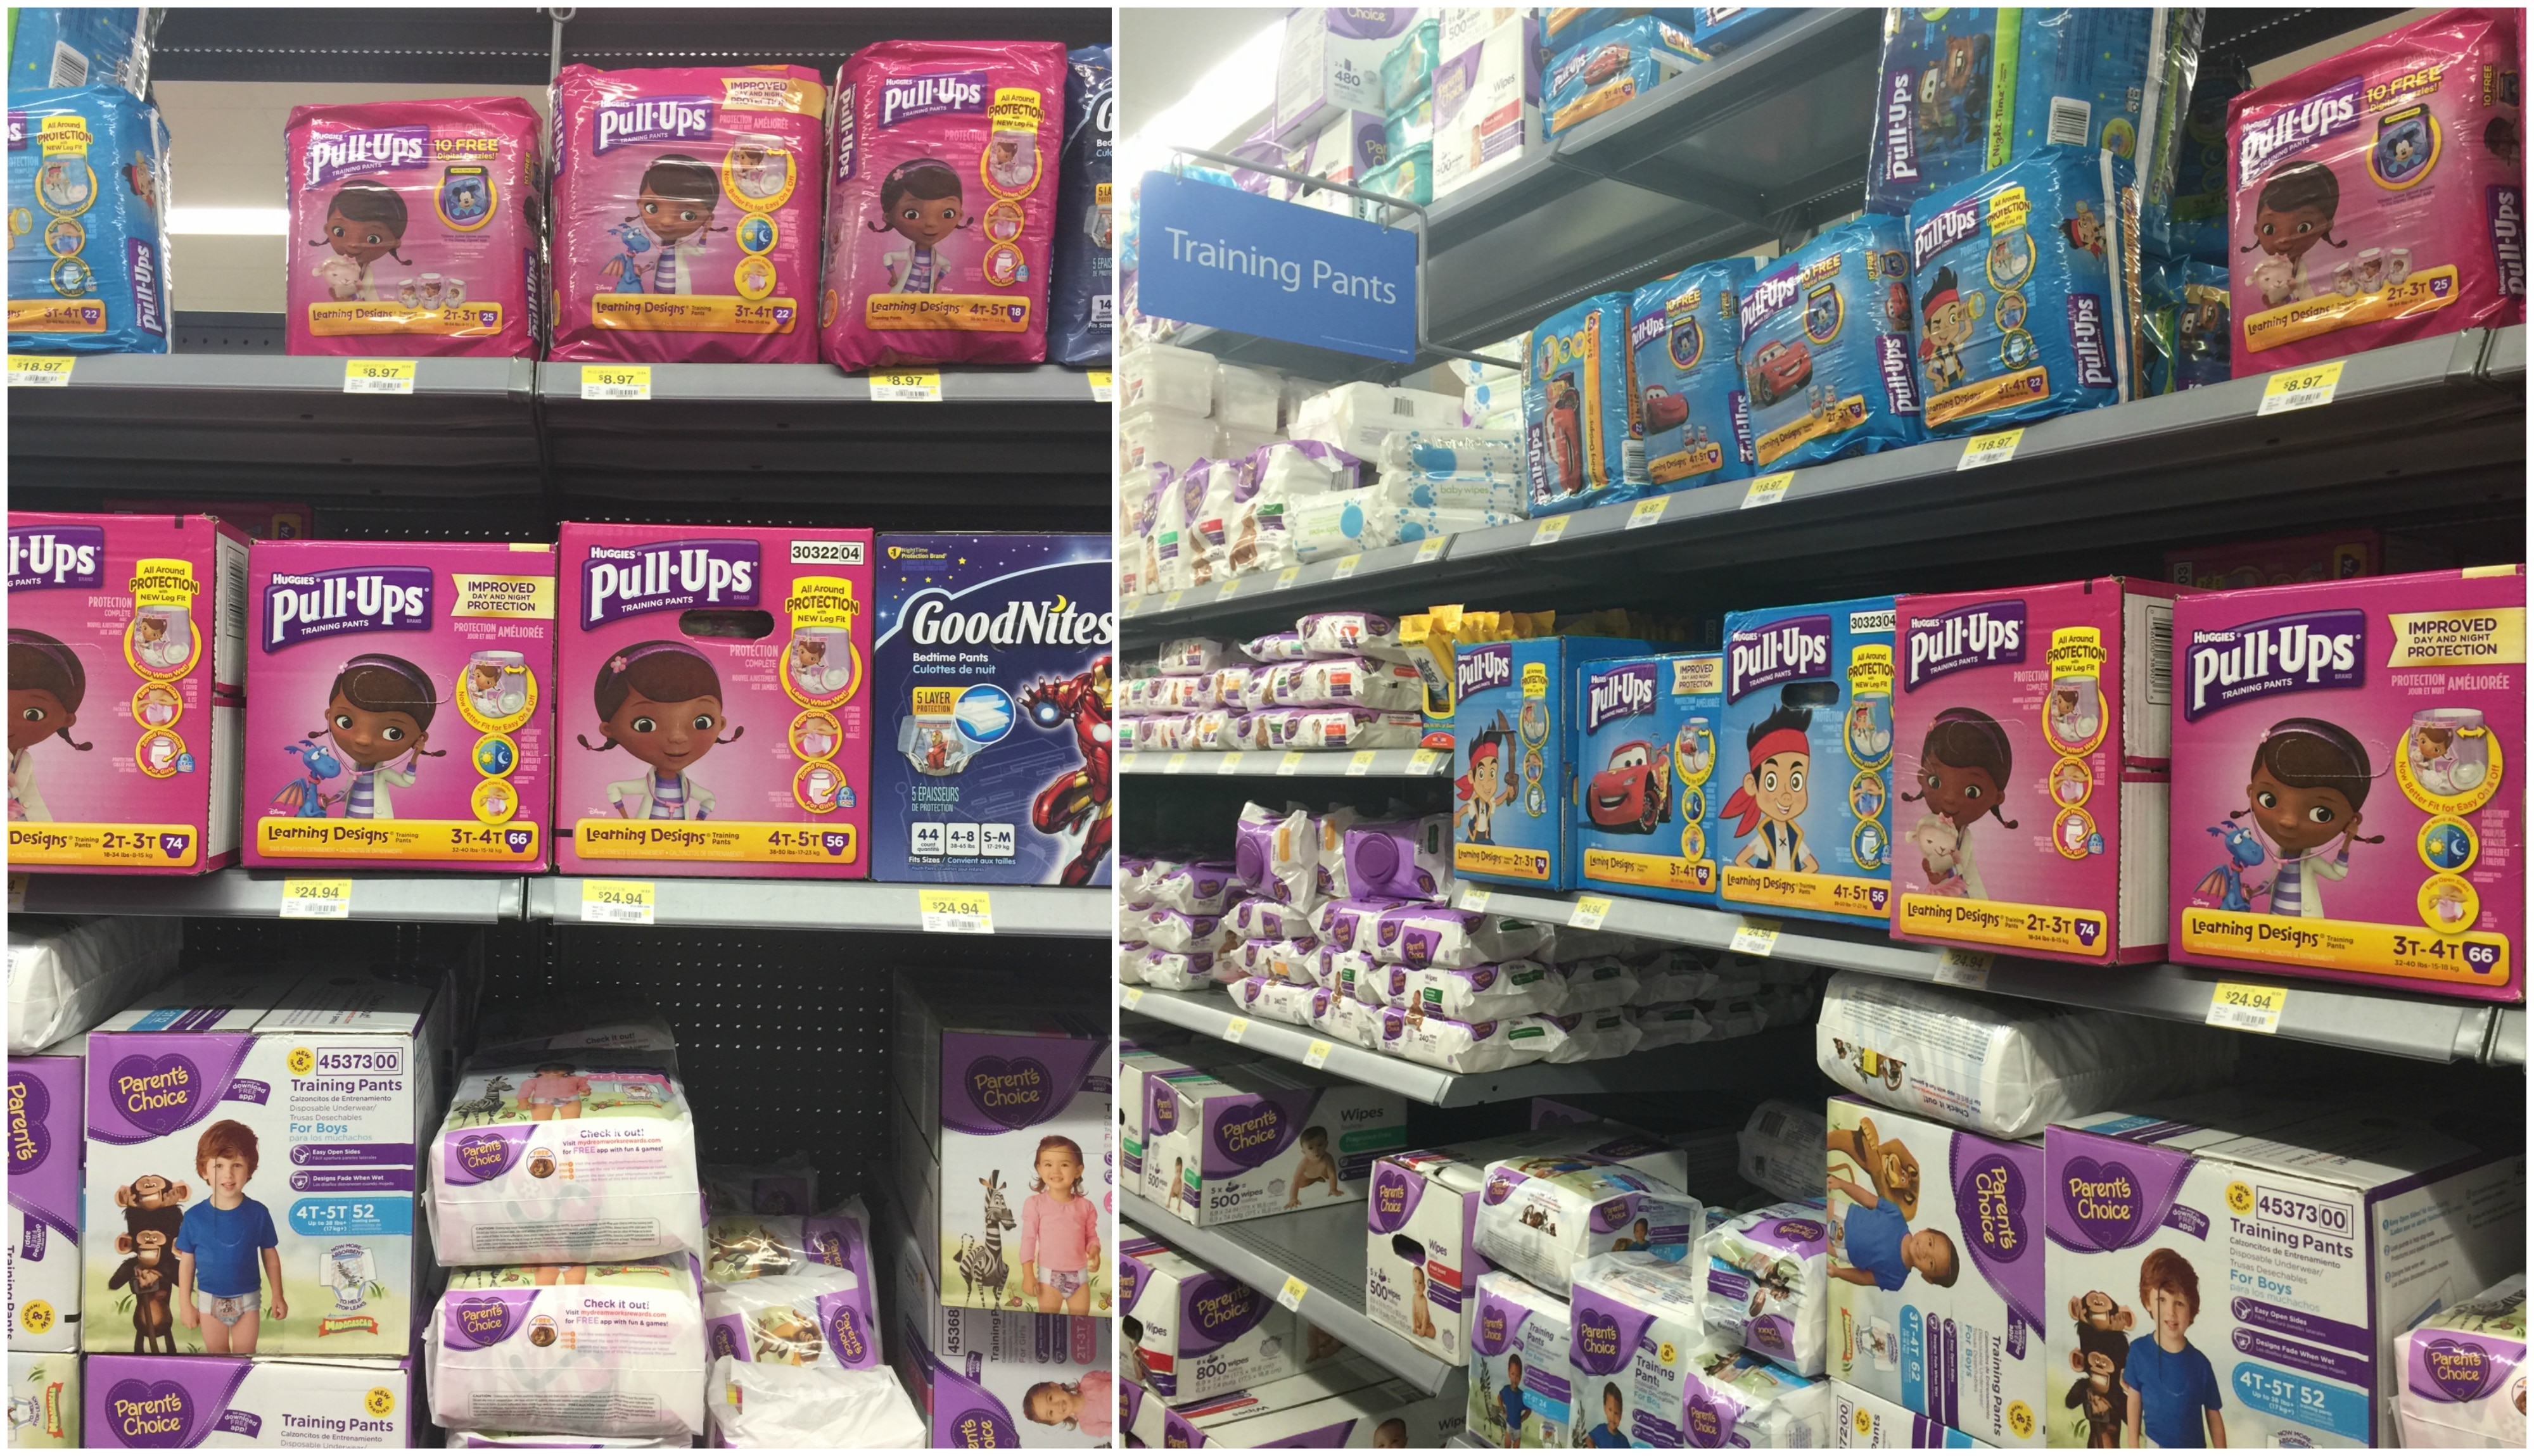
My daughter is using the bathroom at school everyday, but she will not go at home. It is a very frustrating experience trying to potty train a toddler. The teachers at school recommended and requested that we start using Pull-Ups® instead of regular diapers because it makes it easier for my daughter to go to the bathroom by herself. The new, softer Pull-Ups® Learning Designs® offers 10% more coverage and stretch for protection and fit. My daughter loves that Disney’s Doc McStuffins is on the Pull-Ups training pants. She gets excited every time we put them on.
Tools and Supplies
2 Yards Pattern Making Paper or Material
8 Yards Tent Fabric (I used Duck Cloth from Walmart $3.95 per yard)
4 Rolls Hem Tape Super Strength
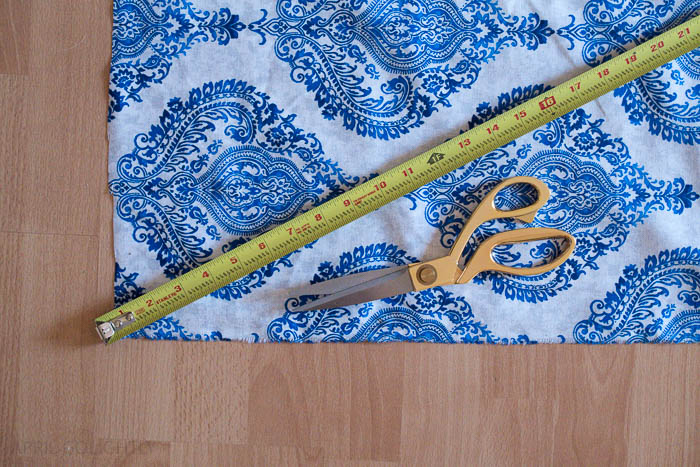
Sharp Scissors
Tape
Thin Rope or shoe lace
4 – 6 foot Wood Rods or dowels
Drill
Iron
Ironing Board
White Wet Rag (I used wet paper towels in a water bowl)
Measuring Tape
Directions
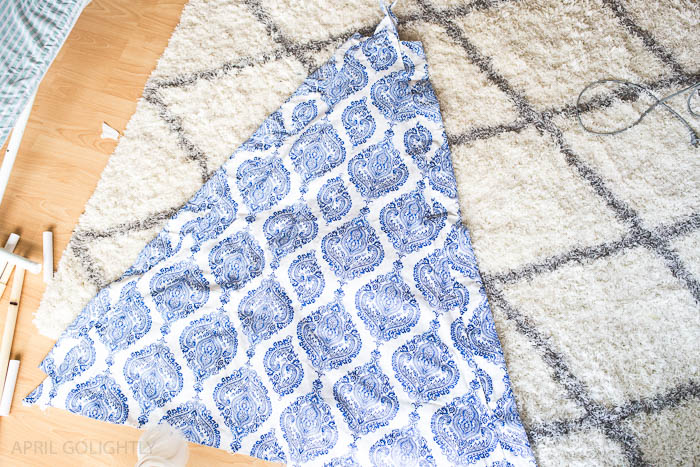
Start by making the pattern for 2 acute triangles measuring 56 1/2 inches by 63 inches by 28 inches. This will give you a 1 inch seam on all sides. You will make 2 types of triangles. One facing right and the other facing left.
Make a pattern for the rods holder part of the tent. These are long rectangles measuring 57 1/2 inches long and 6 inches wide.
Make 4 right acute triangles using the pattern you made. Make 4 left acute triangles using the pattern you made. Make 4 rod holder long rectangles. I recommend ironing the fabric before cutting and also I used tape to tape it to the floor to make it easier to cut.
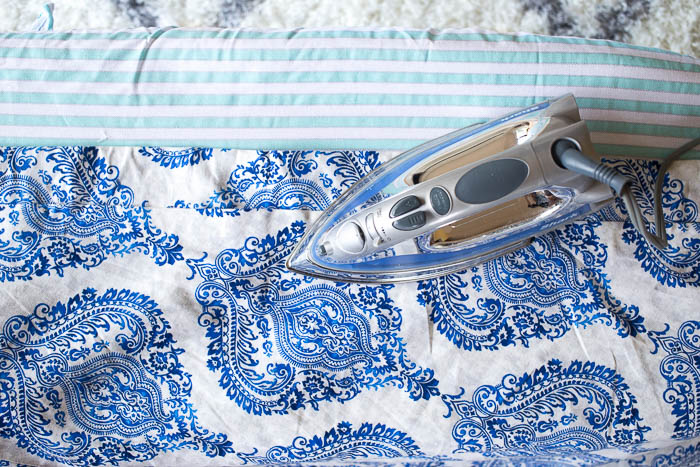
Using the hem tape, iron the 2 triangles together using wet paper towels between the iron and the fabric to help set the bond. Follow the directions on the package for temperature and time. Do 3 sets of triangles like this and the third, only meld the two triangles at the top about 1 1/2 feet.
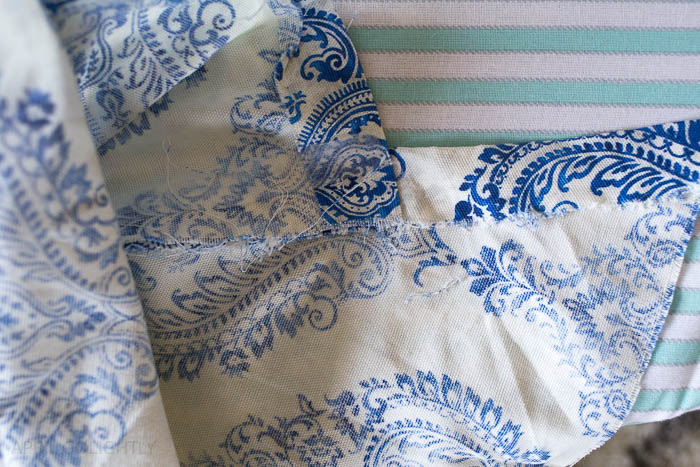
Turn over the edges of all the triangles to give a clean edge. Hem tape them together using the iron and wet paper towels.
Turn over the short edges of the long rectangle pieces and hem tape to put them together. Fold the rectangle pieces together lengthwise. Use the hem tape to fuse the 2 sides together leaving an opening large enough to fit the dowels.
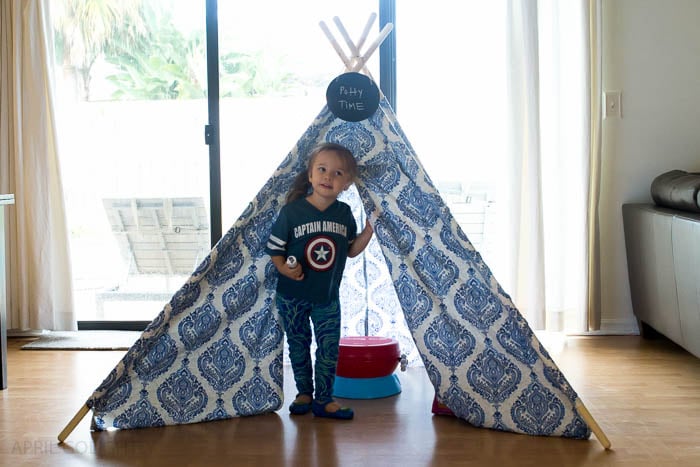
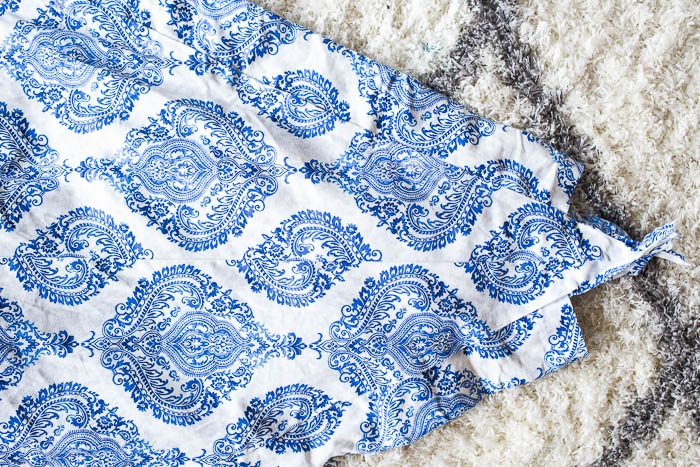
Now, it is time to construct the tent by putting the triangles and the rectangle pieces together. Using the hem tape tape, glue the rectangles lengthwise to the inside edge of the triangle. Make sure to heat both sides of the bond.
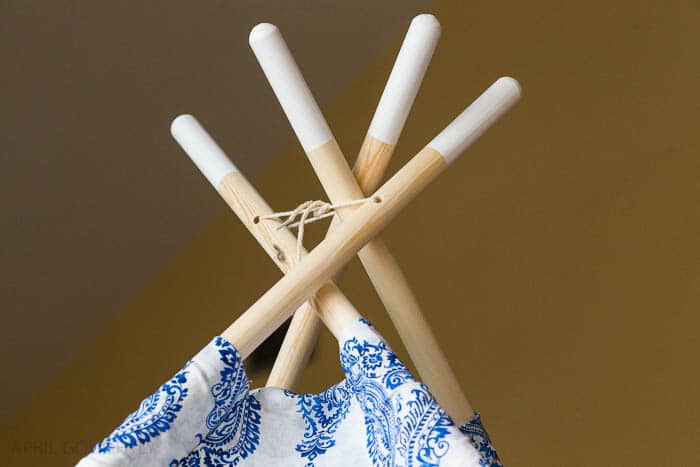
Drill holes in the 4 rods about 7 inches from the top of the rods.
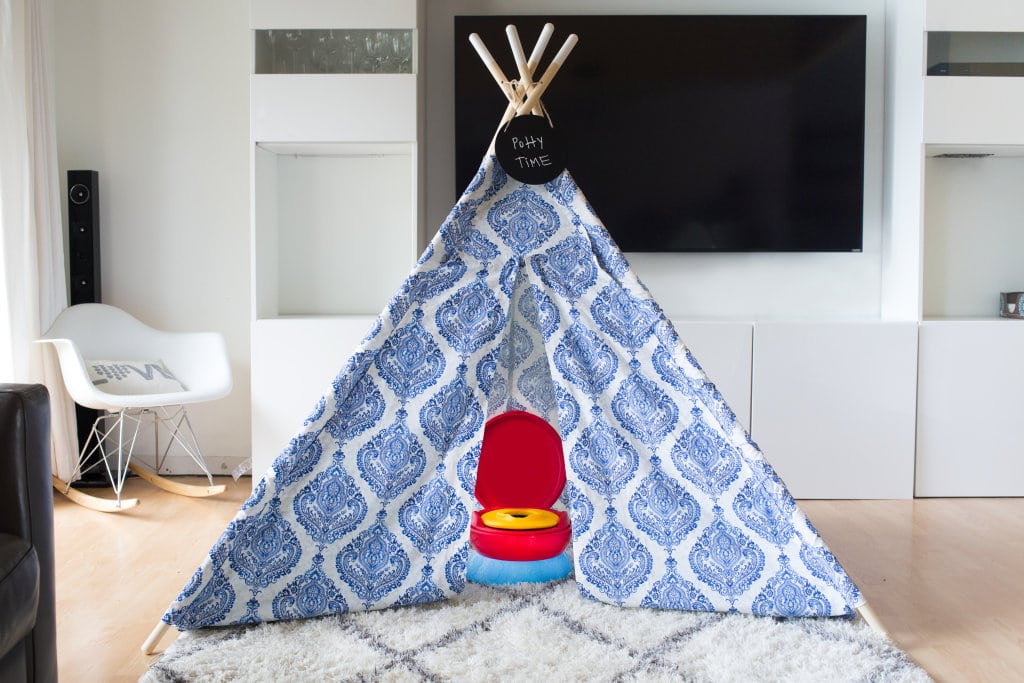
Slide the tent onto to the dowels.
Using the shoe lace or thin rope, tie together the rods. You might need a second person to do this to get the perfect balance and width to the DIY tent.
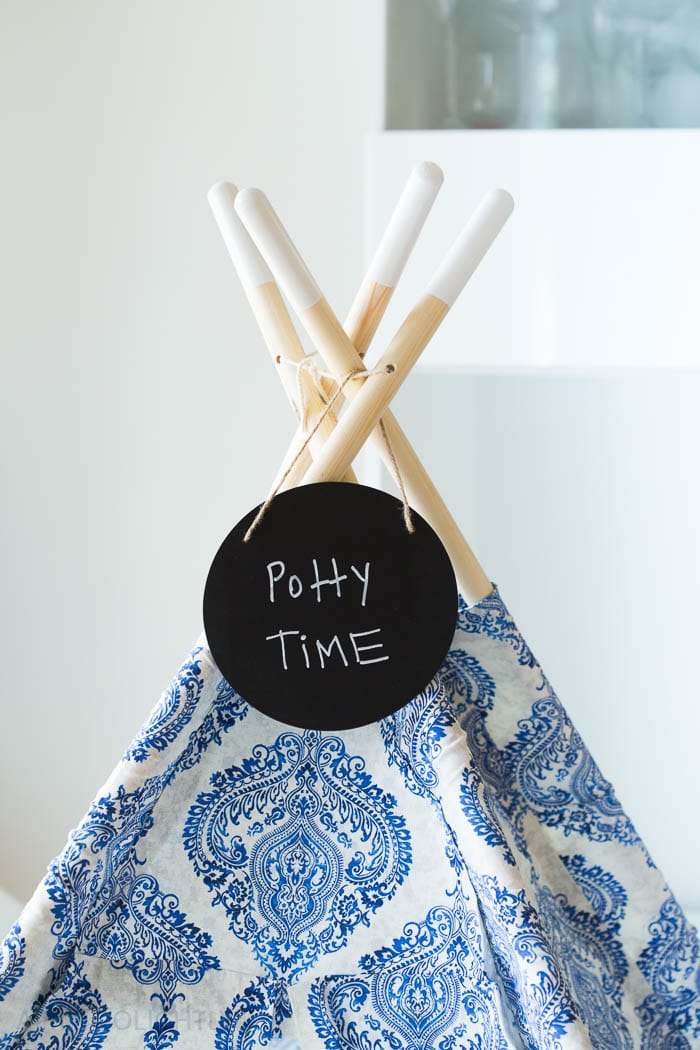
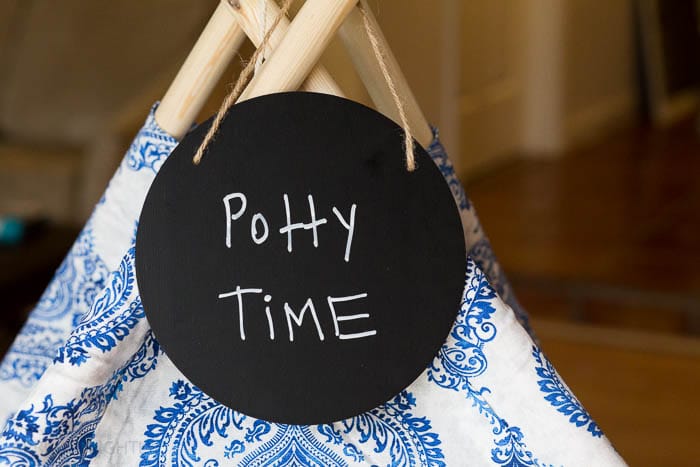
I also made a cute little sign with a chalk board and white chalk marker.
To help with potty training, Pull Ups has provided helpful character descriptions for potty training children. I think my daughter is a Squirrel. She is always on the go and couldn’t care less about slowing down. They are too busy and impatient for details and like games. Find out which type of potty training character your child is at this link: http://cbi.as/369ly
I found all the goodies for this DIY at Walmart. Learn more about Pull-Ups® Learning Designs® available at Walmart.


April you did SUCH a great job on this project! I bet your daughter will want to go more at home now! This was a great tutorial, too! 🙂 #client
This is a fantastic idea! What kid wouldn’t want to go potty in a special potty tent? Love it! Thanks for sharing at Merry Monday this week!