DIY Fascinator
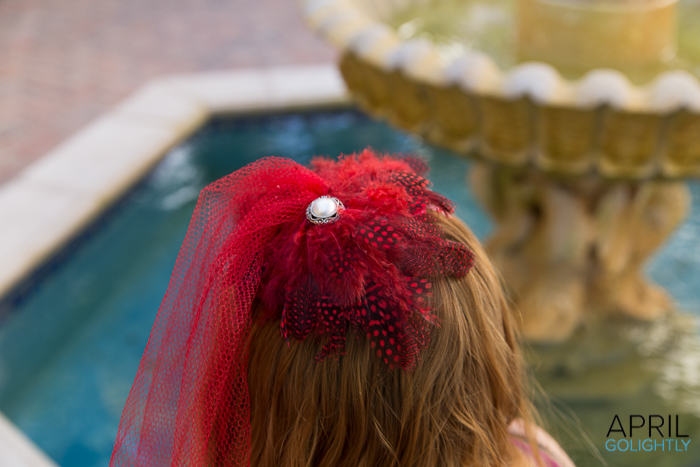
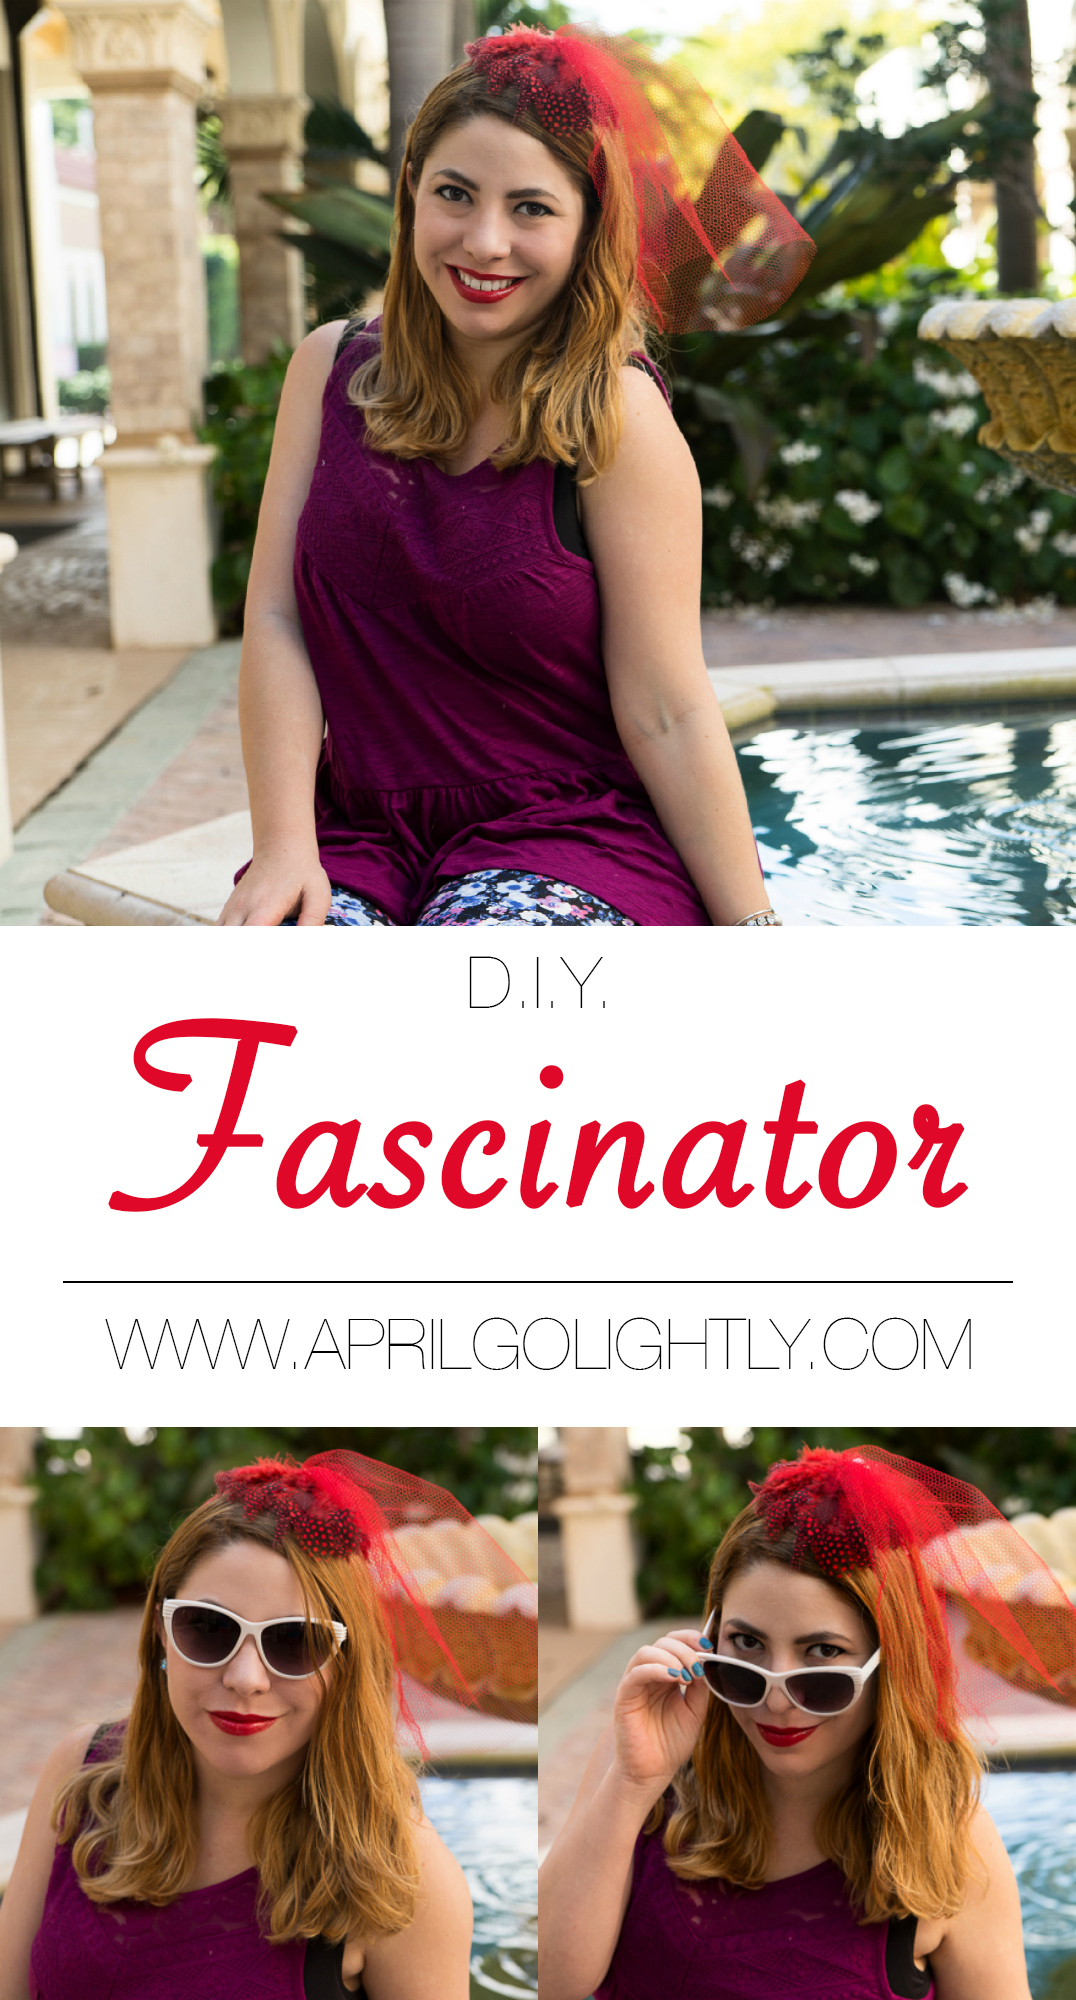
This week I am attending a 1940s New Year’s Eve Party and decided to make a DIY Fascinator to wear with my vintage inspired Maggy London dress. I LOVE theme NYE Parties! I went to one a few years ago that was 200-8o’s party. I like the idea of adding the dash to the year making it a time period costume party.

Tools & Supplies
2 Sheets Red Felt
Faux Pearls or Pearl Buttons
Red Tulle Netting
Clear Head Band or Red Satin Headband
Artificial Red Feathers
Red Ribbon
Hot Glue Gun
Red Pipe Cleaners
Clear Tiny Hair Band
Instructions
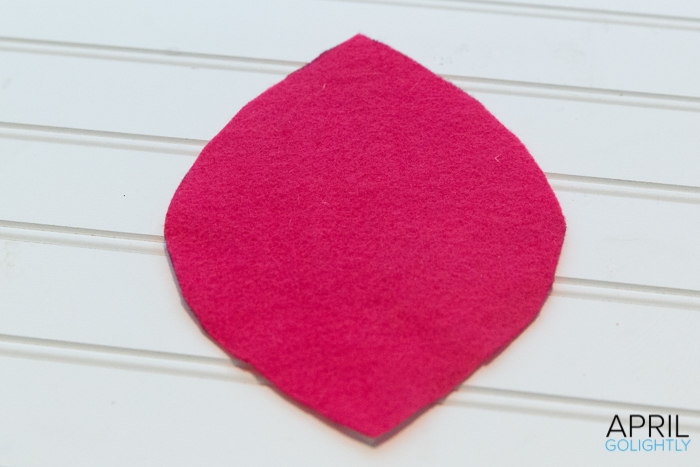
Cut 2 pieces of felt in the shape of a leaf. I used a small plate to help with the drawing. Hot glue the 2 pieces of felt together. Smooth out the glue so that is not lumpy. You can make it easier by spreading the glue thinly.
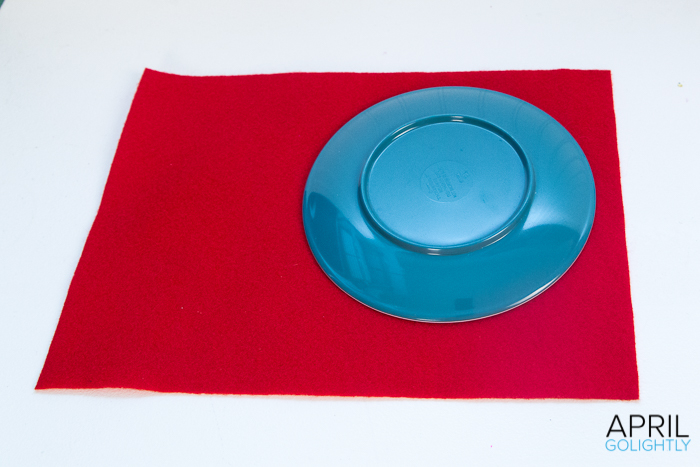
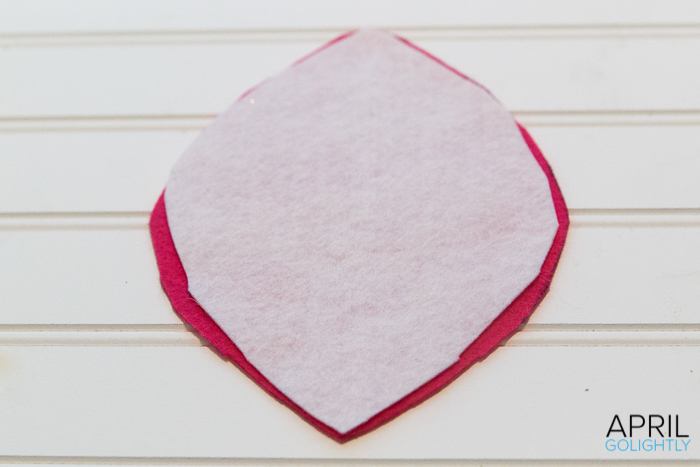
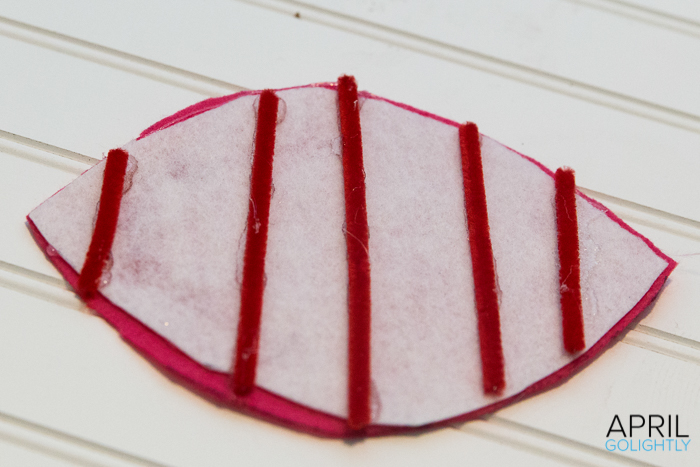
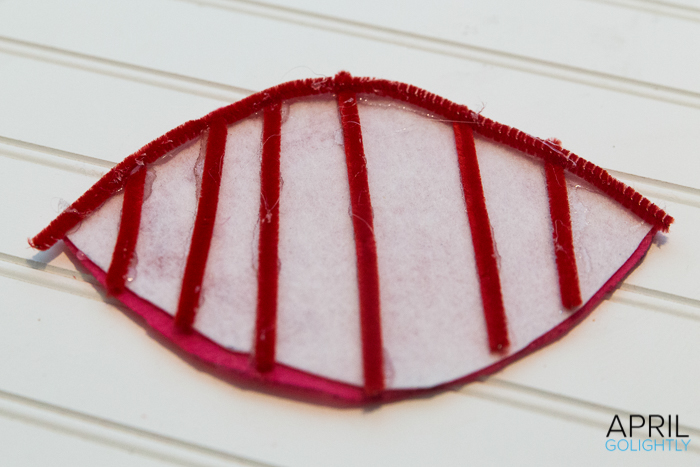
Use the hot glue gun to adhere pipe cleaners to the underside of the hat. Outline of the shape of the hat and make a back bone and ribs to give it flexibility to look good on the curve of your head.
Adhere the red feathers to the top of your hat starting at the center and saving a few extra for later to cover up any felt spot that show through or cover glue spots from gluing on the netting.
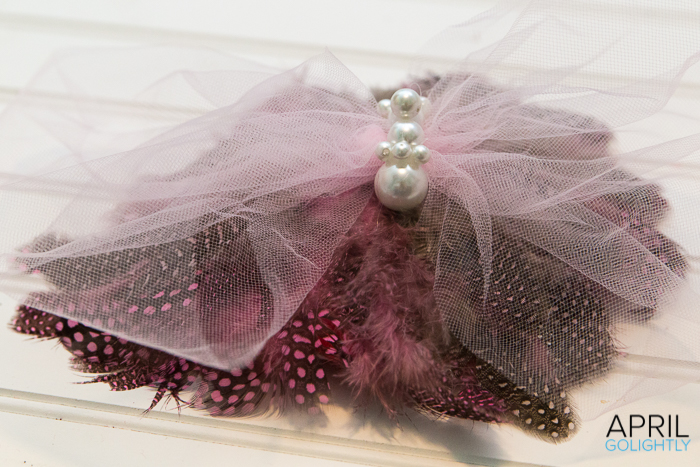
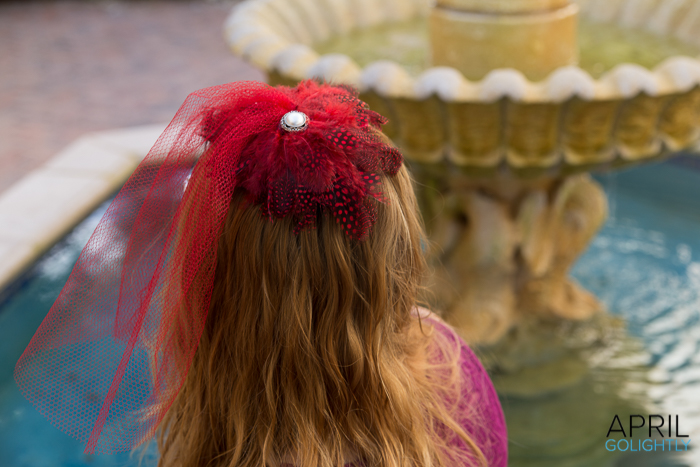
Cut the netting into a long rectangle. Gather the long end of the rectangle and tie a tiny pony tail with less than 1/2 inch on the small side. Glue the pony tail holder on the netting into the center of the hat on top of the feathers.
Add pearls or a Pearl Button to the hair tie. Cover the small end of the tulle and any glue spots with the extra feathers.
Glue the hat to the satin headband or a clear headband covered with the red ribbon (here is a tutorial on how to cover a headband with a ribbon). Use a scarp piece of felt to cover the area where you placed the headband. You can skip the headband and just use bobbie pins to pin to your head. Either way works!

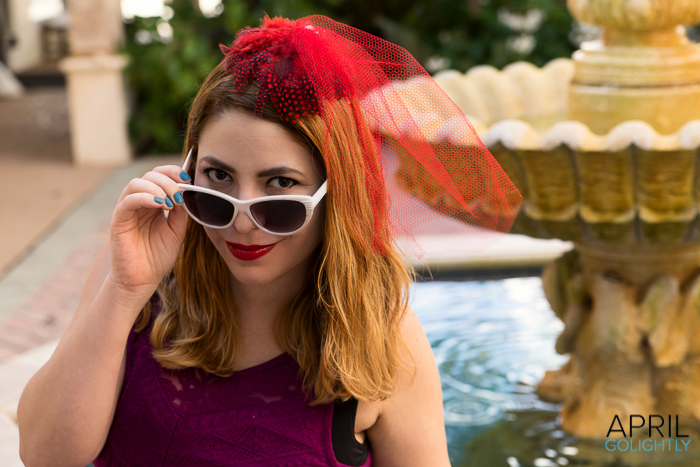
This post may contain affiliate links. Help support content like this by purchasing through these links. Thanks!!
What do you think of the DIY Fascinator? What color do you think we should make the next one?
Love it! It is very similar to one I made a few years ago for Halloween when I was Kate Middelton.
Thanks! I love Kate Middleton! I am super excited to wear this on New Year’s Eve.
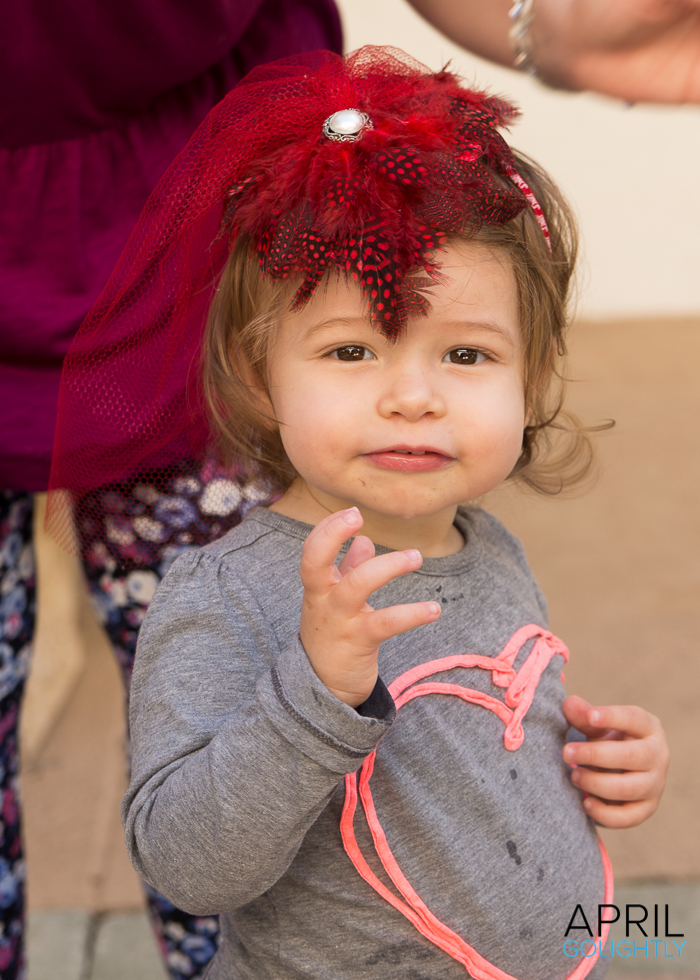
aww, I love your kidlet wearing it. Of course, she’s so cute she doesn’t need embellishment!
I love this idea. Very classy yet simple.