Make these DIY Tie Dye Shirts with using 3 different methods at home. It is super easy to do it yourself at home in the colors you love!

I have been loving all the tie dye that I have been seeing online, but they have been selling out so quickly. Normally, I don’t love extremely bold tie dye, but I am liking the more subtle colors of the modern tie dye that came out this year.
DIY Tie Dye Shirts
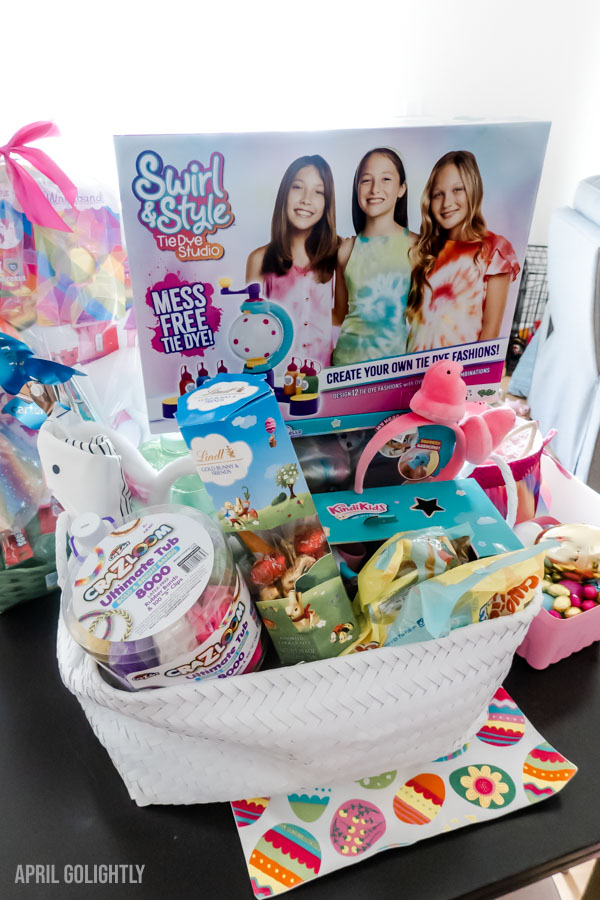
The first method we used to make DIY Tie Dye Shirts is using the Swirl & Style Tie Dye Studio Activity Kit that I ordered for my daughter’s Easter basket. Instead of just coloring Easter Eggs on Easter, we colored shirts.
The Swirl & Style Tie Dye Studio Activity Kit is only $19.99 – please don’t overpay for it. For some reason sites are charging $30 or more for it. Get it at Target here. You can get them at craft stores too.
Since we are stuck inside for the duration, I thought that we might as well invest in a low mess tie dye activity kit. I remember tie dying and clothing dying in a pot or a washing machine and it can be a mess.
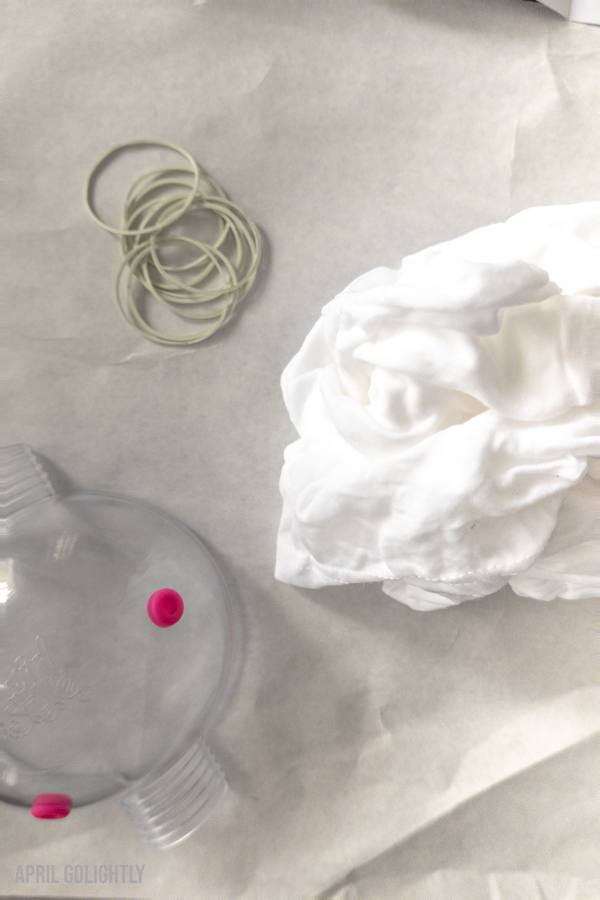
The Swirl & Style Tie Dye Studio Activity Kit comes with packets of color, squirt bottles, rubber bands, and a globe to use to squirt the color into. The globe keeps the mess inside the globe rather than on the table. Here is a step by step guide on how to make DIY Tie Dye Shirts.
How to Make DIY Tie Dye Shirts?
Start by washing or rinsing the shirt first. Ring out the shirt so it is just damp.
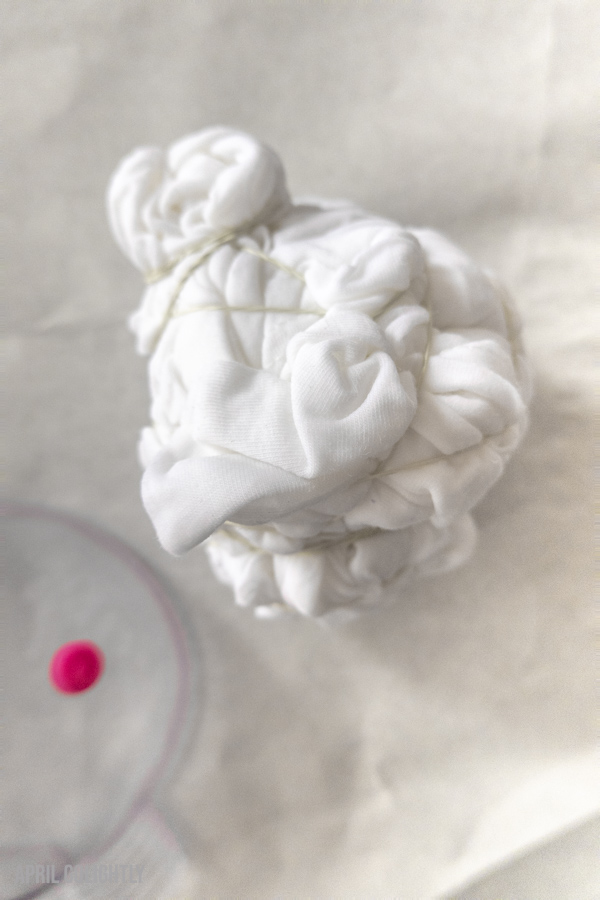
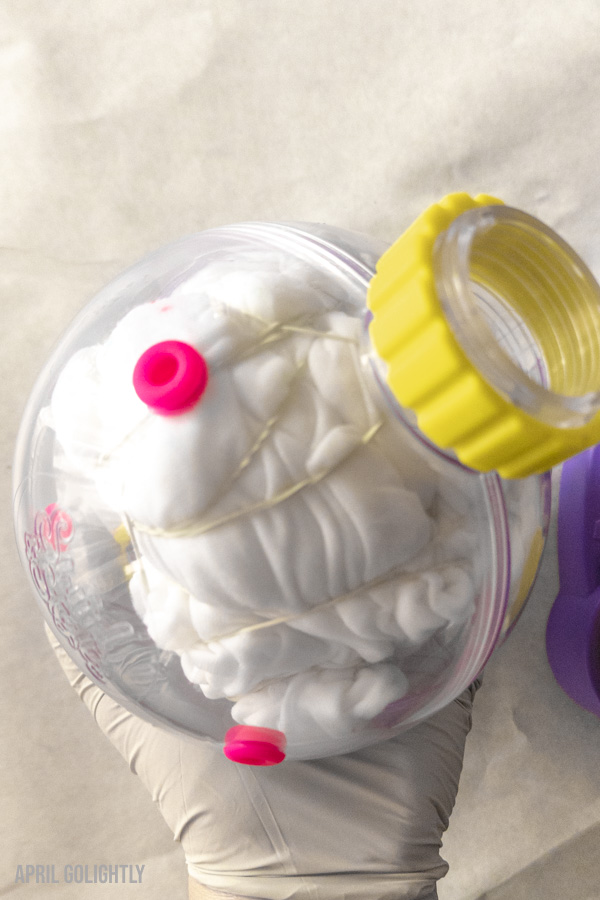
Then, crumble up the shirt and put the rubber bands around the shirt to turn it into a ball.
Choosing Colors
To keep the dye colors subtle, I only used a portion of the color packs. I used a 1/4 of the packet to create these light colors. Make sure to use the rubber gloves to protect your hands from getting stained during this process.
Crumbling Technique – Cloud Design
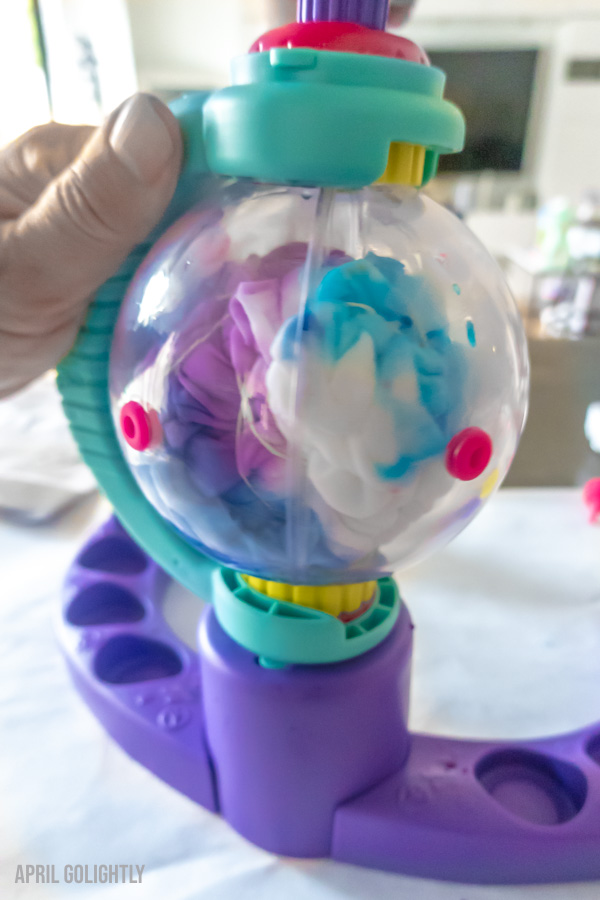
For my shirt, I used 2 colors for my shirt more subtle and primarily white. The choice of blue and crumbling the shirt made it look like a cloud.
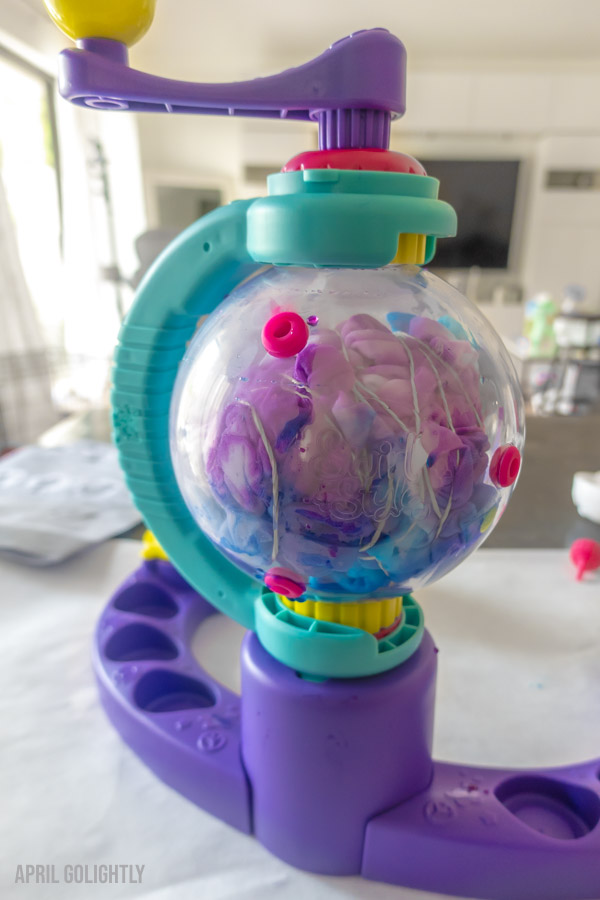
Once you have the balled up rubber banded shirt, you put into the globe and add it to the activity center so that you can swirl it.
You inject the color from the quirt bottles into the little circles on the globes. They are self-sealing valves so that the dye does not come out.
Add the dye into the globe and spin it.
Let it sit for 8 hours for best color vibrance.
Then, open the wash your shirt until the water runs clean and let it dry. Then, you can wear it.
For the first couple of washes, do it by hand or on its own so that the color don’t run on to your other clothes.
Cotton. vs. Polyester Blend Shirts
Using a cotton t-shirt for tie dye is always your best choice because it takes the color the best. However, you can use polyester blends and still get great results. My DIY Tie Dye Shirt is cotton and my daughter’s shirt is a polyester and cotton blend.
You will get the best result with cotton t-shirts if you wash your shirt.
How to Tie Dye with Pantry Items?
To tie dye using pantry items, you will need food dye, rubber bands, and if you have them, squirt bottles. You can make it work with just food dye, but it is easier if you have the squirt bottles and rubber bands.
If you don’t have rubber bands, you can use string or hair bands.
How to Tie Dye with Tulip?
Another popular dye kit is from Tulip. They come with squirt bottles too.
Unlike the Swirl and Style Kit above, the Tulip tie dyed kit comes with squirt bottles with the powder already in the bottles. It is good and bad.
I like that you don’t have to funnel the powder into the bottles, but I don’t like that the color is limited to the entire amount in the bottles. I suppose you can remove the powder and add it to a small ziplock bag for later use.
The Tulip kit is coming in the mail from Target. I just ordered it!
How to tie dye with Rit dye?
More Methods COMING SOON.
What do you think of the DIY Tie Dye Shirts? Which one is your favorite?
