This is a sponsored post on behalf of Crayola Play Sand. All opinions are my own.
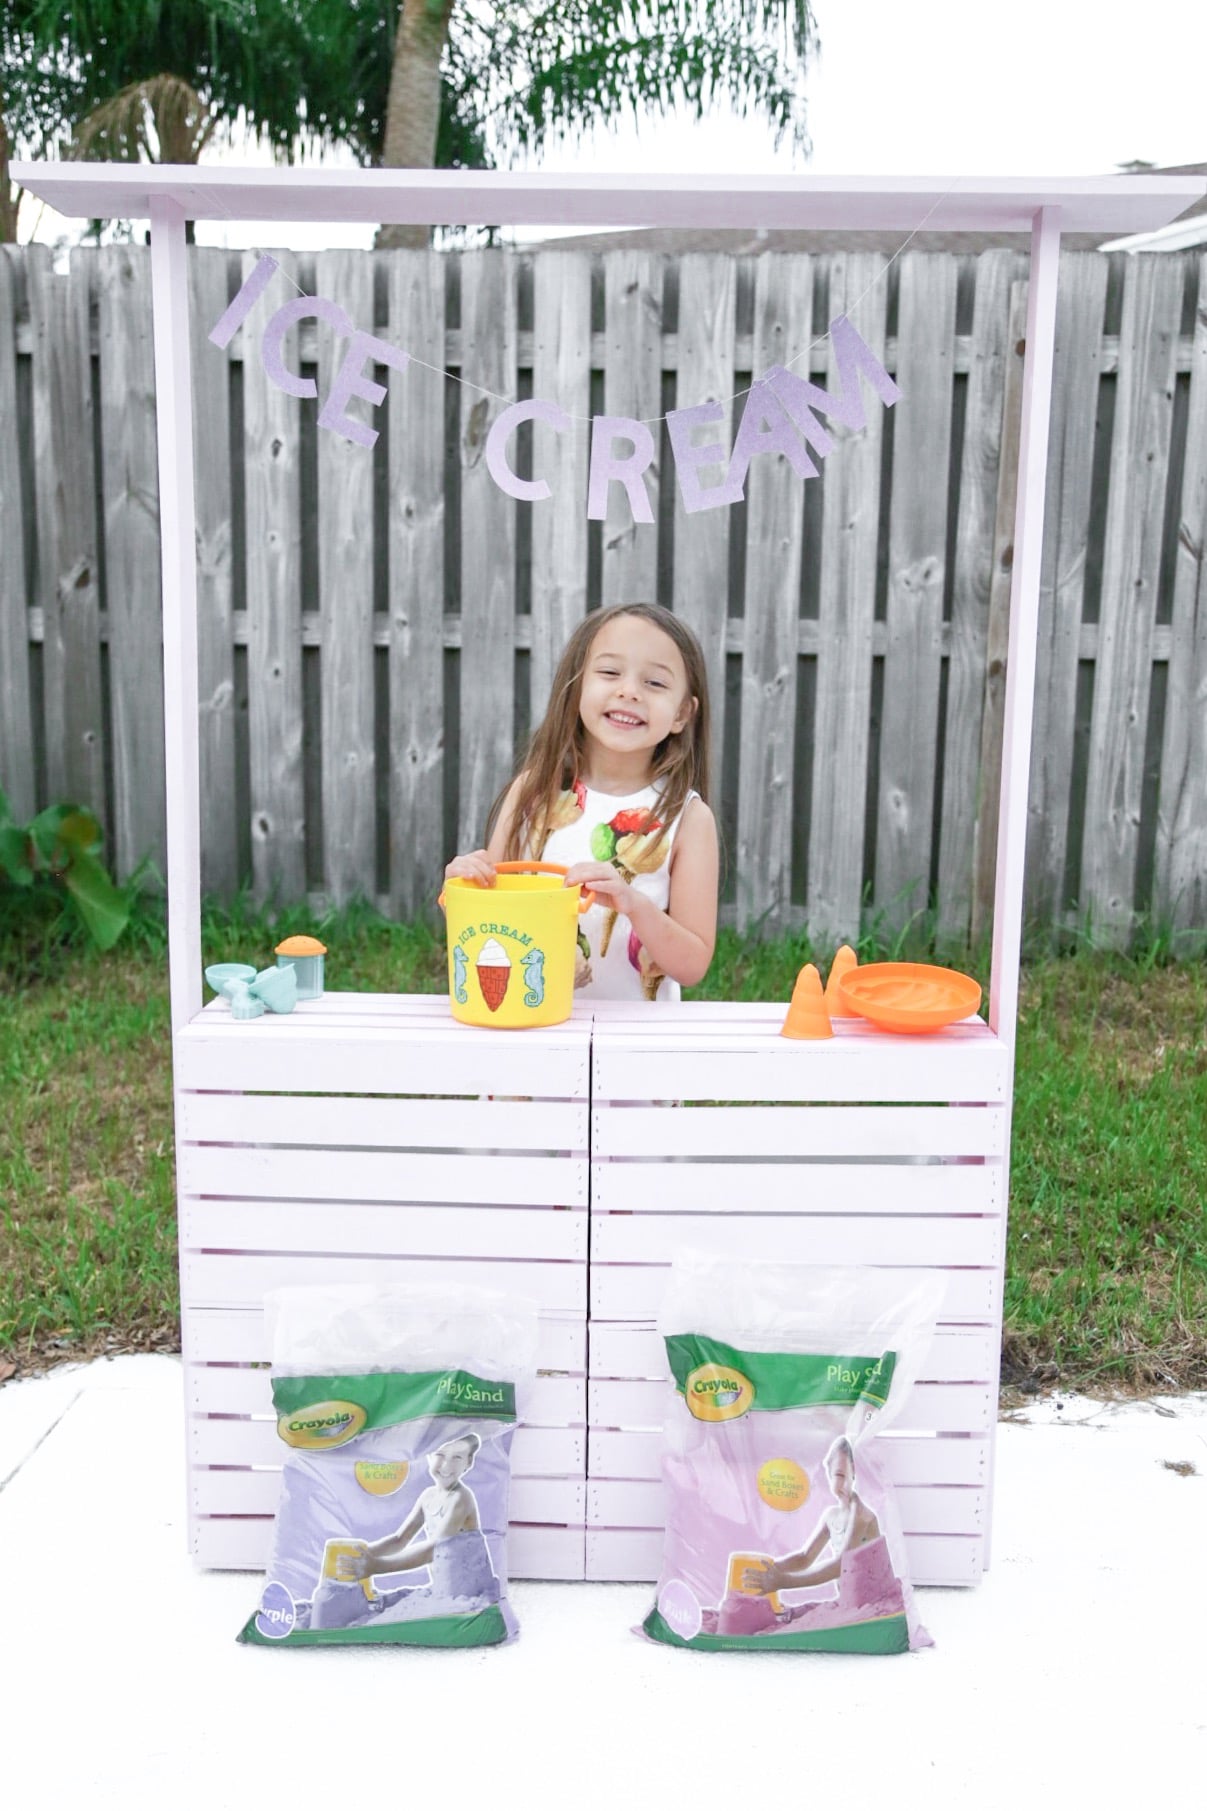
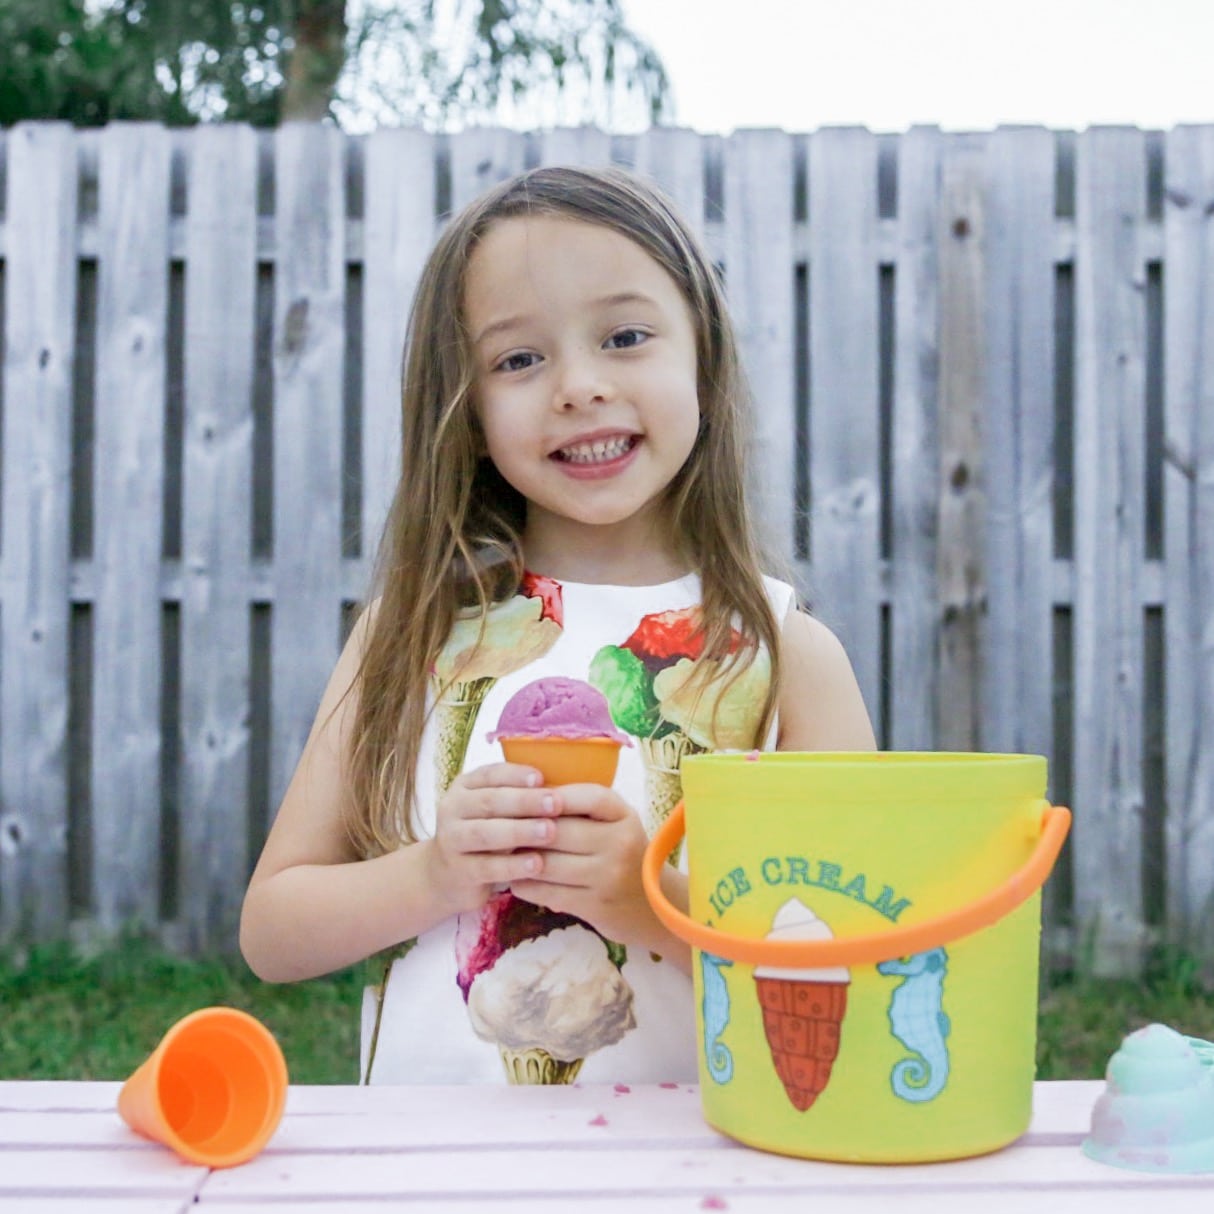
My daughter’s new favorite activity is scooping and selling ice cream from her DIY Sandbox Ice Cream Stand with pink and purple Crayola Play Sand. She has been dying to get a sandbox, but I kinda grossed out the concept of leaving sand outside. That is why I made this DIY Sandbox Ice Cream Stand that keeps the Crayola Play Sand inside containers until you are ready to play with them.
Crayola Play Sand
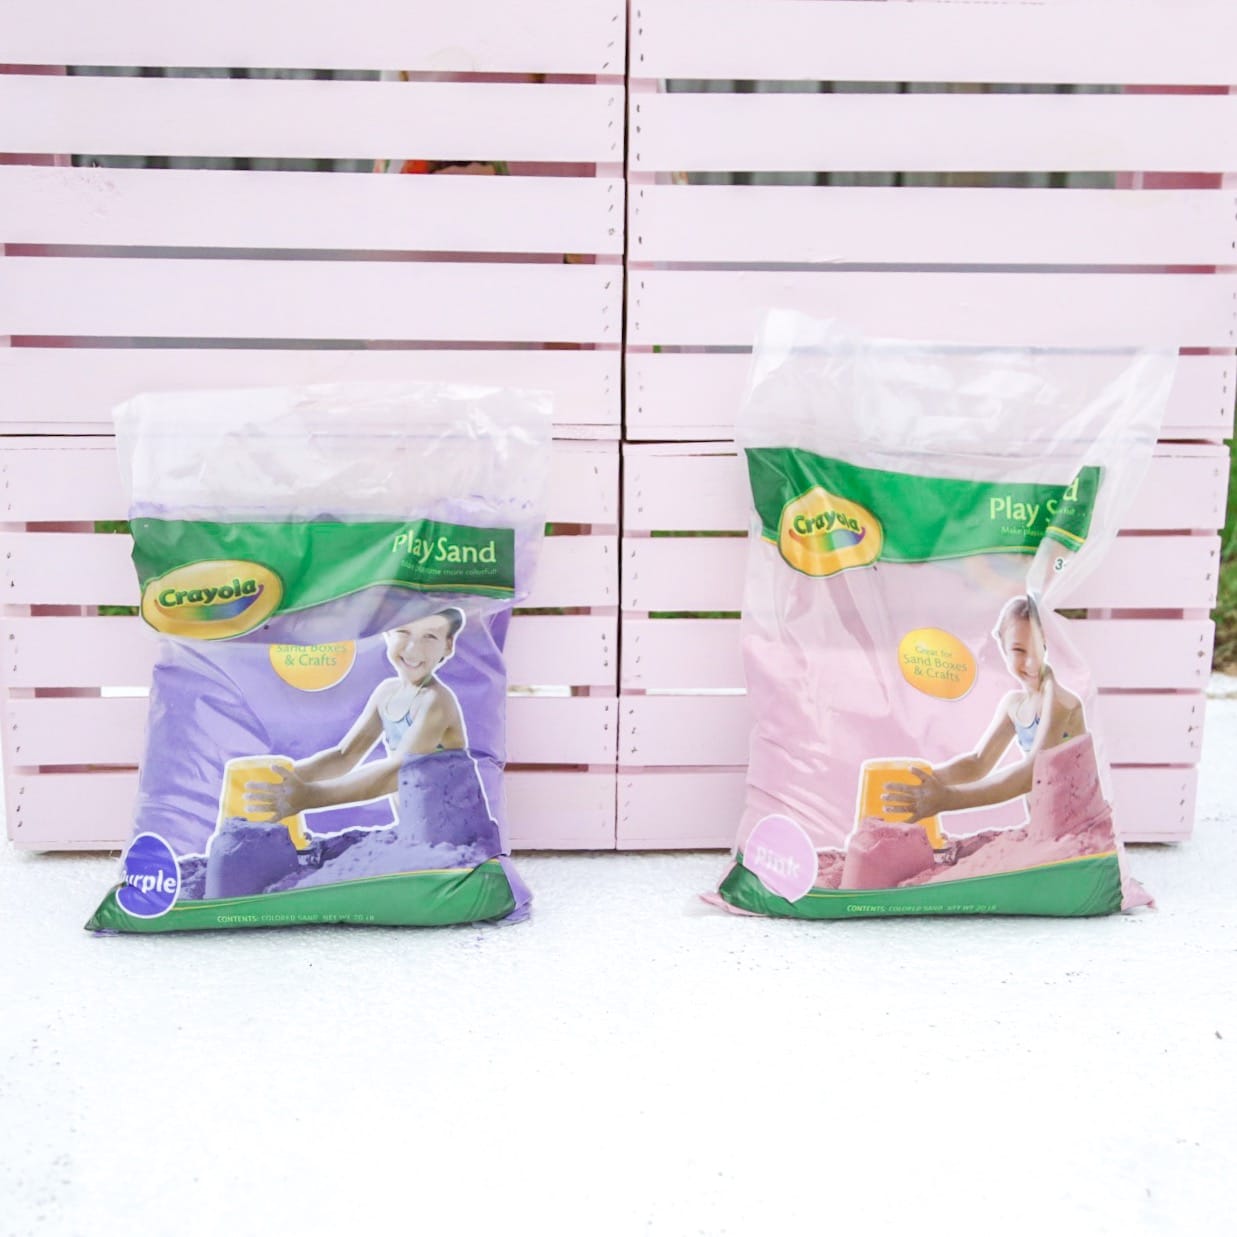
This super cute Crayola Sand is available at your local Walmart in the garden center and under $7. Crayola Play Sand is available in pink, blue, green, and purple.

DIY Sandbox Ice Cream Stand
This DIY Sandbox Ice Cream Stand is a really fun way to pretend to sell ice cream sand. We have an ice cream beach set that we use to play in the sand. It has plastic ice cream scoops and fake ice cream cones so that your kids can pretend to serve ice cream made of sand instead of the melty real thing.
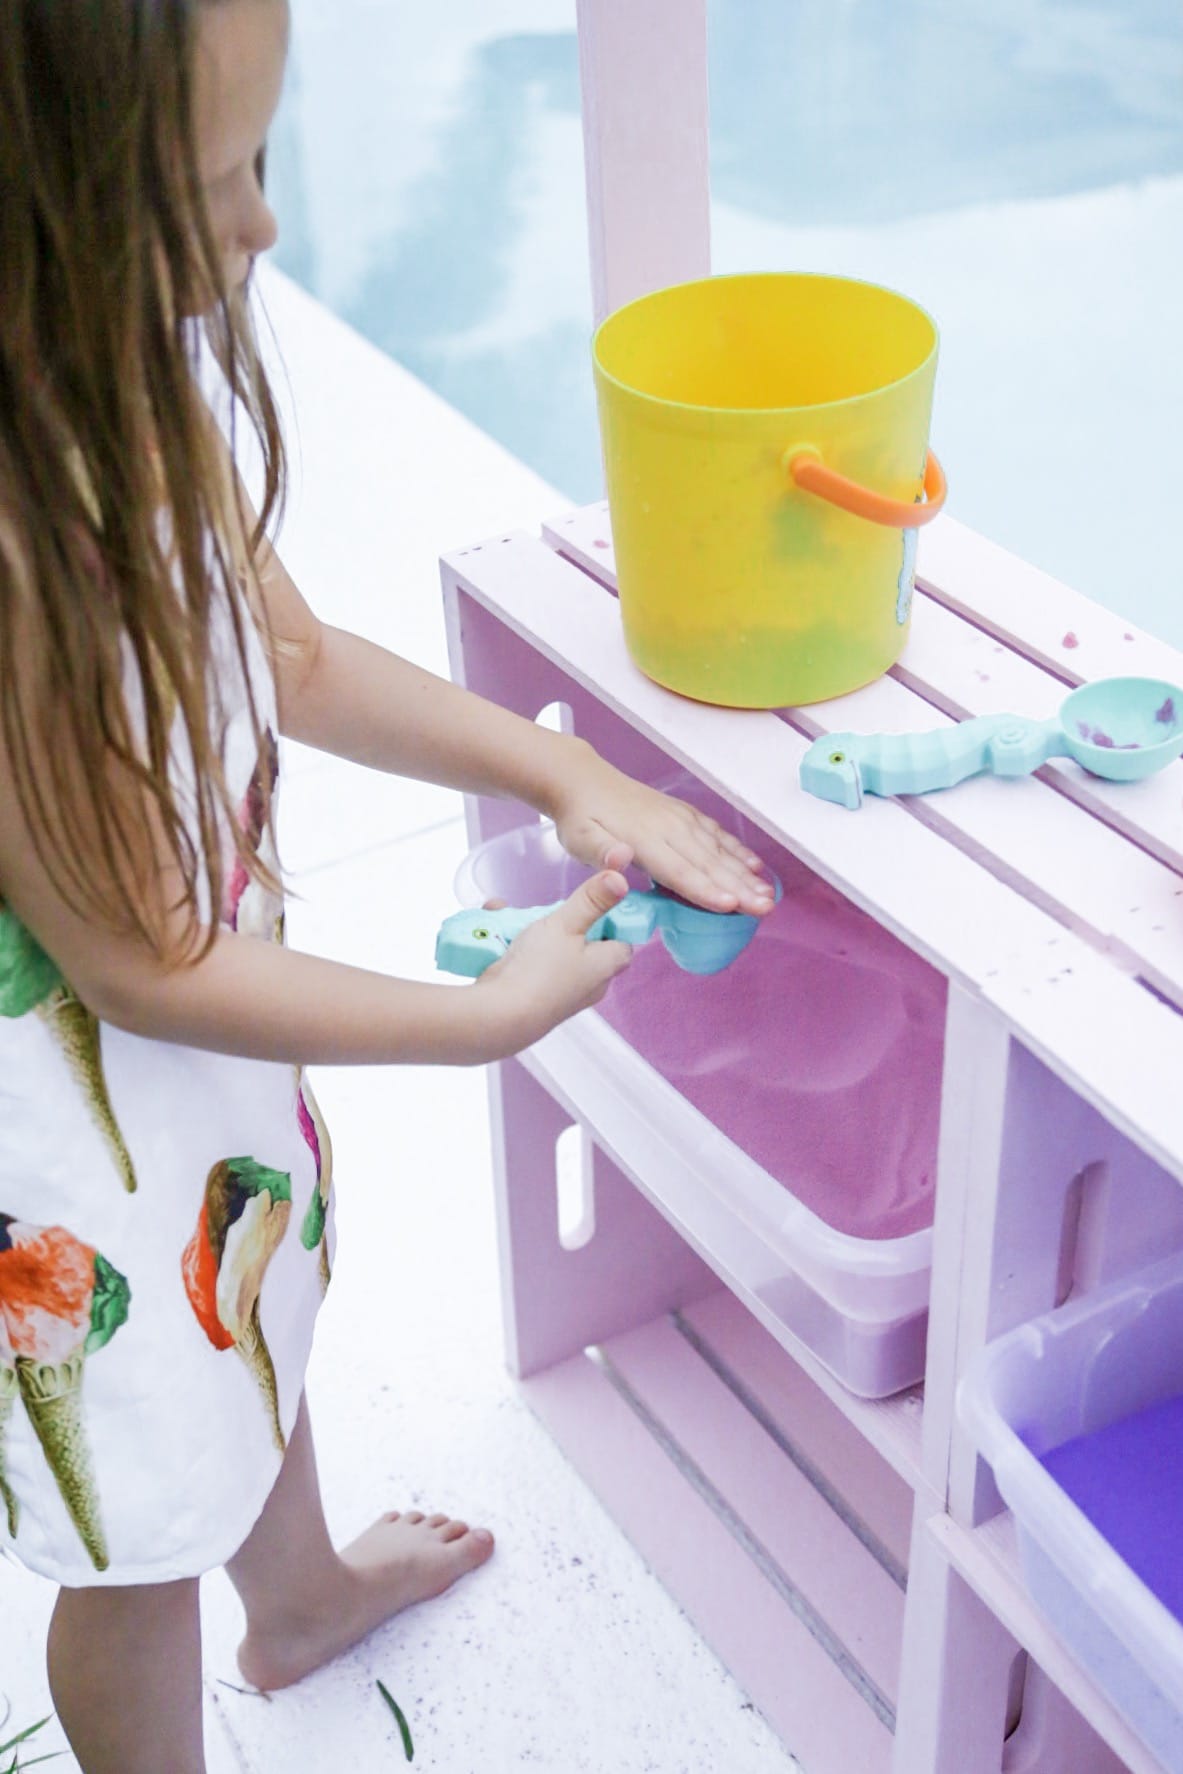
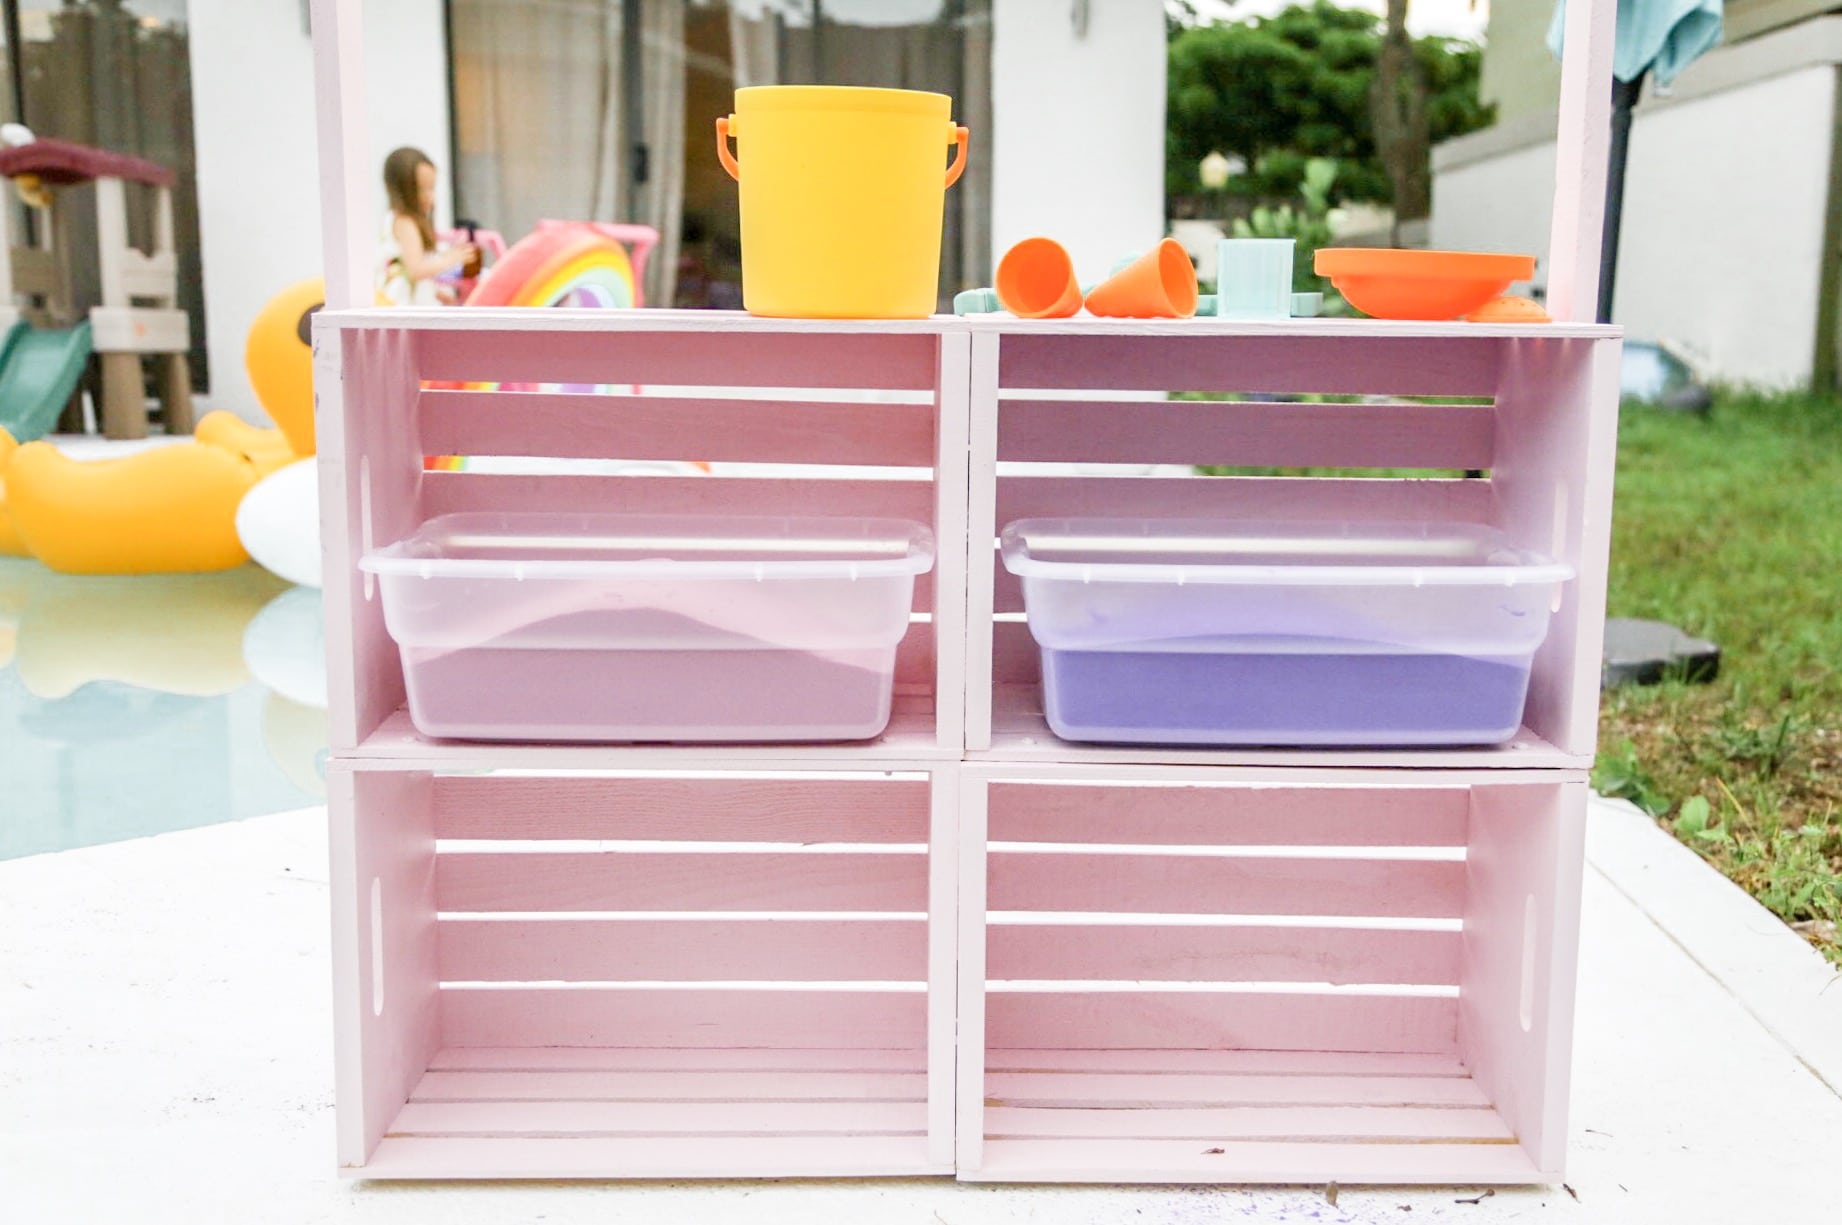
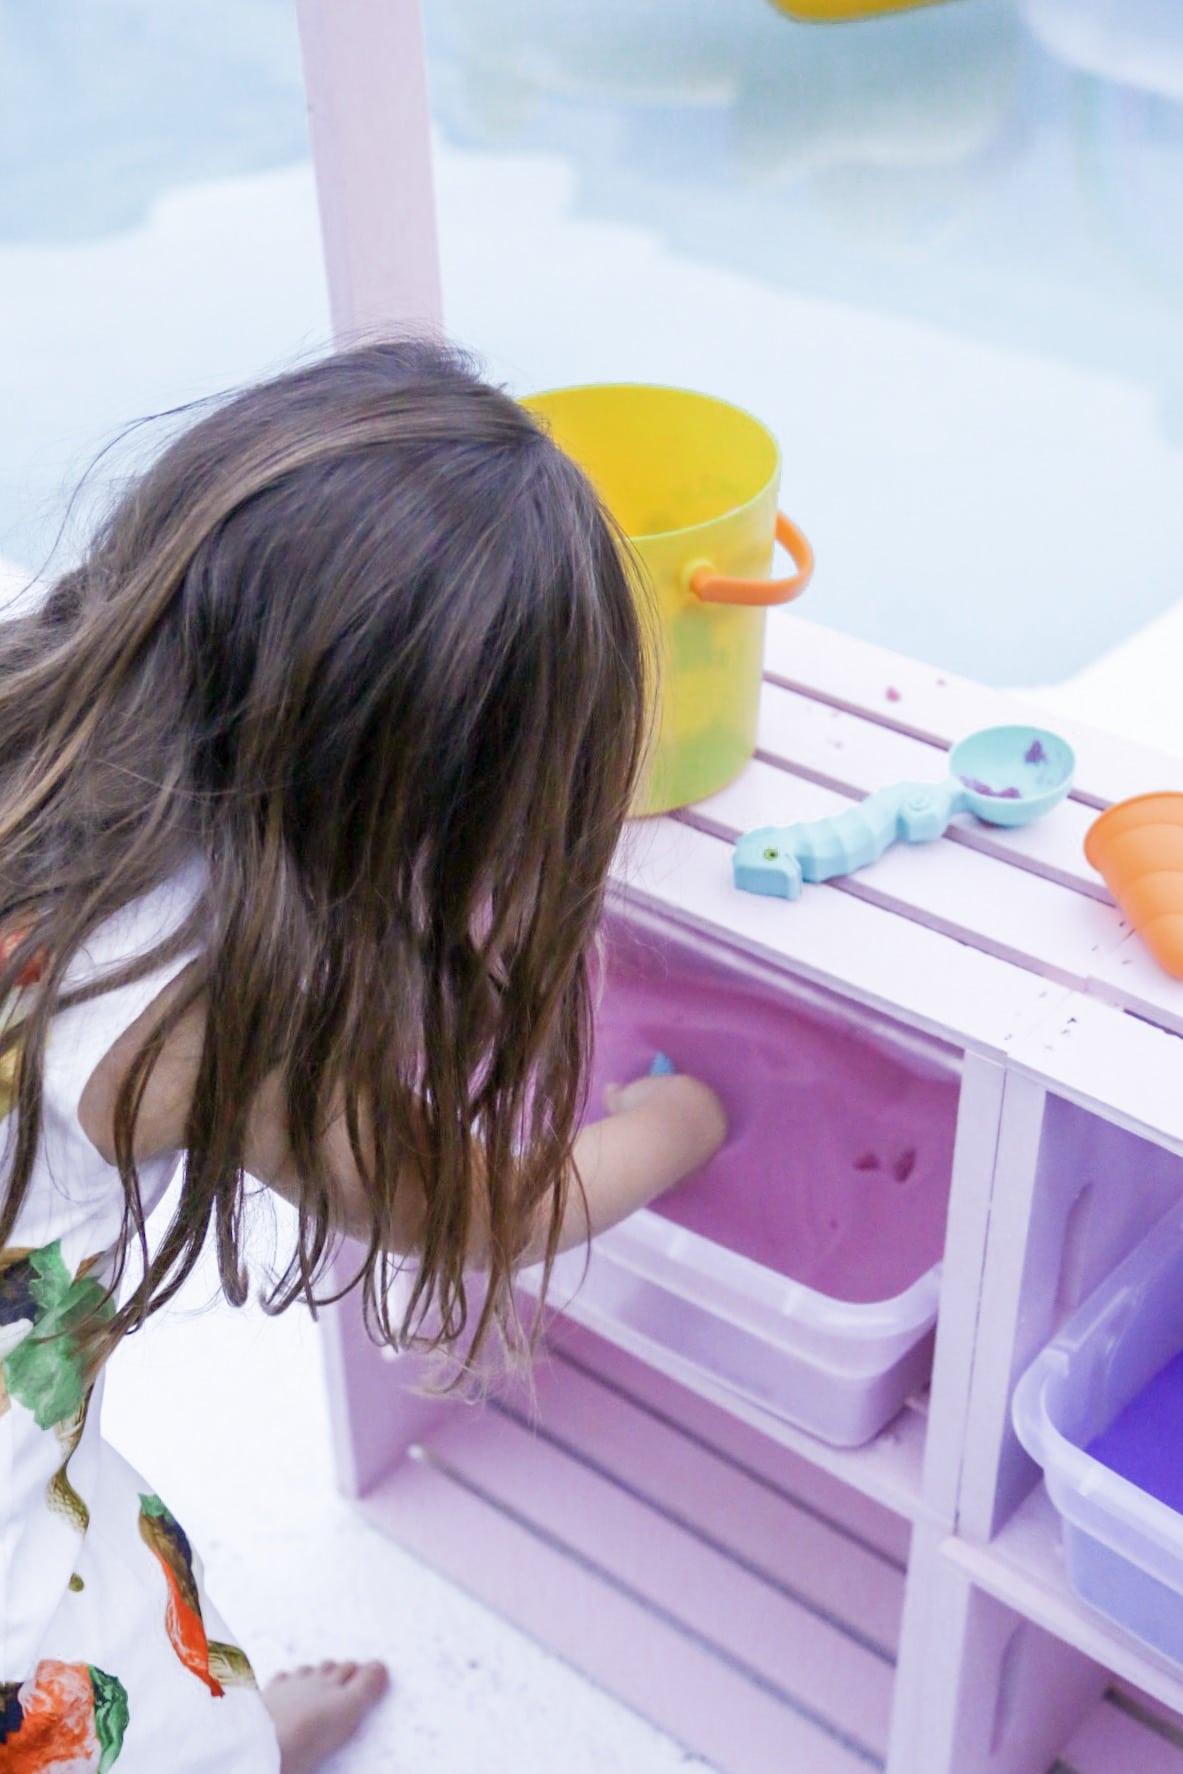
To keep the Crayola Sand organized, we used sweater box with tops. You can
Tools & Supplies
2 to 4 Bags of Crayola Play Sand
4 Wood Apple Crates
1 Piece of 2 x 1 (see cutting notes)
1 Piece of 4 x1 (see cutting notes)
8 – 1 ½ inch Length – Nuts and Bolts
Nails
Finishing Nails
1 Small Can Chalk Paint
1 Small Can Chalk Paint Wax
Sand Paper
Drill
Hammer
Measuring Tape
How to Make a DIY Sandbox?
- Stack two of the four apple crates on top of each other. Use the drill to drill a hole that goes through both boxes. This leaves the hole that you will put the bolt through.
- Once you have the holes drilled, put a bolt through the holes and use a nut to secure. You should have four bolts going through the wholes and four nuts securing them.
- Repeat the first two steps for the other two apple crates.
- Once you have the two sets of apple crates place them side by side. Use a hammer to nail them together. Use at least five nails toward the front, and at least five nails toward the back.
- Once you feel the two sets of apple crates are secured to each other, you can use one of the cut 2×1 pieces and begin nailing that to the sides of the apple crates. We placed the 2×1 near the center of the side and we used at least one nail per “board” of the crate.
- Flip the crates around, and again, using nails, secure the other 2×1 board.
- Once the 2×1 boards are secure, place the 4×1 on top. We used a measuring tape to make sure that the board was centered on the 2×1 posts.
- Using two nails on each side, hammer the 4×1 to the 2×1 posts.
- Check to make sure that all the parts are properly fastened together. Use additional nails if you feel unsure about the strength of the connection.
- Using sandpaper, quickly sand down the ice cream stand.
- Once sanded begin painting with the chalk paint wax. You may need up to two coats. Once the paint is dry, use the Wax as a seal on the paint.
 Check out the Crayola Color Sand website for some fun DIY and crafting project ideas