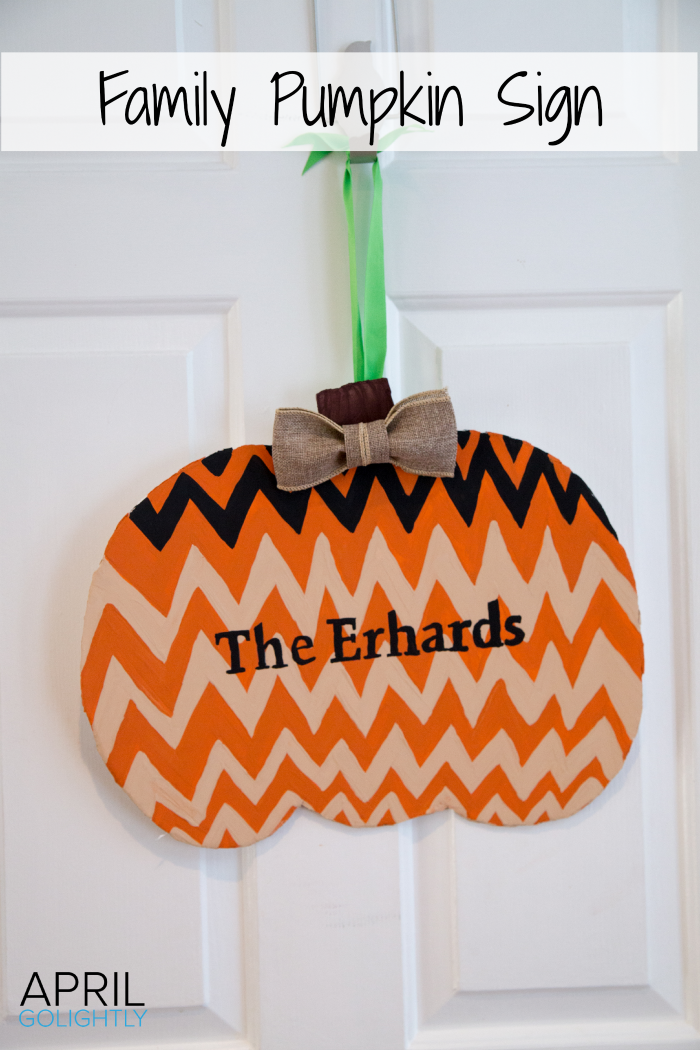
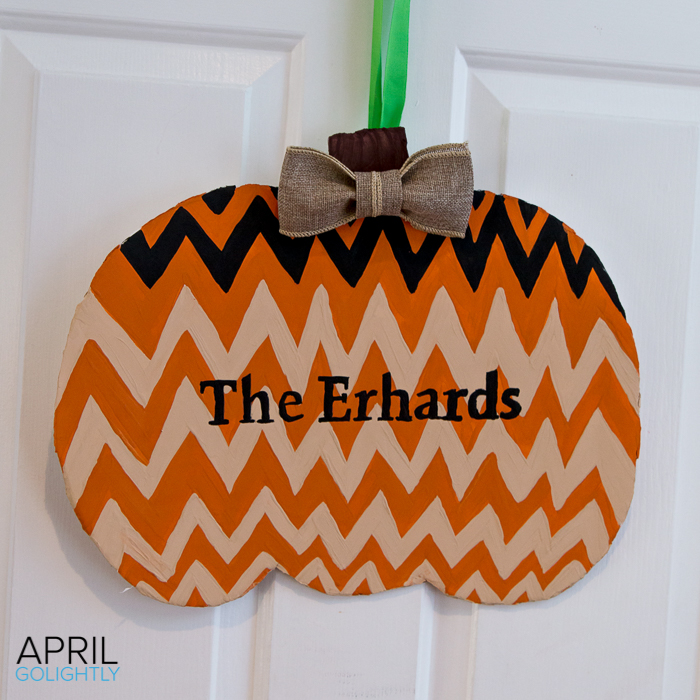
Fall is here and I am super excited about decorating my home in fall colors and with pumpkins for Halloween and for Thanksgiving. The cool part of this family pumpkin sign is that it will look great from now until you put up your Christmas decorations.
Tools & Supplies
White foam core board
Large sheet of white paper
A few sheets of copy paper
Favorite Font
Pencil
Paint tape
Matte paint in orange, tan, brown, and black.
Fine paint brushes
Scissors
Bright Green Ribbon
Burlap Wired Ribbon
Safety Pin – Large
Instructions
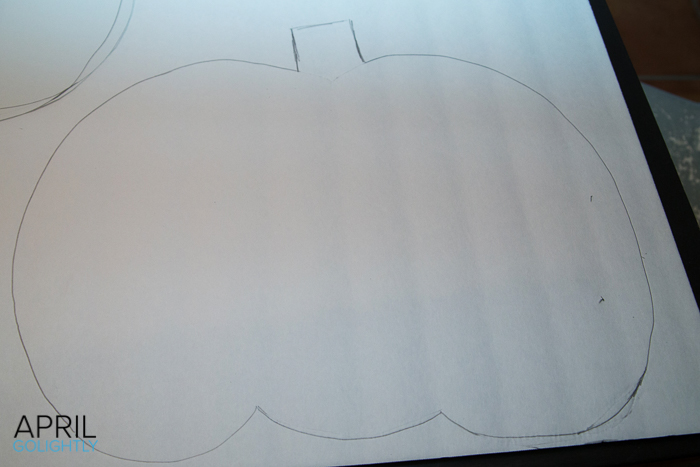
First, I drew a large pumpkin on large sheet of paper and then cut it out to trace onto a white foam core board in pencil. If you do not have a large enough sheet of paper to draw on, you can tape 4 sheets of paper together to make a larger sheet or draw straight on the foam core board. Next, cut out the pumpkin.
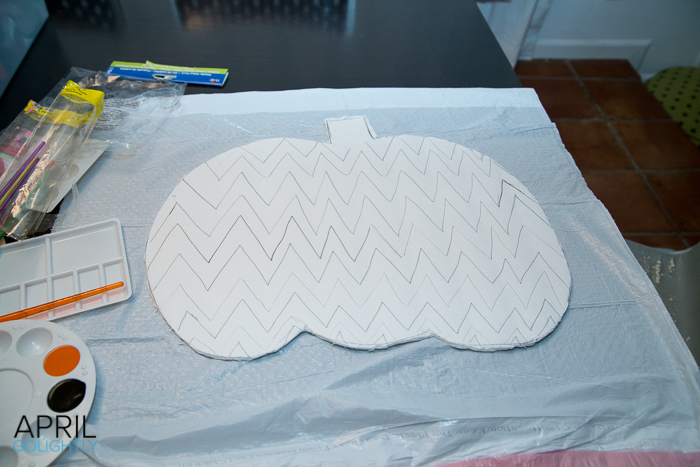
Draw a pattern in pencil on your cut out pumpkin. I chose chevron, but you could easily choose something like leopard print, stripes or polka dots. Whatever print speaks to you!
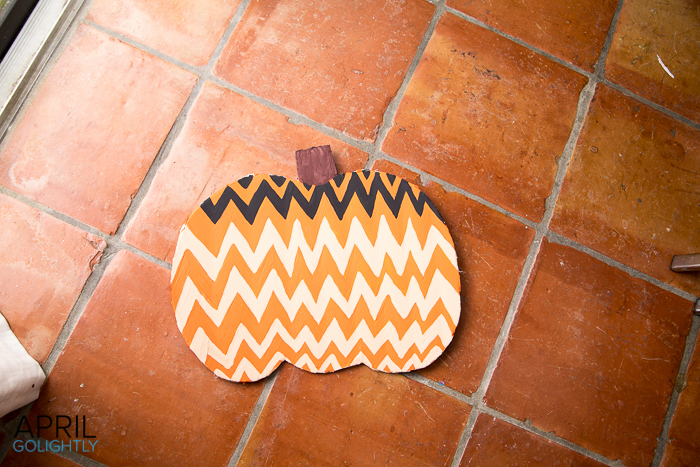
I painted every other chevron stripe orange and the top 2 black on accident before I realized that I had to paint the background lighter in order for the letters to pop. I still love the way it came out even though it was a mistake. Paint the stem brown. I went over the chevron stripes twice and in some cases 3 times to cover the white underneath.
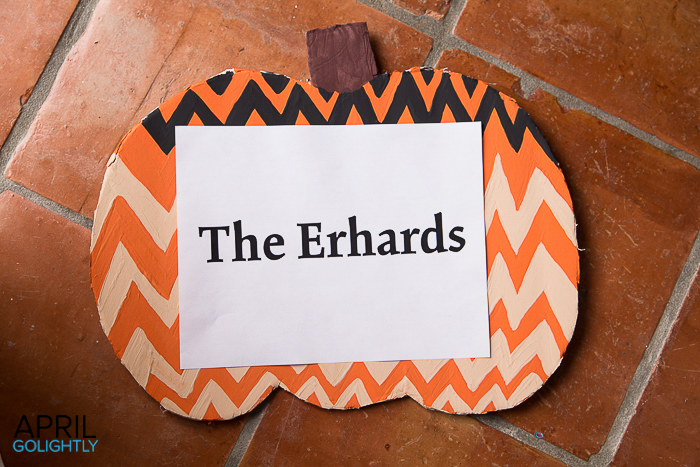
Next I picked out the font that I like from your computer or find a free font online to download. Enlarge the name of your family and print in landscape on white 8 x 10 copy paper.
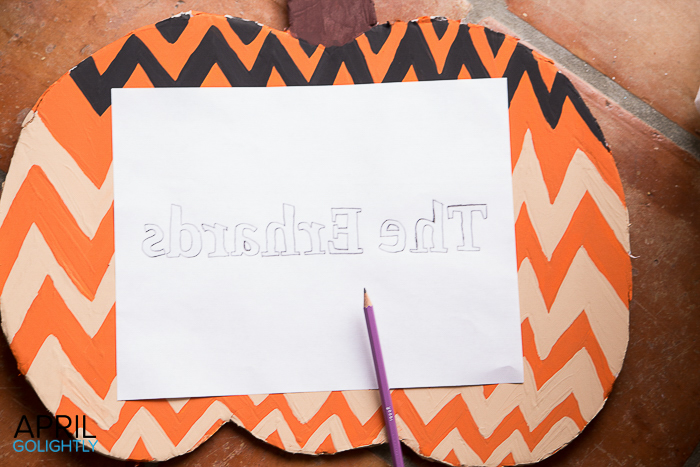
Flip your printed copy paper over so that the back of the paper is facing up. Take a pencil, and using a dark line, trace over the image, transferring it to the back of the paper.
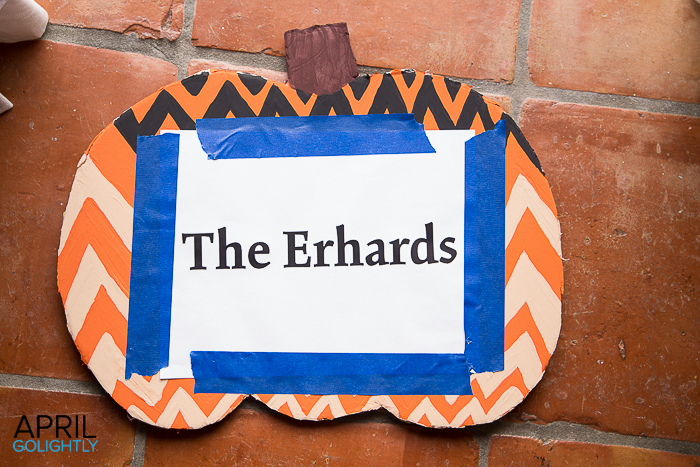
Using a ruler, tape the paper with pencil markings facing down where you want the name. I did my best to get it into the center. I used this same method to make the a baby shower gift bag here.
Next, take your pencil and trace back over the image on the front of the paper. As you trace, the pencil marks that you traced onto the back of the image will transfer onto the pumpkin, leaving you with perfect lettering. If you press hard, you will actually indent into the foam core board which is fine since you will be using black paint to cover it.
Once the entire image is traced, and you pull the paper off, go back in and fill in any spaces that did not transfer well with your pencil. You do not need to use a dark line here, just dark enough so you can see it.
Now you can fill simply fill in your lines with a fine tipped paint brush and black paint. PRO TIP: To avoid smudging, if you are right handed go from left to right and if you are left handed go from right to left. Let the pumpkin dry overnight.
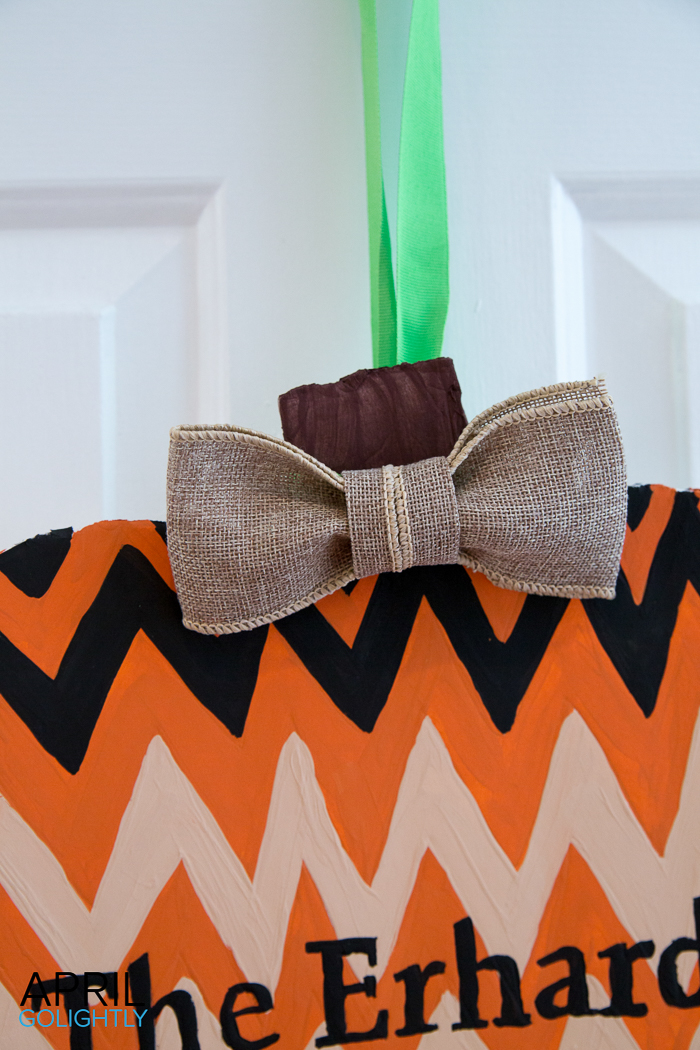
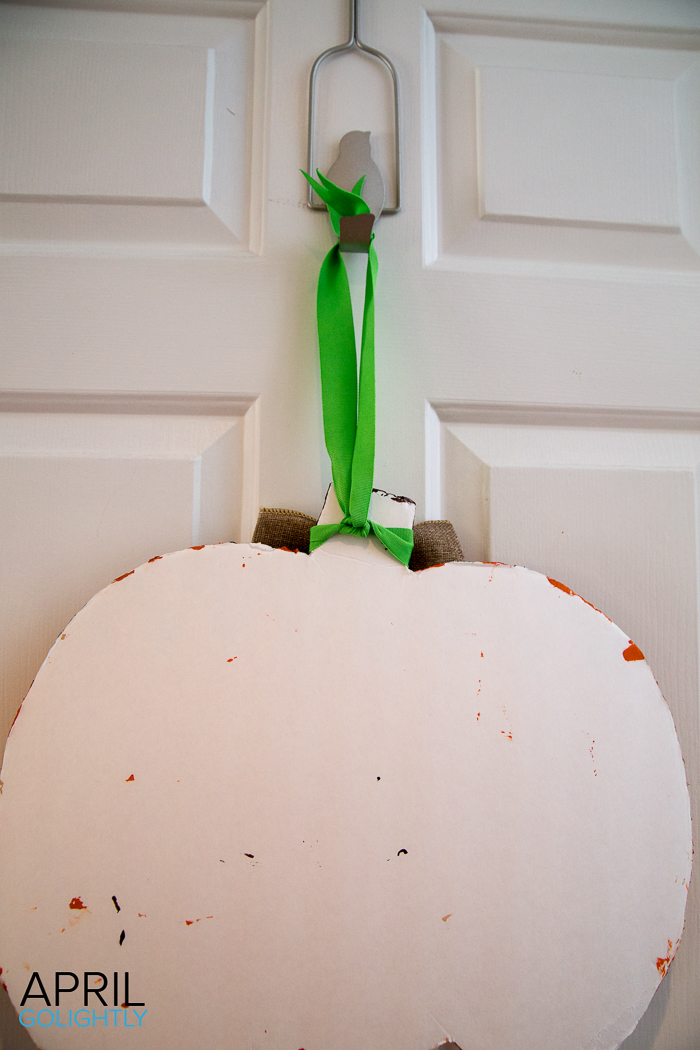
Wrap theBright Green Ribbon around the stem and figure out how much drop you need to hang it on your door. Cut the ribbon accordingly.
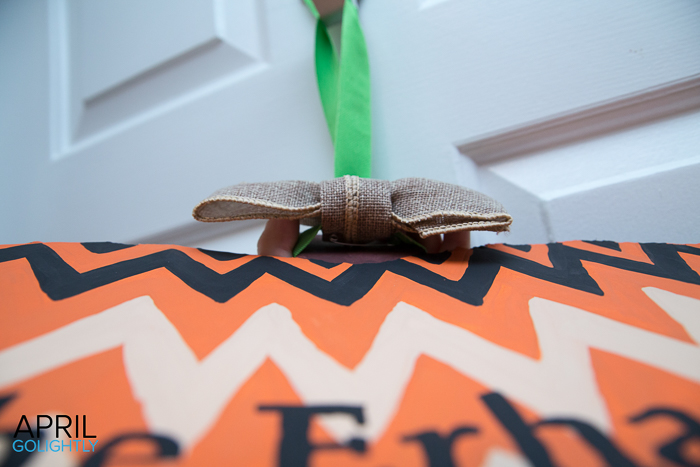
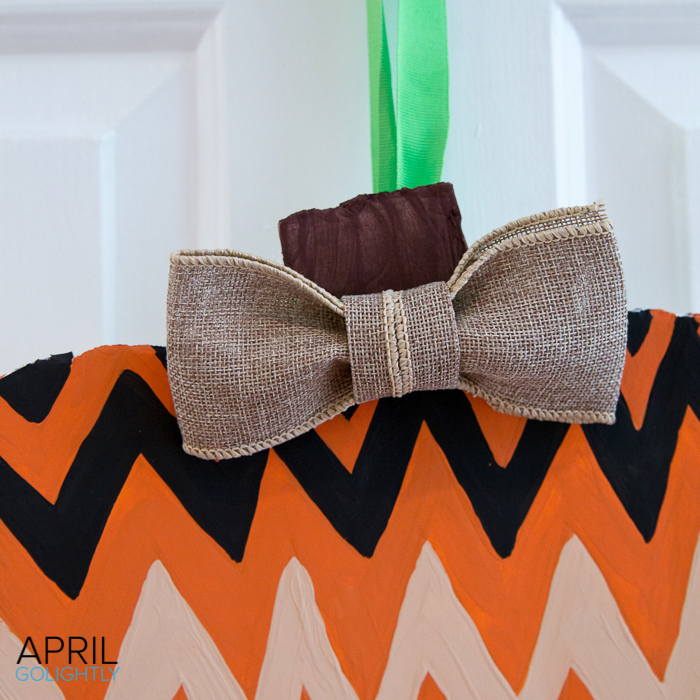
Next, make a bow with the burlap wired ribbon and the safety pin. More directions on how to this coming. It is super easy! Attach the bow to green ribbon using the safety pink over the stem of the pumpkin.
Please note: Occasionally, we use affiliate links on our site. This in no way affects our editorial decision-making.
What do you think of the Family Pumpkin Sign DIY project?
What a fantastic, easy and economical idea. I will do it too. Love it. Thanks.
Thanks! 🙂 It was fun to make too!
i love this idea so cute
How fun and creative! I am always looking for new ideas. Me and my girlfriends like to get together and craft. 🙂
I like this craft, it could work as an indoor decoration if adapted for different holidays too.
Such a cute idea! And one I can actually do (I think, lol). I love how you chose the chevron pattern, it’s one of my favorites too. I keep finding more and more chevron pieces in my wardrobe! Love your sign!