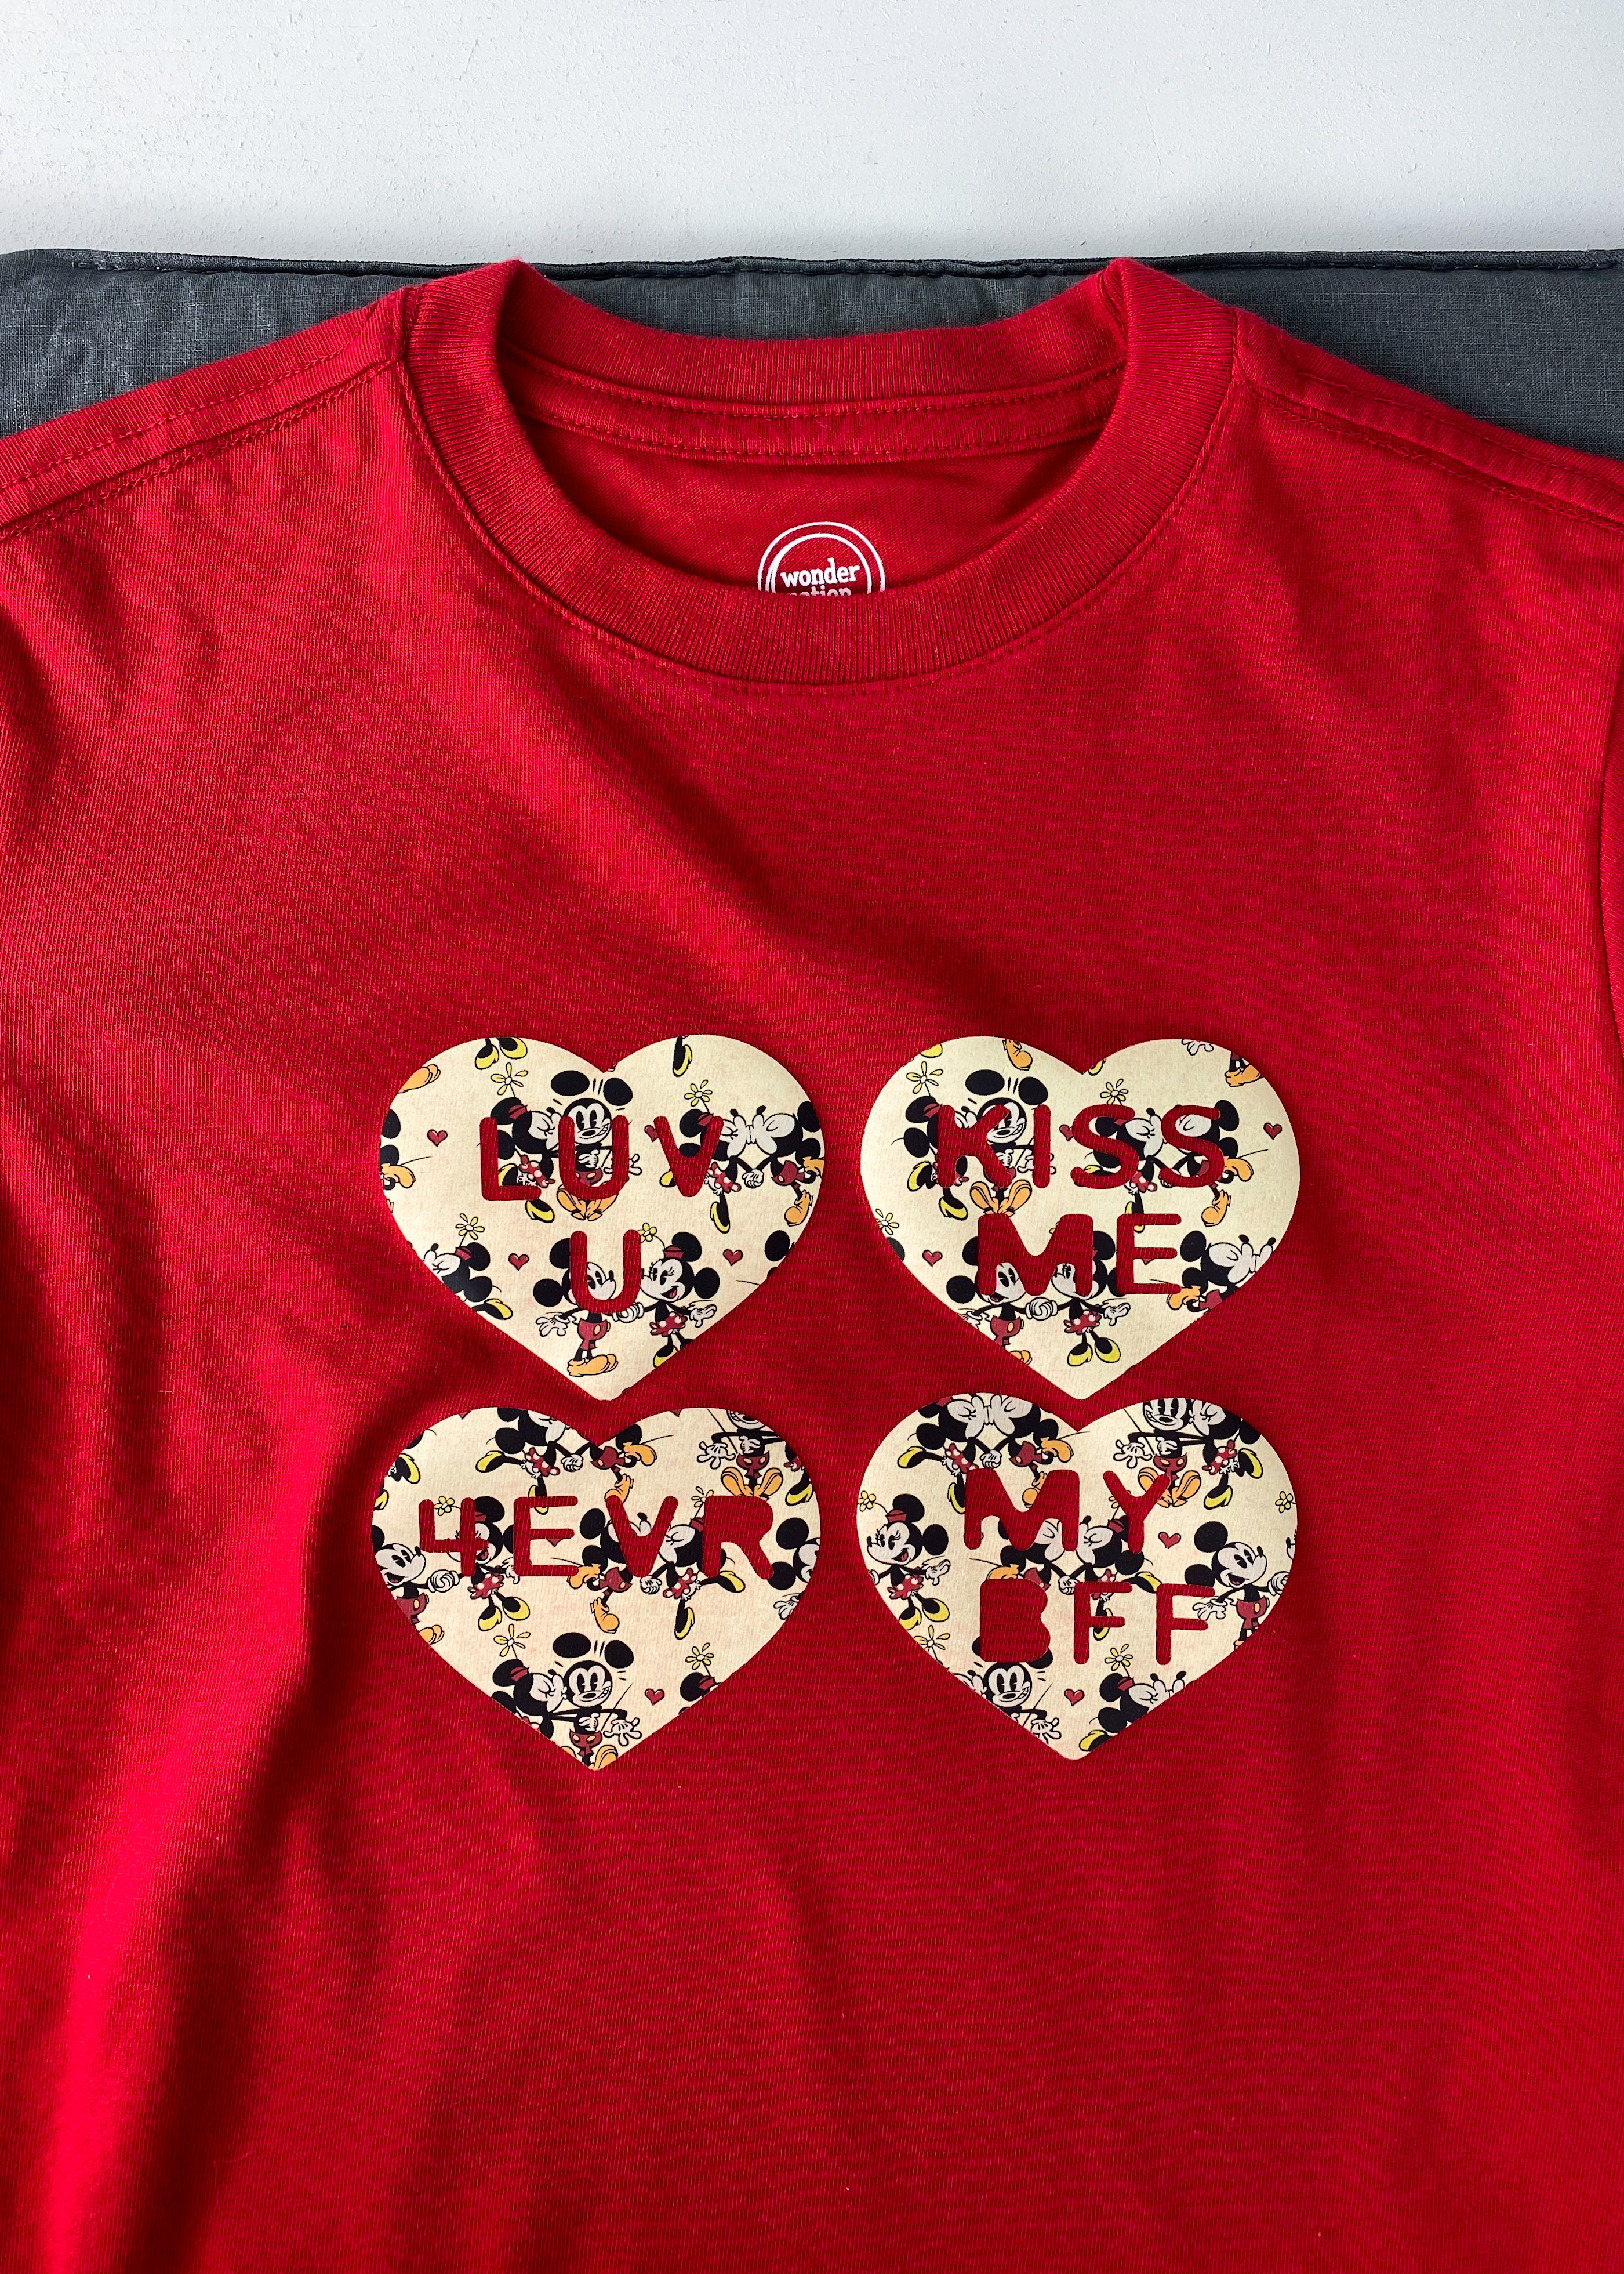
This Mickey and Minnie Kissing Shirt and Pants Set is made on the Cricut using Disney heat transfer vinyl.

I find some many things online that are selling Disney projects without the proper license. It hurts my heart because it is infringes on the rights of the artists that worked so hard to make those designs and movies.
Purchasing a Cricut Disney Vinyl and making your own shirts for you and your family is an ideal way to make your own Disney gear that is unique to you.
This creation is using the conversation hearts from Cricut Design Space and the Mickey and Minnie Kissing Pattern from the Mickey and Friends -Oh Boy! collection of heat transfer vinyl.
There are a few Disney Patterns available in patterned vinyl like Disney’s Frozen, Marvel Spiderman, Star Wars, and Winnie the Pooh. I hope they come out with more because these are super fun and easy to work with!

Mickey and Minnie Kissing Clothing Set
It is time to start the fun and make Mickey and Minnie Kissing Shirt and Pants set!
Tools & Supplies
You can make your own face mask with the Cricut Maker
- Cricut Machine
- Standard Grip Mat
- Cricut Patterned Iron On Vinyl
- Cricut Easy Press Mat
- Weeding Tools
- Cricut Design File
How to Make the Heat Transfer Vinyl Masks?
Open the Cricut Design Space on your computer. You can do this from your phone and tablet too.
Open this Cricut Design File.
Now, hit MAKE it in green in the upper right corner.
How to Print Using Cricut Everyday Iron On Vinyl?
To use pattern iron-on vinyl, you should use the green circuit sheet.
Place the vinyl shiny side down on the standard grip mat.
Load the green sheet using the arrows and make sure it pulls in properly.
On the computer, choose the machine and make sure that you mirror the image.
Also, choose the type of Iron-on vinyl by selecting from the Cricut database of material. It is pattern iron-on.
When the C – Cricut symbol is flashing, press it.
When the project is done, remove the sheet with the arrows.
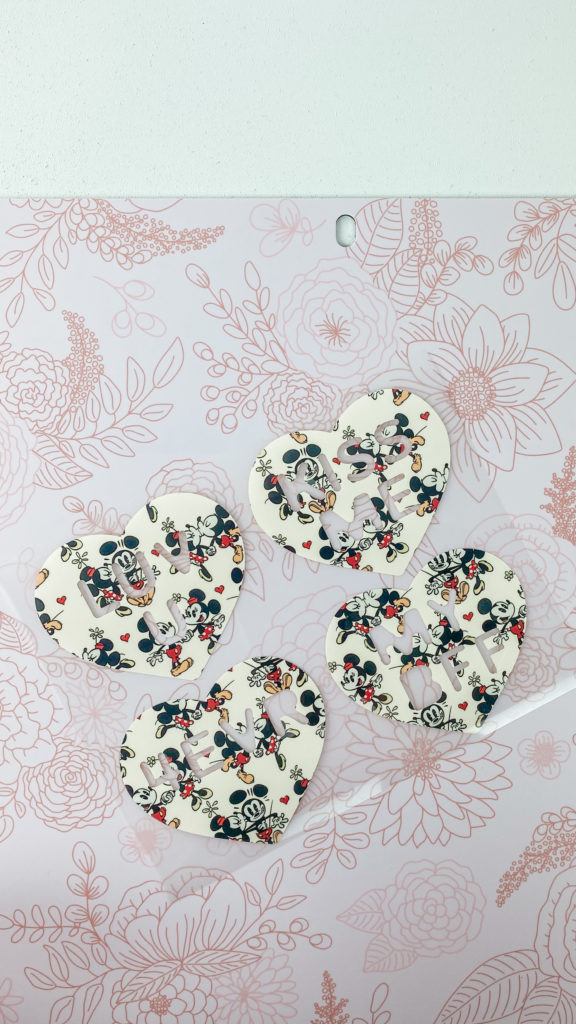
Pull off the Vinyl and weed the letters out of the hearts and the outline around the hearts.
Knee Patch Spacing
To get the knee patching in the proper place. Ask you child to try on the pant and mark off the top of the heart spot with a pin not a marker because it will bleed through the vinyl.
Pressing Pattern Iron-On
Check the material of the mask before pressing. The Cricut Heat Guide is my go to choice for getting the proper setting.
Set the Cricut EasyPress 2 to 340* for 30 seconds.
Place the whole design to get the spacing.
Preheat the shirt and iron out any wrinkles. Use a roller to remove any fuzz.
Place iron-on material face down, liner side up.
Use heavy for 30 seconds on the front and 15 seconds on the back to the shirt. Do the same for the pants.
Slowly remove liner when it is cooled.
Shirt and Pants Care NOTES
Allow 24 hours after application before washing. Wash and tumble dry is fine, but do not bleach.
Thank you for your sharing. I am worried that I lack creative ideas. It is your article that makes me full of hope. Thank you. But, I have a question, can you help me?
I don’t think the title of your article matches the content lol. Just kidding, mainly because I had some doubts after reading the article.
Thanks for sharing. I read many of your blog posts, cool, your blog is very good.
Thank you for your sharing. I am worried that I lack creative ideas. It is your article that makes me full of hope. Thank you. But, I have a question, can you help me?
Can you be more specific about the content of your article? After reading it, I still have some doubts. Hope you can help me.
Your point of view caught my eye and was very interesting. Thanks. I have a question for you.