No Sew Thanksgiving Headdresses
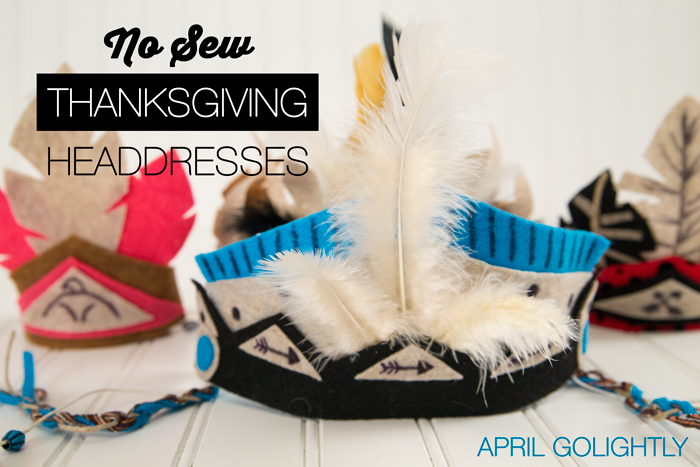
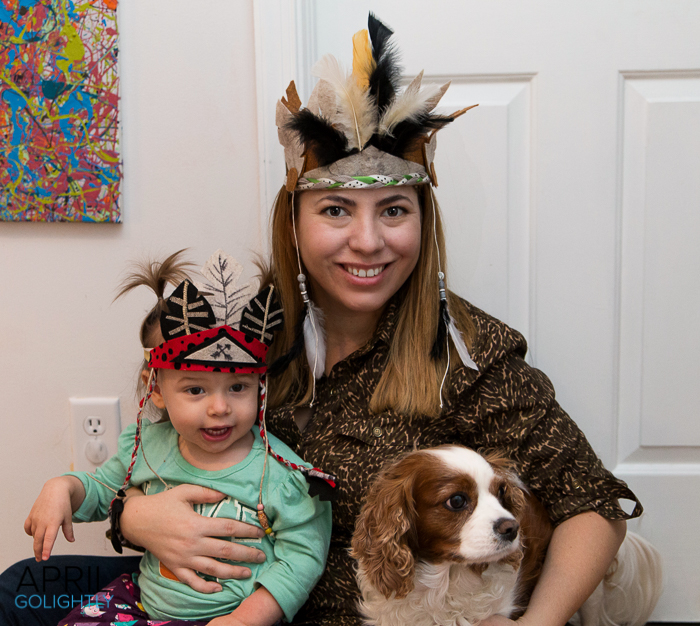
This week I met up with a new friend of mine, MoKa. We had a little crafting party with our little ones playing together as we made a few Thanksgiving-themed crafts. We started with these Thanksgiving Themed Native American Headdresses.
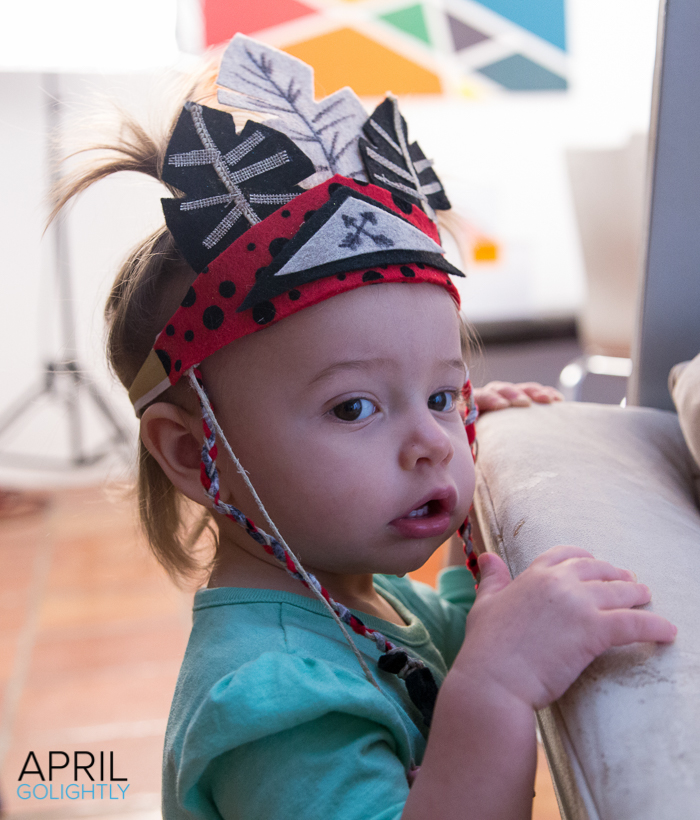
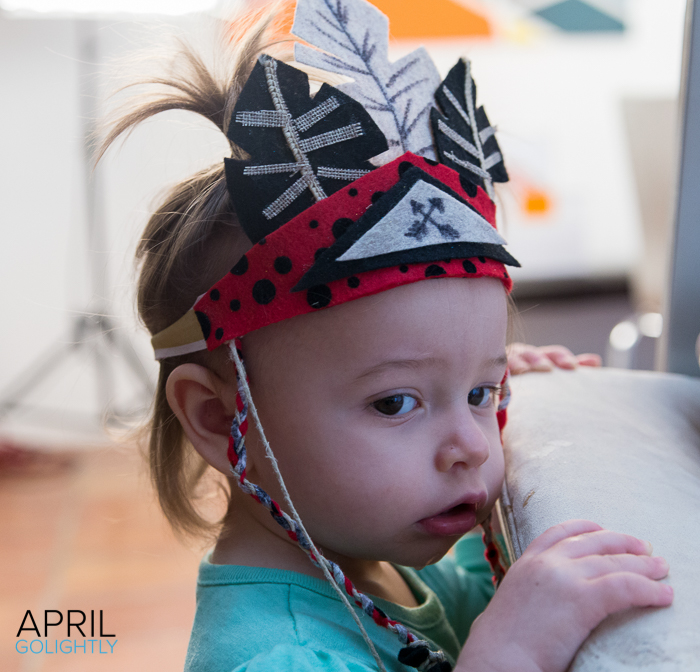
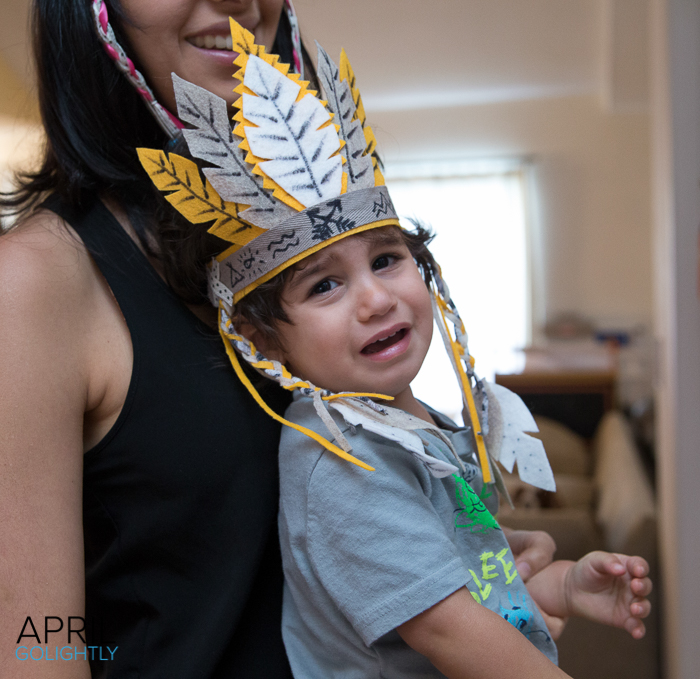
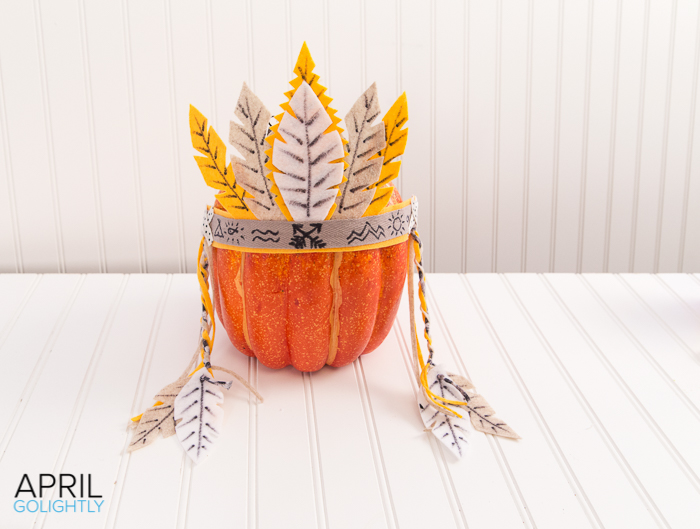
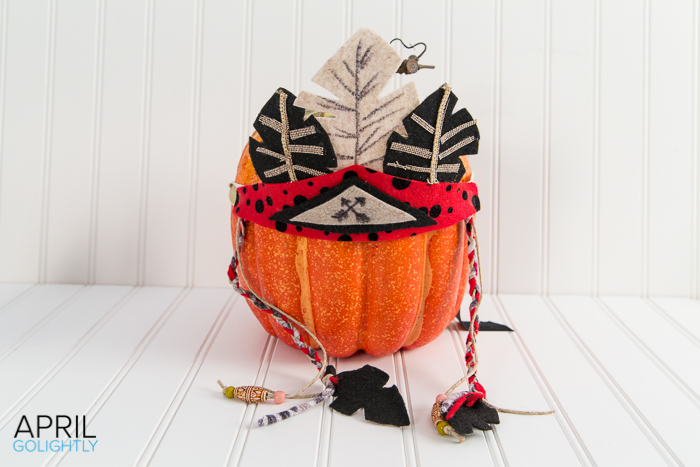
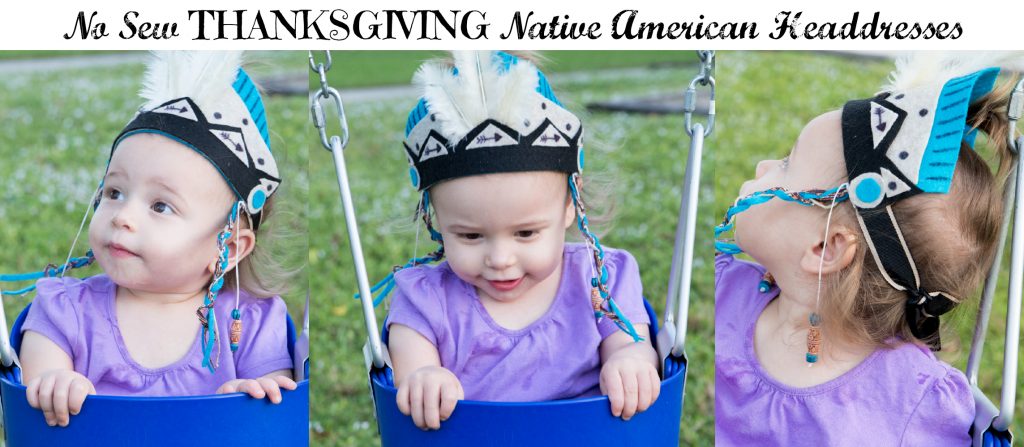
We made headdresses in varying sizes from toddler to adult. Also, each headdress has a unique look to it. I included photographs of all the one we made, but only instructions for 1. Feel free to ask questions below if you need help executing one of the headdresses.
These No Sew Thanksgiving Headdresses are perfect for a fun and educational Thanksgiving Day. You can tell your kids the story of Thanksgiving by focus on celebrating Native Americans and thanking them for their sacrifice. Here are some tips on how to talk to your kids about Thanksgiving.
Tools & Supplies
Felt Pack in Thanksgiving Colors like brown, beige, orange, and yellow
Felt sheets in your favorite accent colors or prints like Zebra or Pink Leopard. Go crazy!
Scissor
Tacky Glue or Felt Glue
Ribbon (at least one with a wired edge in burlap)
String (hemp or otherwise)
Fine Tip Sharpie
Bag of Autumn Colored Feathers (optional)
Fabric Scraps (neutral or Thanksgiving colors work best)
Native American looking beads
Instructions
To make a toddler Native American Headdress, you start with the short side of the felt sheet in a neutral color. This is the perfect size for a toddler’s head. In order to measure, the perfect size felt for adults and bigger children, measure from temple to temple with a soft measuring tape. You can also just put the felt up to your head and mark it off.
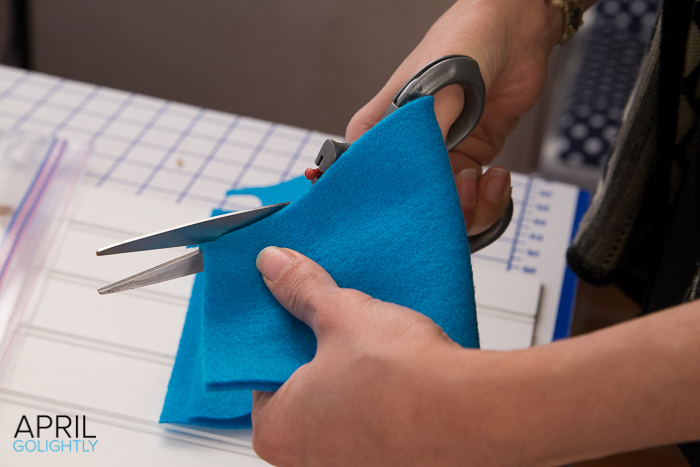
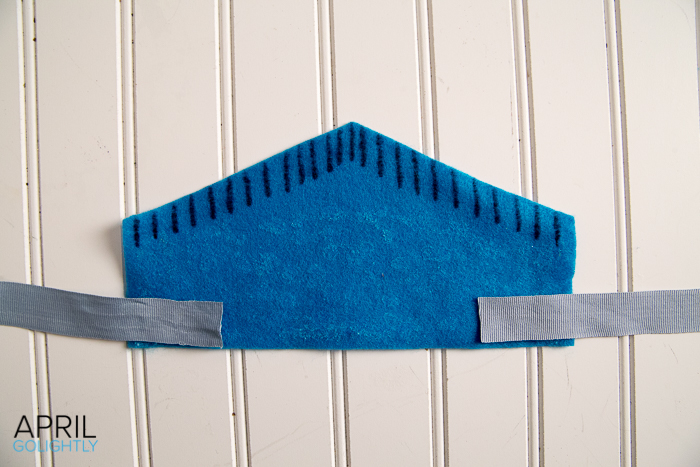
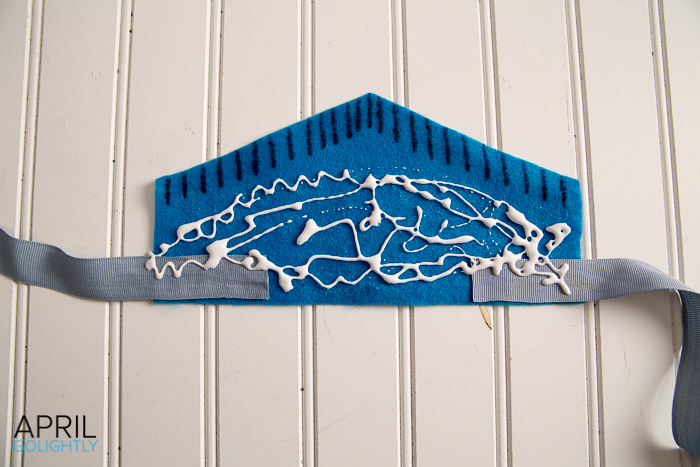
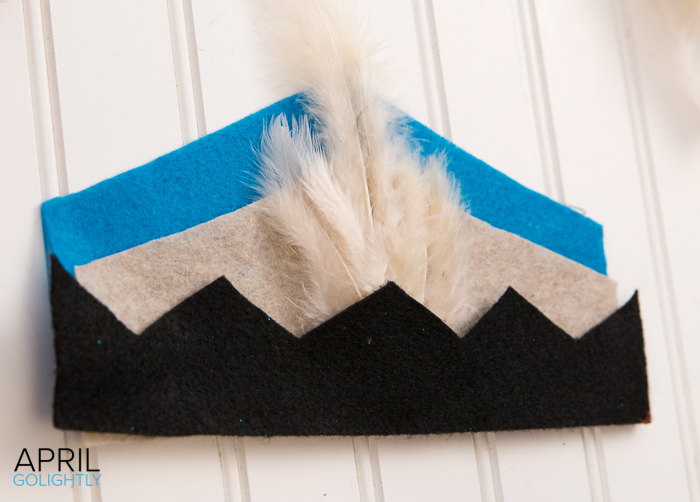
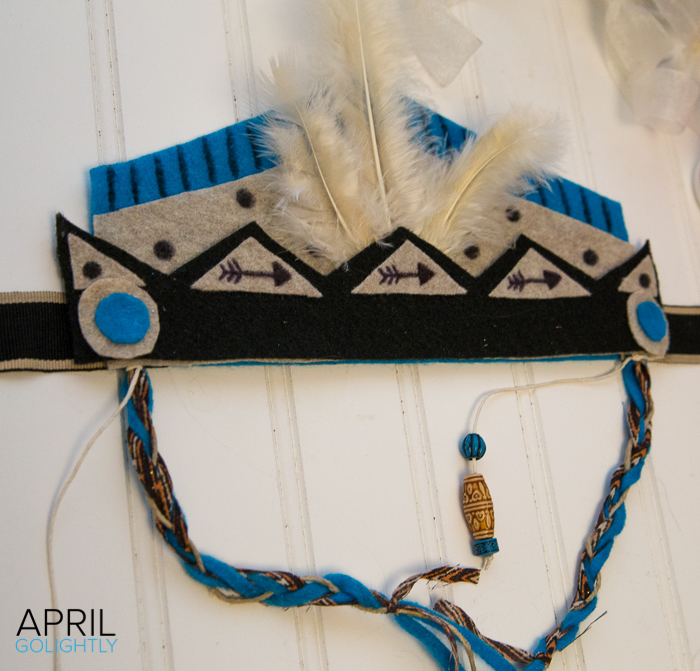
Choose a second color fabric to cut another piece of fabric that is also the length of the short end of the fabric sheet. We used turquoise blue. The height should be taller than the first piece as this will act as tier. Aline the tops of the two rectangular pieces of felt that you just cut, folding them in half together. Then cut a triangle so that the tops come to a point. Glue together the turquoise and beige felt together to create a base.
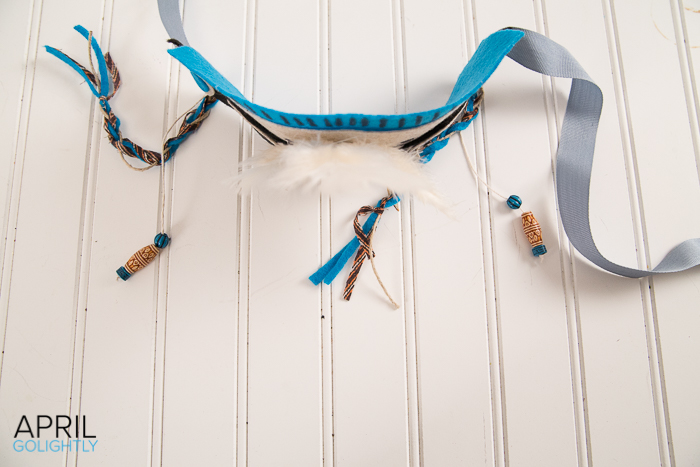
Cut two pieces of ribbon to be used as straps for the headdress. For the toddler headdress, each piece should be as long as the short end of the felt. Glue the ribbons to each side of the beige felt about a half inch in.
Pro Tip: Use ribbon from a shopping bag. This blue ribbon is from a Baby Gap bag. Also, you can iron the ribbon with a flat iron rather than an actual iron.
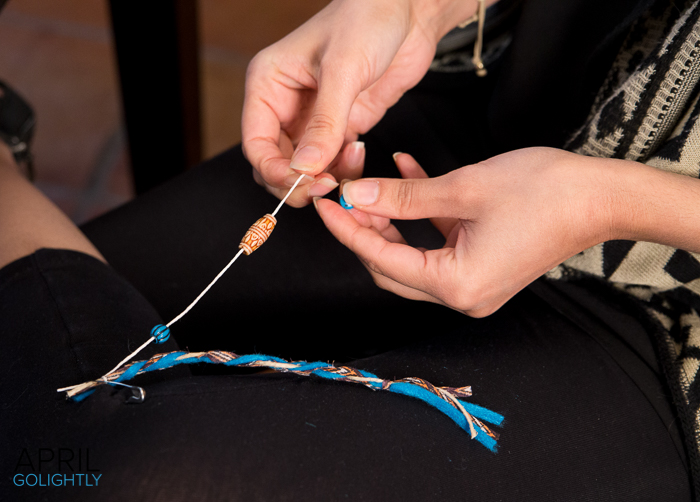
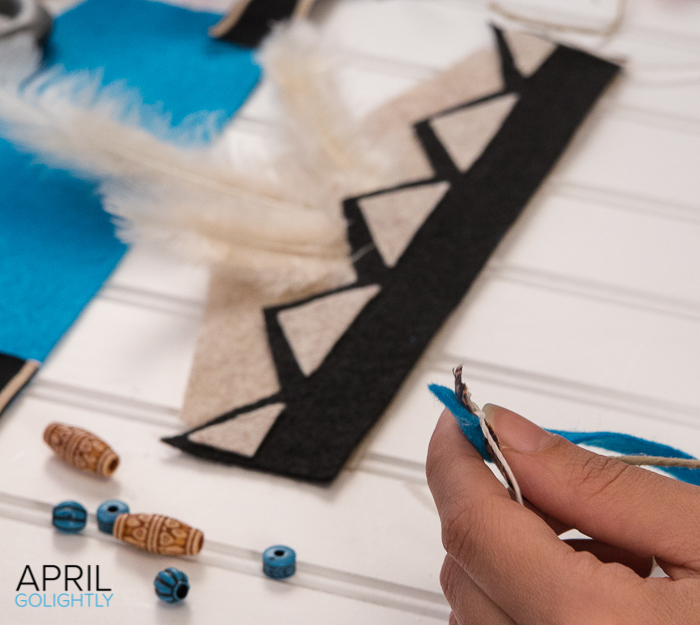
Cut two pieces of long thin felt, two pieces of long thin fabric, and four pieces of hemp string. Connect the four pieces of each kind that you cut to make a braid. One piece will be used for beads, and the other three will be used to make a braid. Braid the pieces and add either felt feather or real feathers to the bottom. Glue each braid to the corners over the ribbons.
Grab a third color felt. We used black in this case. Cut a strip from the short end of the felt sheet about 2 inches wide. Fold it in half and cut out two small triangles making points.
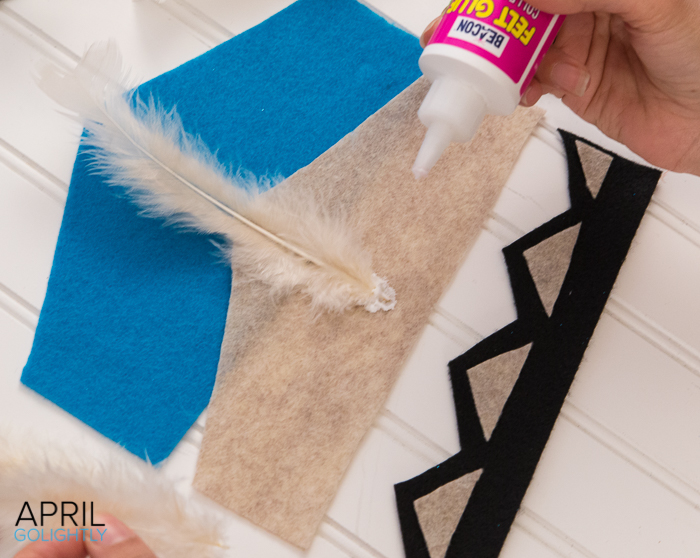
Choose 3 matching colored feathers. We used white. Two should be shorter than the middle one so that it come up in a point. Glue the feathers in the middle of the beige felt. Next, glue the black felt to the beige felt to seal the crown’s pieces together.
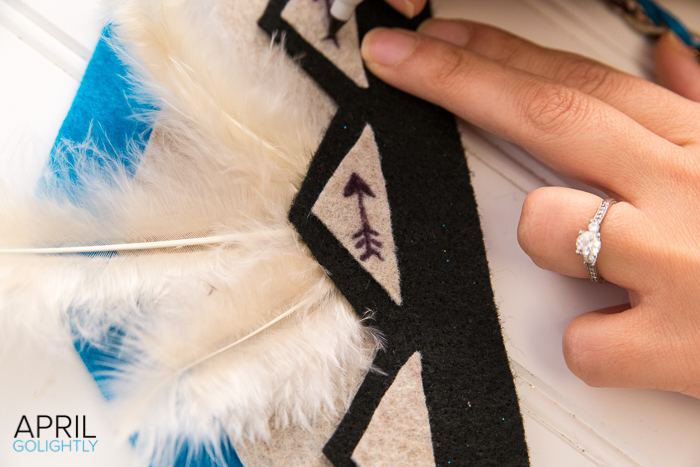
Using a light colored felt, cut out five small triangles to fit into the points of the last piece. We used a beige color so that we can draw on it later with a black Sharpie. Glue them in the points that match.
Make two small circles with the beige color felt scraps and two smaller circles with blue felt. Glue them to the corners.
Draw on Native American symbols that go with the motif and also based on the images meaning. Here is a list of symbols and meanings to help you choose.
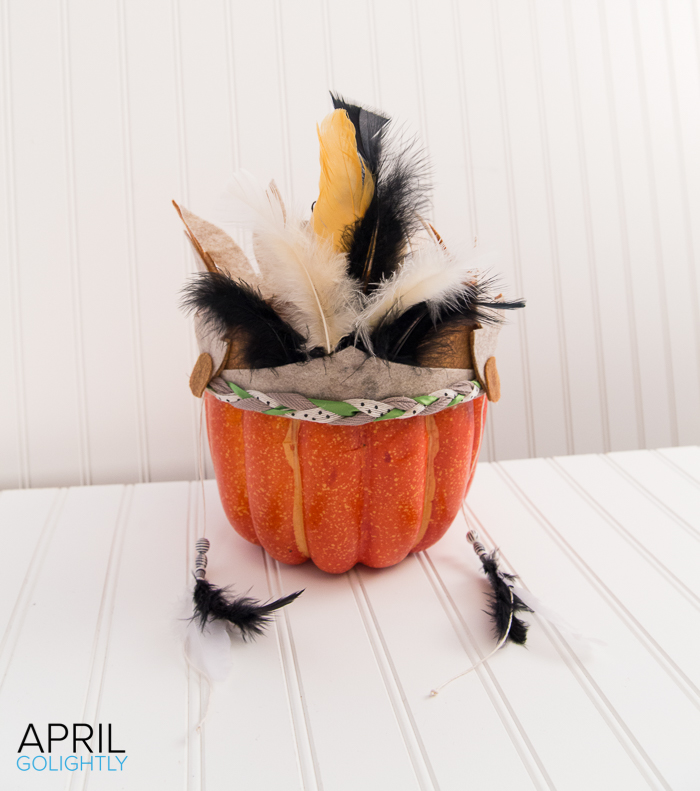
Let the headdress dry for a little bit laying down and then mold around a round object like a pumpkin or cleaning wipes container. You want to make and indent so the headdress stays on easier.
If you do not want to use real feathers, you can make you own with felt. You will need the wired ribbon, scissors, and a fine tipped Sharpie. The edge of the wired ribbon can be used to hold up the feathers on the back or even on the front like in the photo of the red headdress.
What do you think of the no sew Thanksgiving headdress? Do you have DIY questions or tips to share?
Pin to Save for Later
More Fun Crafts
Looking for more crafts? Here are some of my favorites.

Those are so cute. Perfect for the Thanksgiving parade in Plymouth with the real indians 🙂
I think these are some of the best Thanksiving crafts I have seen. .They are very well made and look super cute.
Those are the cutest ever! I think my daughter would love to make them.
Very cute idea! I love the whole no sew, because I do not sew!
That is adorable! What really does it for me is the “no sew”. I’ll never be considered a master seamstress…
Your headdresses came out so cute! Cami looks like she loves hers. Where is Harrison Ford’s?
You did a great job. I would have never thought to make these.
Those are adorable! My sister used to crafts like this with the kids when they were small. They loved it.
Oh, I can’t wait to make these with the kids. We have the most fun doing projects like this together.
Those are really cute! Thanks so much for the tutorial April!
Crafts like these are so much fun to do with little kids. They get so excited.
Very cute! I love that it’s a new sew. Pinned it!
Yours and your daughters head dresses turned out SOOOOOO cute! I love how everyone can have their own unique version. The possibilities are endless.
What a fun craft!! Those turned out cute and I bet they will work great for dress up play after the holidays.
Cute idea. Love that they’re great for all ages.
This are so cute! Reminds me of a Thanksgiving play I did when I was a little girl!
What a cute idea! I think I have everything I need to make these with my kiddos. Yours came out so nice.
Those came out so beautifully! You are so darn creative, missy!
I think the very last headdress and your headdress look the best! They are all so neat, what a cool craft.
These are adorable. I would love to do these with my friends kids. I think they will love them. Looks simple to do.
This is such a fun idea to work in a little lesson on Thanksgiving- thanks for sharing the details with us!!