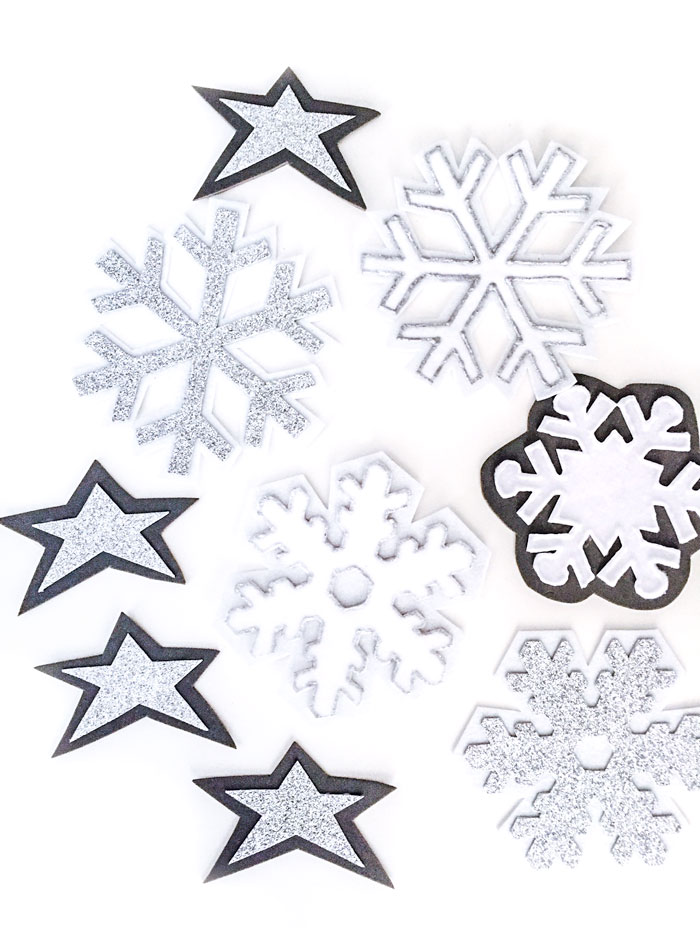
Garland is a versatile decoration. String it up on the banister, around the tree or along the wall – it works just about everywhere! I made this DIY Garland to decorate for Christmas because I wanted to add a special homemade touch to our mostly store bought wares. Try this festive Snowflake Garland to add some sparkle and shine to any space.
How to Make DIY Garland
Here is everything you need to know to make your own DIY garland. This tutorial uses snowflakes, so it’s perfect for DIY Christmas or winter decor. But you can easily use other shapes and colors and decorate for any holiday or special event.
The best thing about this DIY garland is that it is incredibly easy to make it your own. Use my designs or create your own. You can match the garland to your current color scheme in your home.
DIY Garland Materials
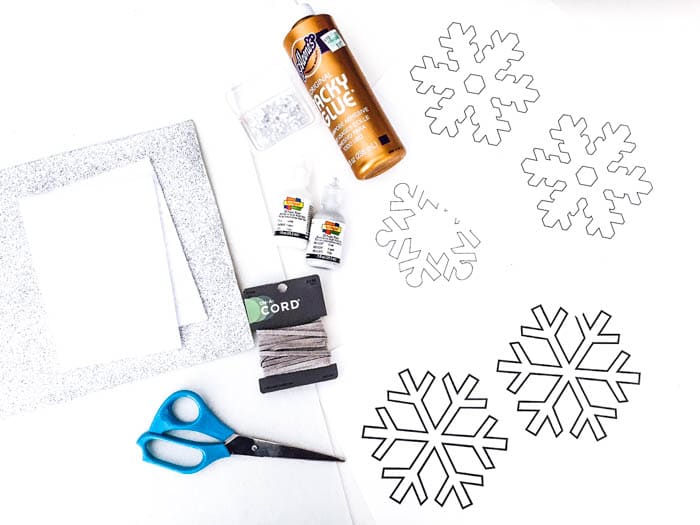
Here is what you will need to make your own DIY garland:
- Snowflake printouts: get them here: http://azcoloring.com/snowflake-printables
- Tacky glue or felt glue
- Silver and/or white glitter glue
- Rhinestones
- Leather cord
- 2 pieces of soft white felt
- 1 piece of thick white felt
- 1 piece of thick silver glitter paper
- 1 piece of dark gray grey felt
- Scissors
 Step 1. Glue Felt to Snow Flakes
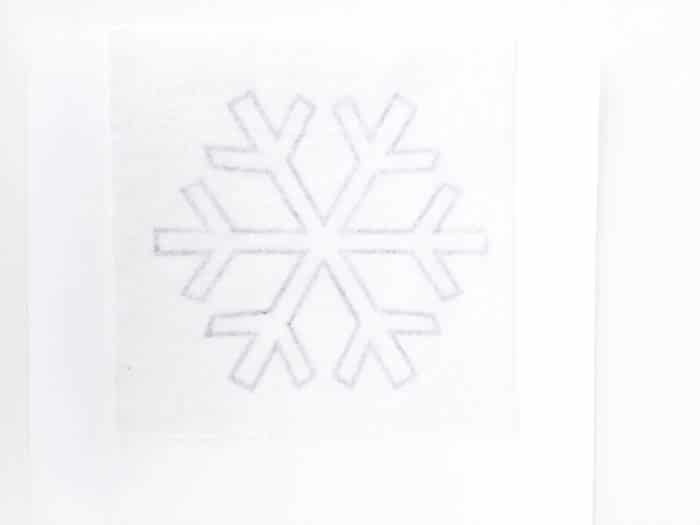
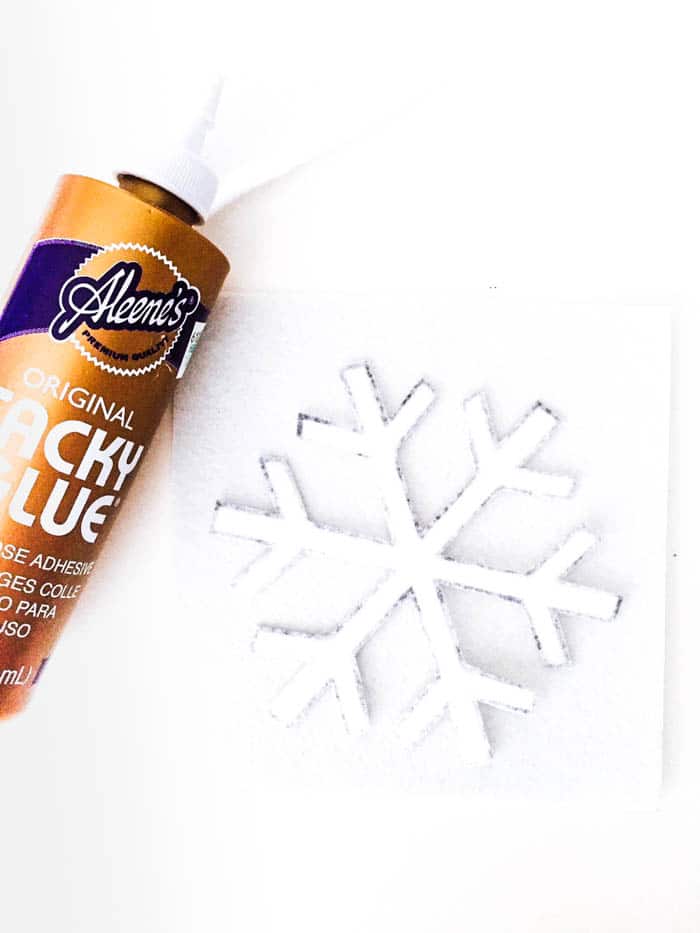
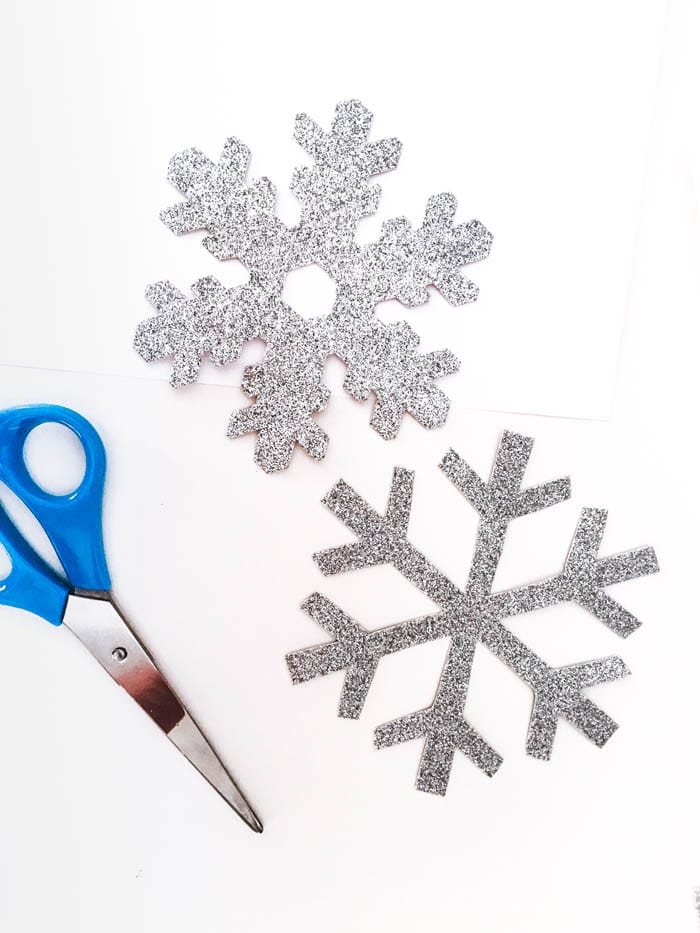
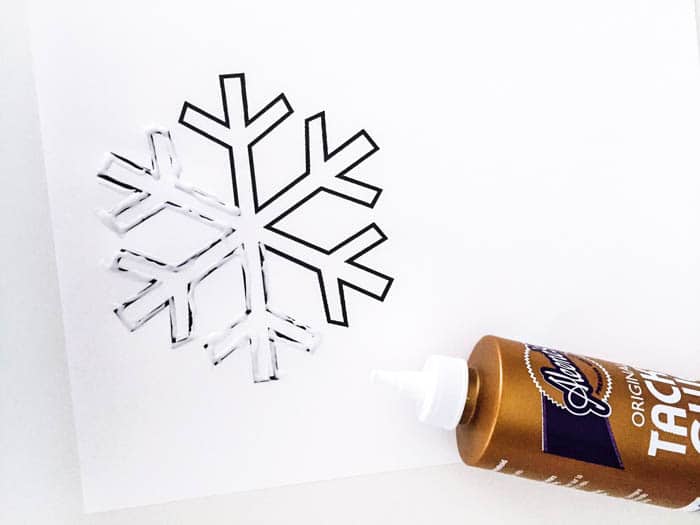
Outline the snowflake printout with tacky glue and place the soft white felt piece over it. Press down and allow to dry. Repeat the same process with the silver glitter paper. You should have two white pieces and two silver pieces.
Step 2: Cut Them Out
Once everything is dry, cut out the snowflakes. I recommend using sharp scissors so the cuts are clean.
Step 3: Create Sturdy Backs
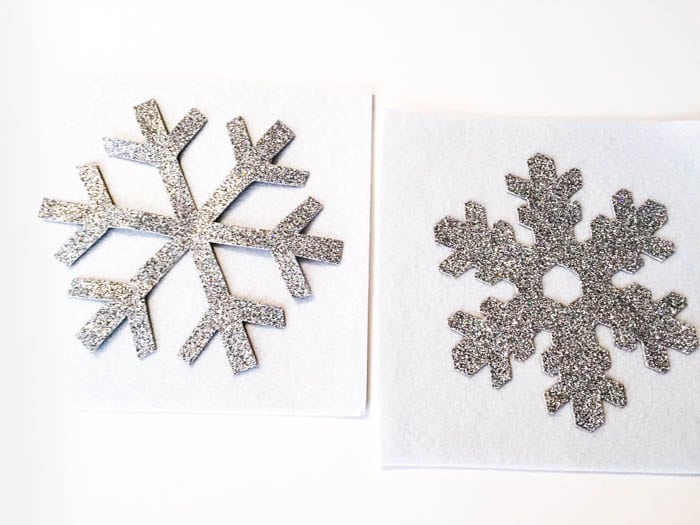
Once you have all of your snowflake cutouts, glue the backs and place onto the firm, thick white felt pieces. This will help keep the snowflakes sturdy. Press down and allow to dry. For the center snowflake, instead of using the thick white felt piece, I used a dark gray foam in order to make it stand out. Once dried, cut along the edges of the snowflakes to create a border.
 Step 4: Cut Out Star Pieces
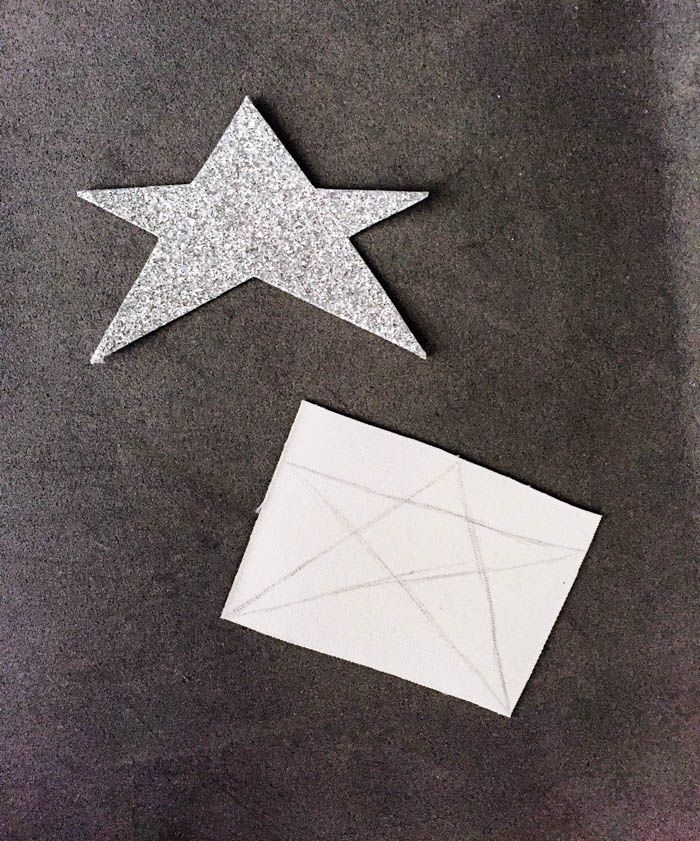
While snowflakes are drying, cut out star pieces from the leftover silver glitter paper scraps. Glue onto the dark gray foam pieces and cut out foam pieces along the star shape, creating a border.
Step 5: Decorate With Rhinestones
This is the really fun part! Outline the snowflakes (and stars if you’d like) with the silver and white glitter glue as shown in the picture. Next, decorate snowflakes with as many or as little rhinestones as you’d like and allow to dry.
Step 6: Cut Slits in the Center
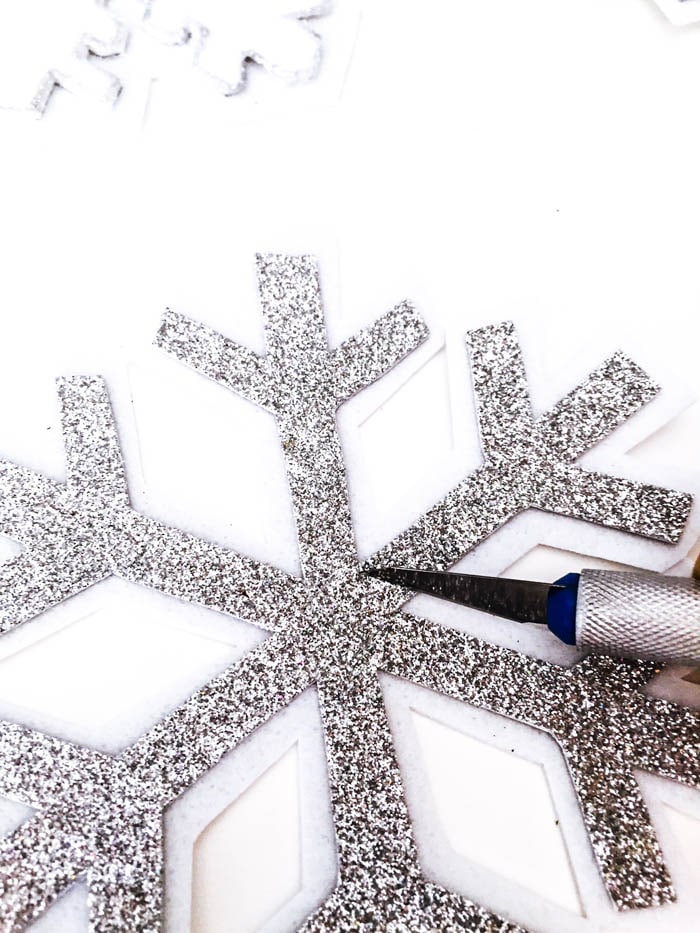
Use an X-Acto knife or a regular knife to cut two slits in the center of each of the pieces. Don’t use a hole-puncher or else your snowflakes and stars won’t stay in place.
Step 7: Thread Garland Together
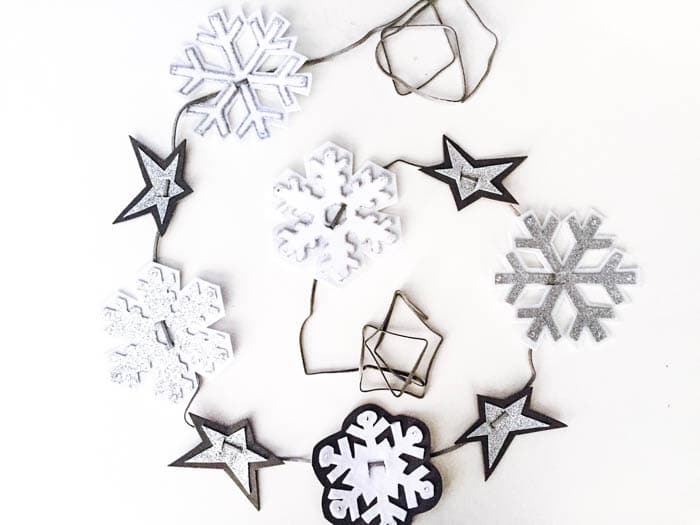
Thread the string through the center of the snowflakes and stars.
Step 8: Finished! Time to Decorate
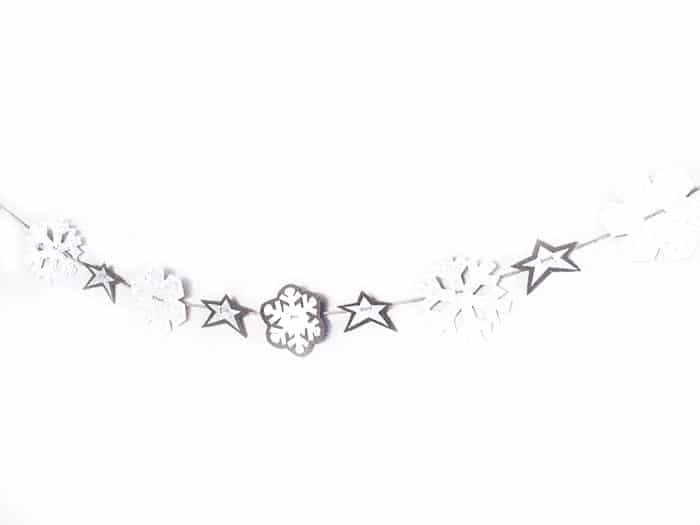
Decorate your home with your new festive Garland! ❄️
Where is the best place to put garland?
I love using garland on my banister and mantle. Garland can also look beautiful in these other locations:
- Office bulletin board
- Around your windows
- On bookshelves
- Above doorways
Wedding and Birthday Garland
The best thing about my DIY garland is that you can use it for so many things It isn’t just a Christmas garland. Here are some ways you can use this DIY garland for birthdays and weddings.
- Use different shapes – if you are decorating for a spring birthday, use flowers and butterflies.
- Wedding – use the wedding colors and string the garland along the aisles
- Monogram – glue the monogram to the center of the different shapes on the garland for an extra personal touch.
- String with Fairy Lights – for a whimsical look, use fairy lights instead of string on the garland.
This is a fantastic basic tutorial that can be changed up for any occasion. Just find other shapes and use different colors of felt and foam.
Pin to Save for Later
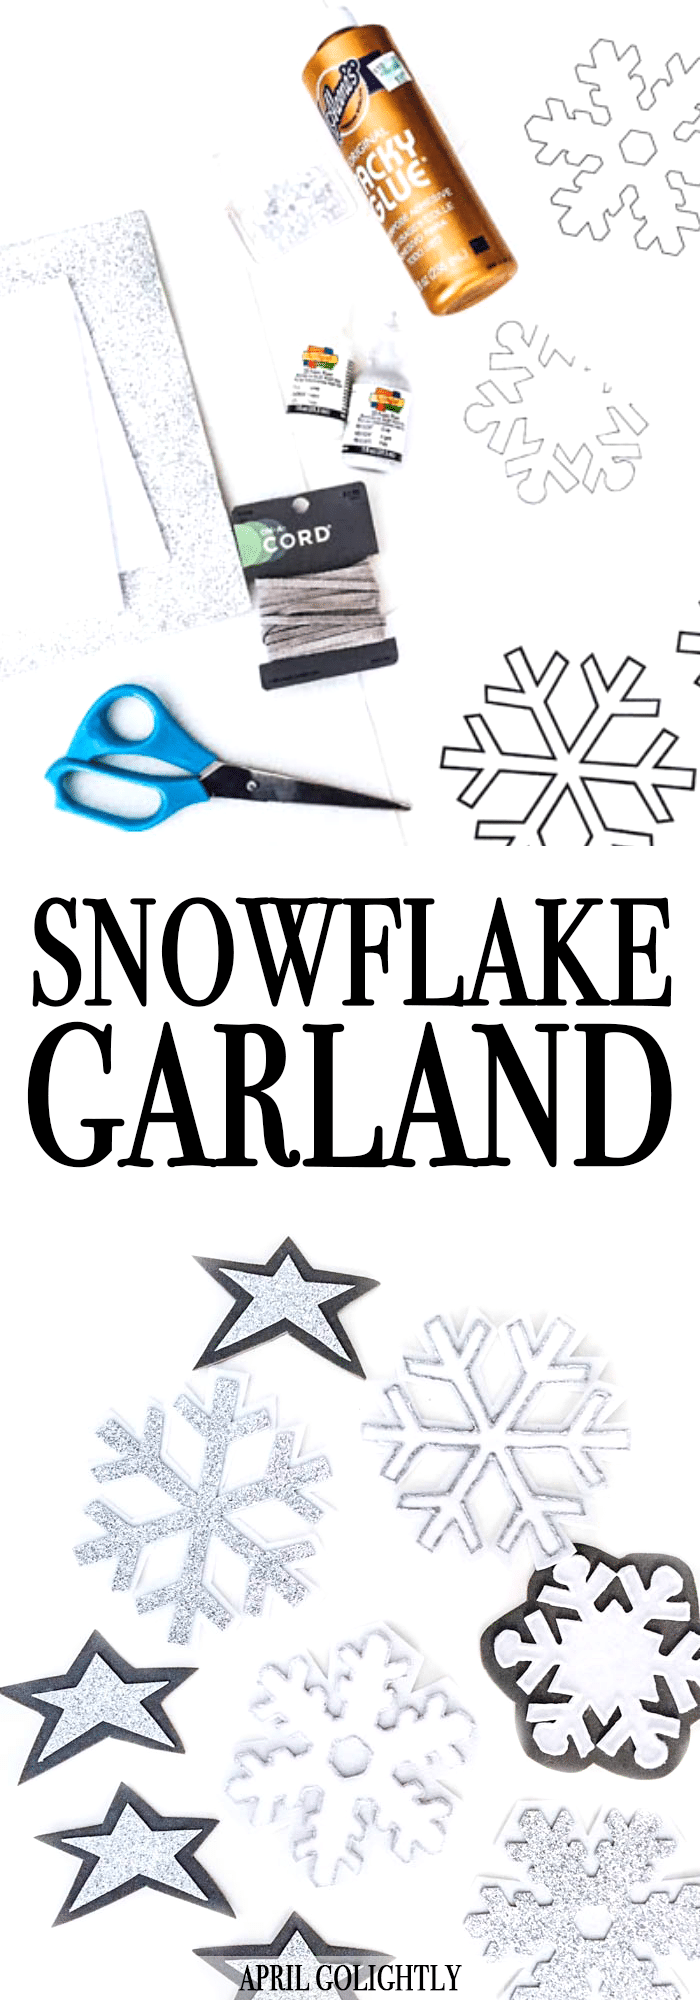
This is such an easy DIY home decor idea. Pin it so you can make it again.
//z-na.amazon-adsystem.com/widgets/onejs?MarketPlace=US
More Easy Craft Ideas
If you enjoy my DIY garland tutorial, you will love these craft ideas too.
- How to Make Fabric Letters & Teach a Child to Read – Kids learn by experiencing the world around them. Teach early reading with these easy fabric letters.
- DIY Ribbon Game Day Shirt – Game day is such a fun time with friends and family. Pump up the team spirit with this game day shirt.
- DIY Valentine’s Day Decorations – Decorate for Valentine’s Day with these fun and easy DIY ideas.
3 thoughts on “DIY Garland for Christmas”