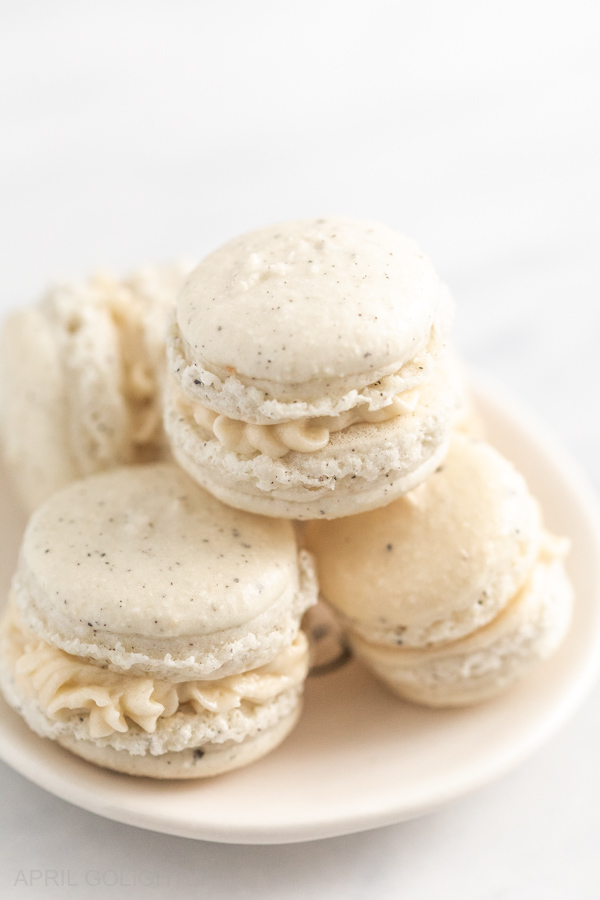
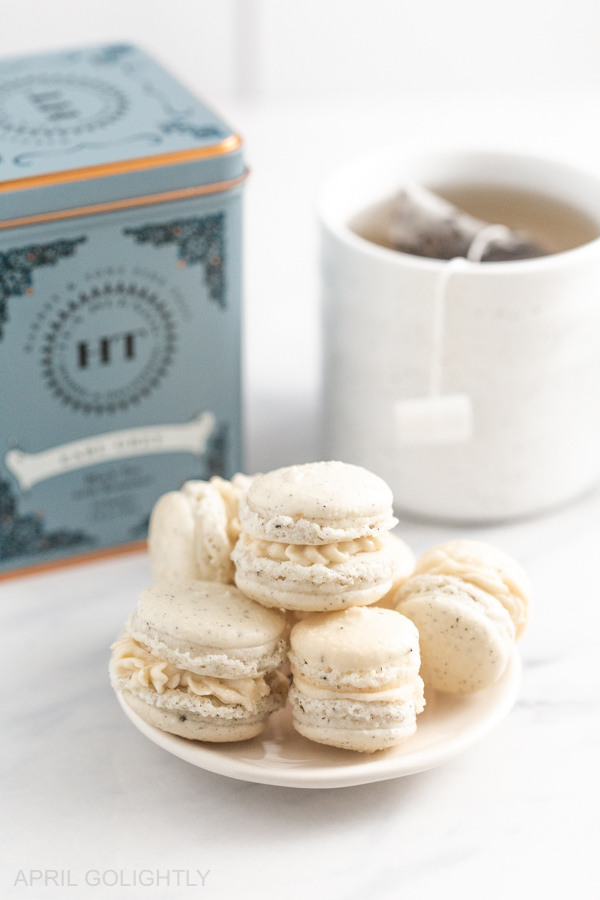
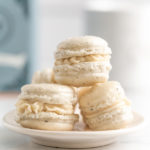
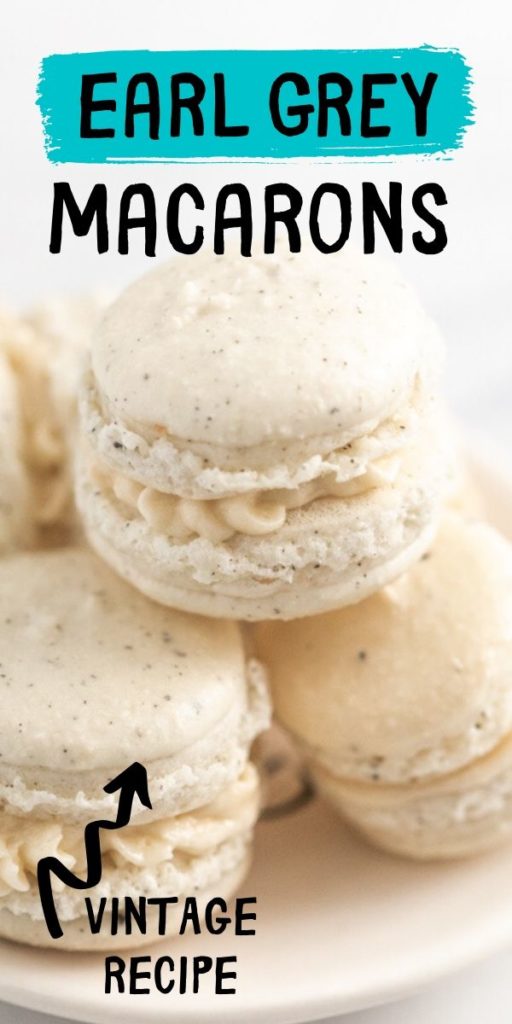
Do you love Earl Grey tea? These earl grey macarons bring the flavor of this popular tea to life inside our favorite french dessert.
Earl Grey Macarons is the perfect combination of French and English culture. The flavors met under the English Channel inside the Chunnel (aka the Channel Tunnel). I
I remember riding the Chunnel as a college student and thought it would be fun to imagine these macarons being invented under the channel. Of course, that did not happen because I only ate macarons then. I could not even fathom a day when they would be made in my home.
If you feel like baking macarons are outside the realm of possibilites, read through the instructions below. I think if you follow the directions, you can do it.
We love making macarons! Here are some of our favorite macaron recipes.
- These are basically fancy oreo – Cookies and Cream Macarons
- Do you love salted caramel? Try these Salted Caramel Macarons!
- Are your strawberries about to go bad? Make these Fresh Strawberry Macarons.
- This was our first macaron recipe – make the classic Vanilla Macarons!
- Ready for summer fun? Try these Lemon Macaron Recipe.
You can also make a low carb sugar free version here.
Earl Grey Macaron Recipe
It takes time to master making macarons, but with these instructions you can do it. believe in you and that you with practice following the instructions, you can make the perfect macaron.
Ingredients
- Powdered sugar
- Almond flour or almond meal
- Salt
- Egg Whites
- Granulated sugar
- Vanilla extract
These early flavored macarons get their flavor from the filing and not the macaron batter.
Earl Grey Macaron Filling Ingredients
You can make earl grey macaron filling with a mixture of earl grey tea.
Here is a simple buttercream recipe you can add earl grey to infuse the flavor into the recipe. The flavor of the macaron is mostly defined by its filling.
- Unsalted Butter
- Cream Cheese
- Powdered Sugar
- Vanilla Extract
Tools & Supplies
- Stand Mixer
- Baking Sheet
- Parchment Paper or Silicone Mat (see notes)
How to Make Earl Grey Macaron Shells?
Line a few trays with parchment paper. Use a round object like back of large piping tip (about 1 inch in diameter), draw circle on your parchment paper with about a half and inch space in between.
You will need at least two baking sheets and parchment paper. You might need more, depending on the size of your trays.
If you are using a silicone mat, you will need to increase the baking time to 18 to 20 minutes. Take out at 18 and if you need to, you can add back in for another 2 minutes.
Start by placing the almond flour, powdered sugar, two tea bags worth of early gray tear, and a half teaspoon of salt into a food processor. *
NOTE : * Although your almond flour might say that it is “finely ground” it still needs further processing.
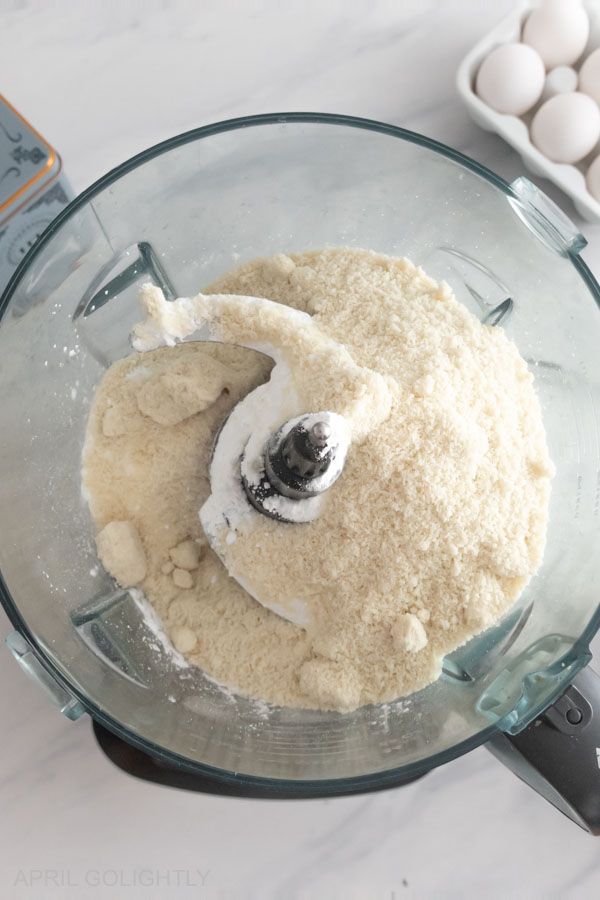
This helps avoid lumpy macarons. Pulse a couple dozen times and you should be able to tell that the mixture is more powdered than it was.
Using a sifter, tip the contents of the food processor out and gradually sift the dry ingredient mixture into a bowl. Some of the tea leaves might need more processing in order to get to a finely ground state.
This step is very important and also helps with getting a smooth top on the macaron. Once you are done, set the dry ingredients aside.
Carefully crack three eggs into a bowl without puncturing the yolk. Using clean hands, scoop out the yolk one by one and hold it above the bowl so that all of the egg white slides off. Repeat this with the two remaining yolk.
Add a half teaspoon of salt to the egg whites and begin to whip. Cream of tartar is also traditionally used as a stabilizer.
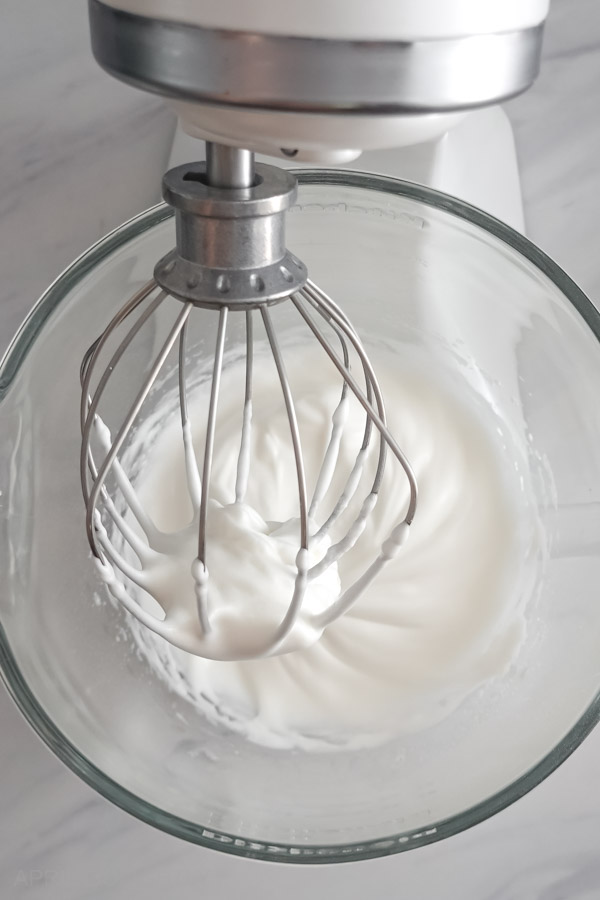
Using a whisk attachment on a stand mixer, whip the egg whites until they get fluffy and granulated sugar and vanilla extract along with dd 1 to 2 drops of the yellow food coloring.
Get the color you want before the stiff peaks form. Do not add color after the eggs meringue becomes stiff.
Continue to whip them until you get stiff peaks. **
NOTE: ** Sometimes you will get peaks that appear stiff, but if they tip over at all, they are not stiff enough. Properly whipped, the egg whites, now a meringue, will not come out of a bowl even if you tip it upside down.
Grab a spatula and begin adding the dry mixture to the meringue a quarter at a time.
When adding it, make sure to fold the merginue and dry mix together by scooping from the bottom of the bowl upwards and folding it over.
Continue this until all is incorporated and keep folding.
You will know it is ready by doing the figure 8 test.
This means you can dip the spatula and pick it up and to a complete, continuous figure as the batter drips off.
Use a little dot of the batter on the underside of the four corners of parchment paper. This helps keep the paper in place while you are piping.
Fill a piping bag with a half inch tip and begin piping small circles of batter onto the parchment paper. ***
NOTE: *** Keep the bag straight up and fill about 2/3 of the circle so that when you knock the air out in the next step.
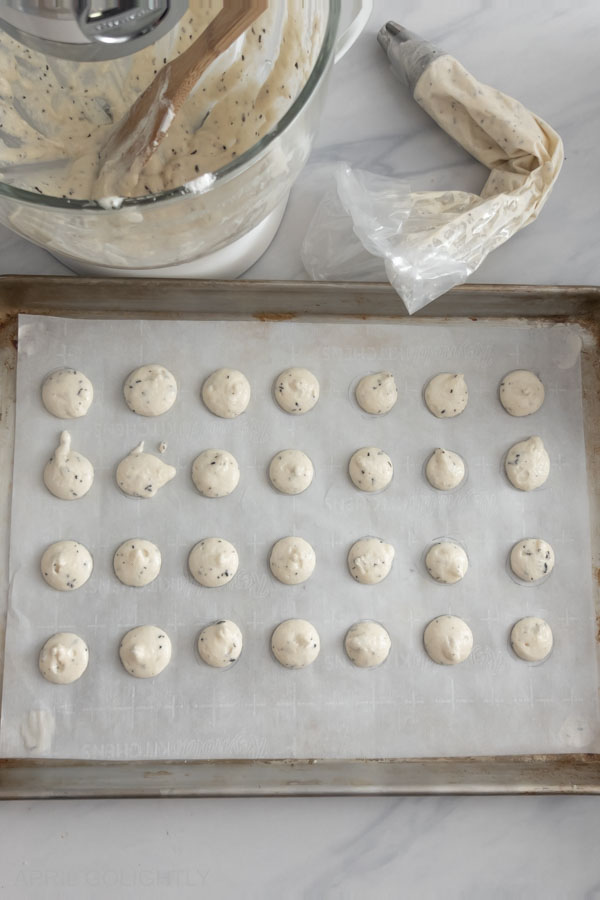
Pick up each tray and drop them onto the counter to knock any loose air out from under the macarons. ****
NOTE: **** You can do this a few time to get the air bubbles out. If you see an air bubble pop up, you can pop it with a tooth pick at this stage only. Don’t do it after the film has formed.
When all the batter has been piped, let it sit on the counter for at least 30 minutes.
This is an important step! It causes a film to form over top of the macaron, and will help it retain its shape while it is baking and help make macaron feet.
If you don’t do this, the result might not look as close to what you envision when you picture a macaron.
While waiting, preheat the over to 300 degrees.
Place the first tray in and bake for 15-18 minutes for parchment paper and DO NOT be tempted to open the over door while it is baking, because this can result in an uneven bake.
Take the macarons out.
If they are not perfectly dried out, then you can pop them back into the over for a few more minutes.
You will be able to tell when they are ready because they will come off the parchment without sticking at all.
Let them cool completely before adding any filling.
Once you finish one tray, set it aside, and start on the next.
Earl Grey Buttercream Filling
To make the Earl Gray butter cream filling first take a stick of butter and place it into a sauce pan.
When the butter is melted down a bit, drop in 8 tablespoons worth of Earl Grey tea.
Let the tea and butter simmer for five minutes, then remove from heat and let it steep for another five minutes.
Using a fine mesh strainer, strain the butter-tea into your mixing bowl. Use a spoon to push down on the tea leaves to make sure all the butter gets out.
Make sure the tea-butter is sufficiently cooled before adding a second stick of butter. Then using the paddle attachment cream and mix the butter together.
Slowly add two cups of confectioners sugar and then add 1 tea spoon of vanilla extract. Once they are incorporated at 2 tablespoons of heavy cream at room temperature.
Continue mixing until the butter cream is fluffy. Place the buttercream into a piping bag and use it to fill the macarons.
Earl Grey Macarons
Ingredients
- 2 Cup powdered sugar
- 1 Cup almond flour
- 1 tsp Salt
- 3 egg whites room temperature
- 1/4 cup granulated sugar
- 1 tsp vanilla extract
Instructions
- Line a few trays with parchment paper. Use a round object like back of large piping tip (about 1 inch in diameter), draw circle on your parchment paper with about a half and inch space in between.
- You will need at least two baking sheets and parchment paper. You might need more , depending on the size of your trays.
- If you are using a silicone mat, you will need to increase the baking time to 18 to 20 minutes. Take out at 18 and if you need to, you can add back in for another 2 minutes.
- Start by placing the almond flour, powdered sugar, and a half teaspoon of salt into a food processor. *
- NOTE : * Although your almond flour might say that it is “finely ground” it still needs further processing.
- This helps avoid lumpy macarons. Pulse a couple dozen times and you should be able to tell that the mixture is more powdered than it was.
- Using a sifter, tip the contents of the food processor out and gradually sift the dry ingredient mixture into a bowl.
- This step is very important and also helps with getting a smooth top on the macaron. Once you are done, set the dry ingredients aside.
- Carefully crack three eggs into a bowl without puncturing the yolk. Using clean hands, scoop out the yolk one by one and hold it above the bowl so that all of the egg white slides off. Repeat this with the two remaining yolk.
- Add a half teaspoon of salt to the egg whites and begin to whip. Cream of tartar is also traditionally used as a stabilizer.
- Using a whisk attachment on a stand mixer, whip the egg whites until they get fluffy and granulated sugar and vanilla extract along with dd 1 to 2 drops of the yellow food coloring.
- Get the color you want before the stiff peaks form. Do not add color after the eggs meringue becomes stiff.
- Continue to whip them until you get stiff peaks. **
- NOTE: ** Sometimes you will get peaks that appear stiff, but if they tip over at all, they are not stiff enough. Properly whipped, the egg whites, now a meringue, will not come out of a bowl even if you tip it upside down.
- Grab a spatula and begin adding the dry mixture to the meringue a quarter at a time.
- When adding it, make sure to fold the merginue and dry mix together by scooping from the bottom of the bowl upwards and folding it over.
- Continue this until all is incorporated and keep folding.
- You will know it is ready by doing the figure 8 test.
- This means you can dip the spatula and pick it up and to a complete, continuous figure as the batter drips off.
- Use a little dot of the batter on the underside of the four corners of parchment paper. This helps keep the paper in place while you are piping.
- Fill a piping bag with a half inch tip and begin piping small circles of batter onto the parchment paper. ***
- NOTE: *** Keep the bag straight up and fill about 2/3 of the circle so that when you knock the air out in the next step.
- Pick up each tray and drop them onto the counter to knock any loose air out from under the macarons. ****
- NOTE: **** You can do this a few time to get the air bubbles out. If you see an air bubble pop up, you can pop it with a tooth pick at this stage only. Don’t do it after the film has formed.
- When all the batter has been piped, let it sit on the counter for at least 30 minutes.
- This is an important step! It causes a film to form over top of the macaron, and will help it retain its shape while it is baking and help make macaron feet.
- If you don’t do this, the result might not look as close to what you envision when you picture a macaron.
- While waiting, preheat the over to 300 degrees.
- Place the first tray in and bake for 15-18 minutes for parchment paper and DO NOT be tempted to open the over door while it is baking, because this can result in an uneven bake.
- Take the macarons out.
- If they are not perfectly dried out, then you can pop them back into the over for a few more minutes.
- You will be able to tell when they are ready because they will come off the parchment without sticking at all.
- Let them cool completely before adding any filling.
- Once you finish one tray, set it aside, and start on the next.
Brunch Recipes for #BrunchWeek
Beverages Recipes
- Bourbon Peach Sweet Tea by Love & Confections
Bread, Grains, and Cereal Recipes
- Vegan Breakfast Toast Three Ways by Happily Curated Chaos
Egg Recipes
- Sausage Egg and Cheese Grits by A Kitchen Hoor’s Adventures
Pin for Later
Earl grey tea is such an iconic flavor. I bet these taste awesome.
Shouldn’t there actually be earl grey in the recipe at some point? The recipe currently on this page doesn’t mention earl gray anywhere at all. Unless it’s in the filling somewhere in the filling recipe isn’t there either.
I have the same questions
The earl grey is in the icing and in the paragraph before it says “continue to content”. Tried the recipe and was not a fan of the flavor