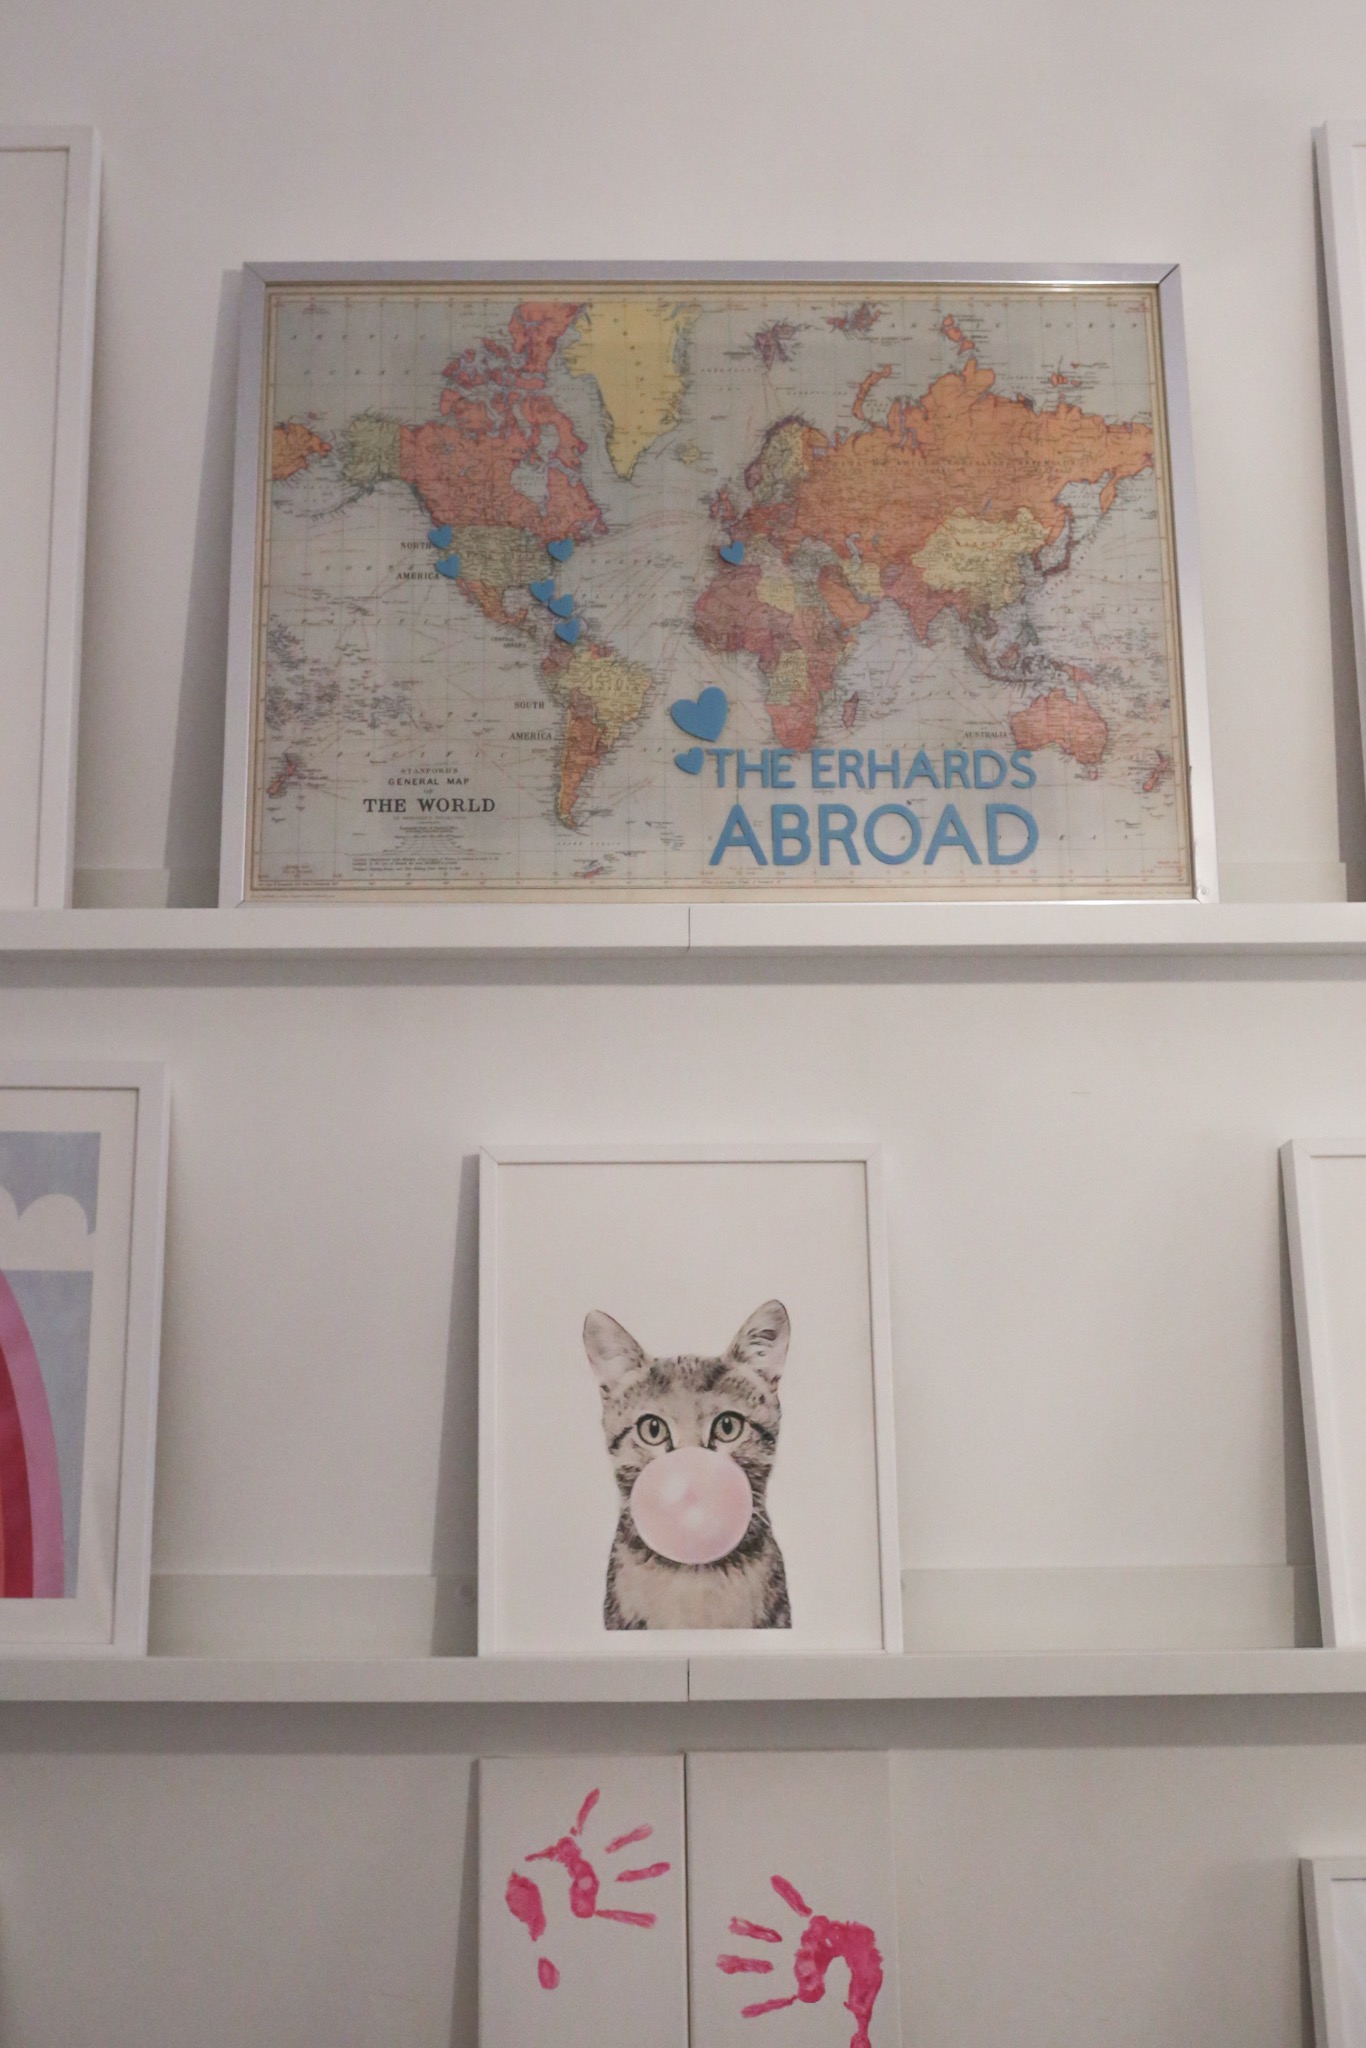
This Family Travel map is an awesome gift idea that you can make with your Cricut. It is a great choice for families that love to travel.
I’ve had this map framed in my halfway for years and have been meaning to make a family travel map using my Cricut.
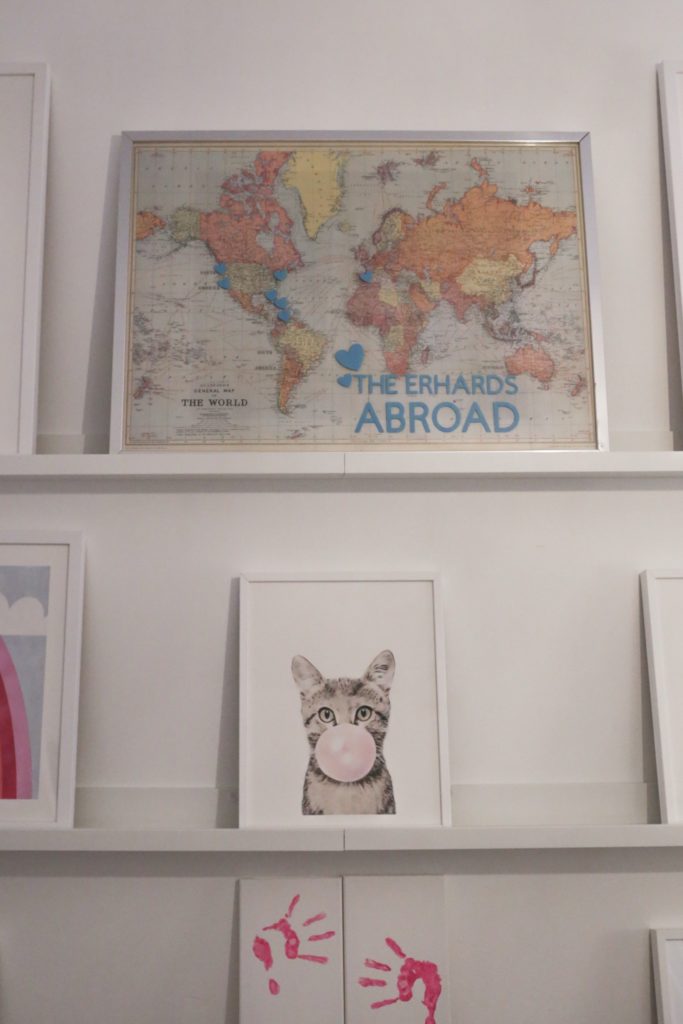
Family Travel Map
Tools & Supplies
- Cricut Maker (get the mint one here)
- Standard Grip Mat (get it here)
- Portable Trimmer
- Cricut Sparkle Holographic Vinyl
- Weeding Tools
- Framed World Map
How to Make a Family Travel Map?
Write the family name with travels like The Erhard Travels.
Measure the space on the picture where you want to add the name. Size the file down or up based on the specifications.
Look to see what size vinyl piece you will need and cut the vinyl down.
Next, lay the vinyl on a green standard mat and feed the mat into the sheet.
Load the fine point blade
Then, load the standard sheet with the vinyl on it into the Cricut machine using the arrow.
Hit make on the computer or app.
Choose the proper vinyl setting from the list. Here we used Cricut Vinyl. Don’t mirror the image for vinyl.
Next, press the C on the Cricut Machine to start the make.
Once the machine is done cutting, hit the arrows to release the mat.
Weed the vinyl that you don’t need for the design.
Cut the transfer tape to match the size of the design.
Remove the transfer tape and set it on top of the vinyl design.
Use the scraper on both sides to make the design transfer to transfer tape.
Pull off the white paper slowly to make sure the design transfers to the transfer tape.
Cut a few little slits into the transfer paper along the edges to help it lay flat on the ornament.
Place the vinyl design on the ornament.
Use the scraper to smooth down the vinyl.
Peel back the transfer tape.
Use the scraper to smooth down the design.
More Cricut Vinyl Project
(Coming soon)
I appreciate the information on the family travel map. It’s helpful to have a resource that outlines places to visit together. I’ve found that planning trips as a family really strengthens our bond. Looking forward to exploring some of these suggestions.