My husband is the best dad ever. He is constant going above and beyond for the family and supporting me in making my dream of make April Golightly a huge success areality. He recently took a few days off work so that I could go to L.A. for the blog.
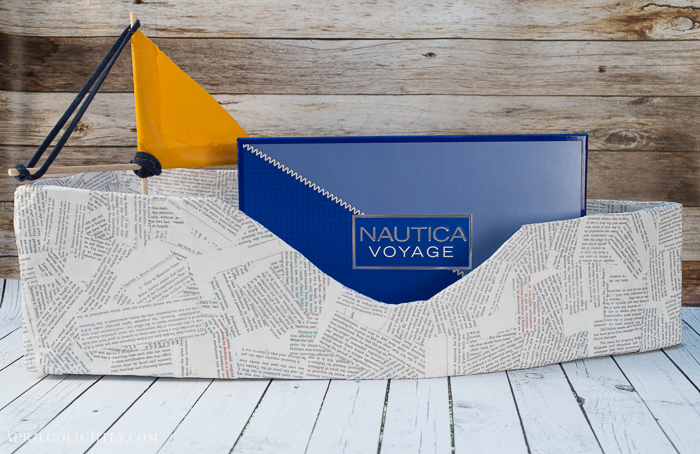
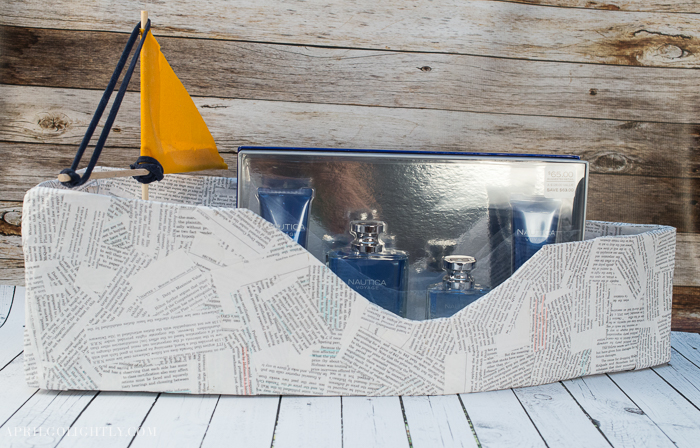
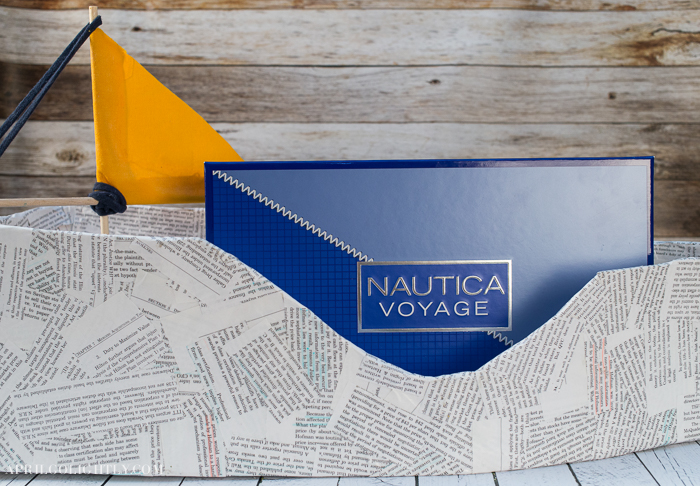
I thought that I could buy something cool for him and then make something with my daughter to make the big day extra special. I found this amazing Nautica Voyage Gift Set. Nautica Voyage is fresh, cool and aquatic with top notes of green leaf and crisp apple. An aquatic heart of water lotus and drenched mimosa echoes the very essence of Nautica. A rich blend of damp moss, musk and refined woody amber anchors the fragrance with a deep and undeniable masculinity.
DIY Gift Boat Tools & Supplies
- Masking Tape
- Large Cardboard Box
- Modge Podge or Tacky Glue Mixed with Water
- Roll of Paper Towels
- 12 inches Fabric
- 2 – 12 inch dowels
- Tacky Glue
- Scissors
- String
- Ruler
- Knife
DIY Gift Boat Instructions
1. Get a big box! We grabbed one of the boxes that we receive from Amazon on what seems to be a daily basis.
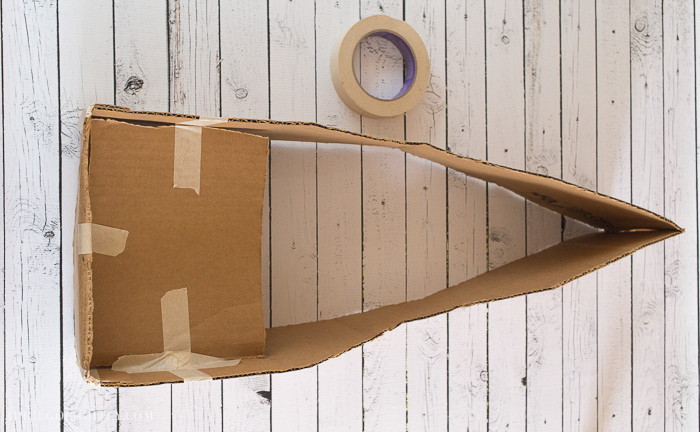
2. Grab a ruler and start measuring out the sides and back. See the diagram that we made for approximate measurements. It’s best to measure out one side first, and then use that as a template for the other side, to ensure that it’s a close match.
3. Side Note: in order to cut through the heavy cardboard I used a serrated knife for larger cuts and scissors for more detailed cuts. If you are doing this project with kids, make sure they use safety scissors and that you help them with the cutting, as it can get very frustrating, very fast. Safety first!
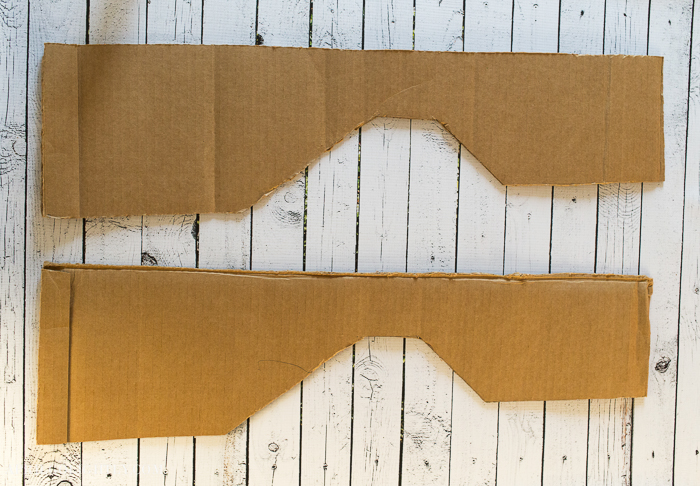
5. Once they are secured place another large section of cardboard underneath and draw out the template for the bottom of the boat. You could measure and cut the bottom out before-hand, but since we’re trying to give it a little bit of curve, doing a measurement without the sides and back might be more trouble than it is worth.
6. Once the bottom is drawn and cut, secure it to the bottom with masking tape.
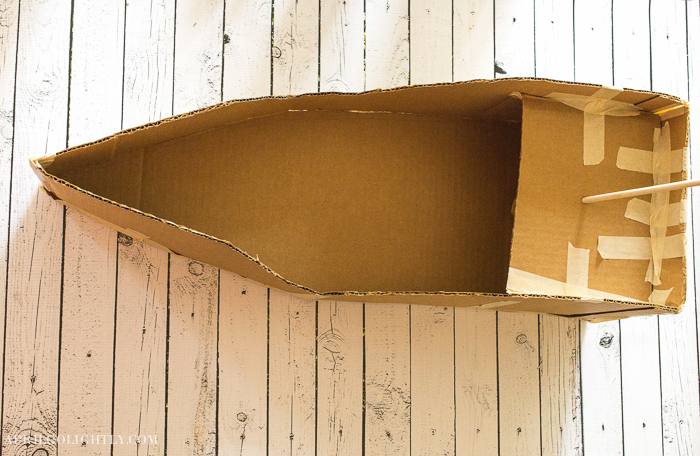
7. Cut out a small square using the deck dimensions below. If you are using different dimensions, however, you just want to make sure it fits snugly between the back of the side walls, and back wall. Then tape it on. Add more tape as needed for a secure ship.
8. Take a pencil and poke a hole through the middle of the deck. Then take a wooden dowel and wrap a strip of cardboard around the base. If you wrap it tightly and then tape it, you should be able to slide the dowel back out without the hole in the center closing.
9. Slide the rolled cardboard under the hole in the deck, and then slide the dowel through the hole in the deck and into the wrapped cardboard base.
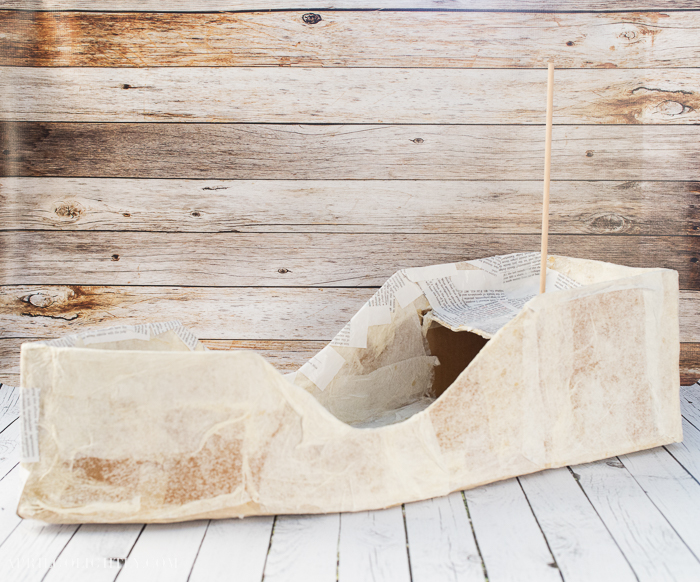
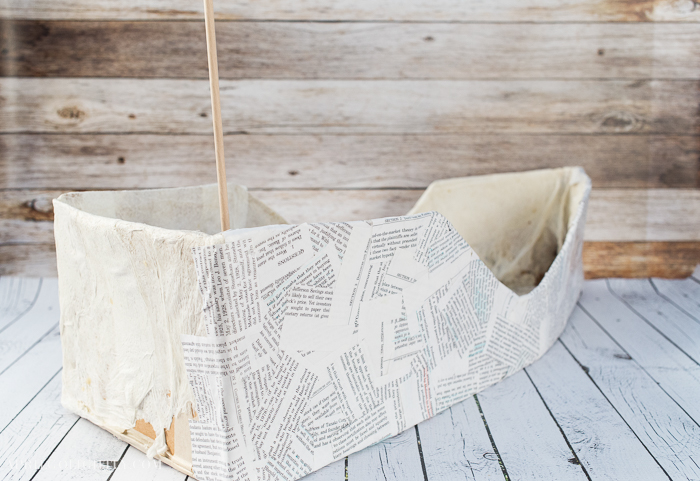
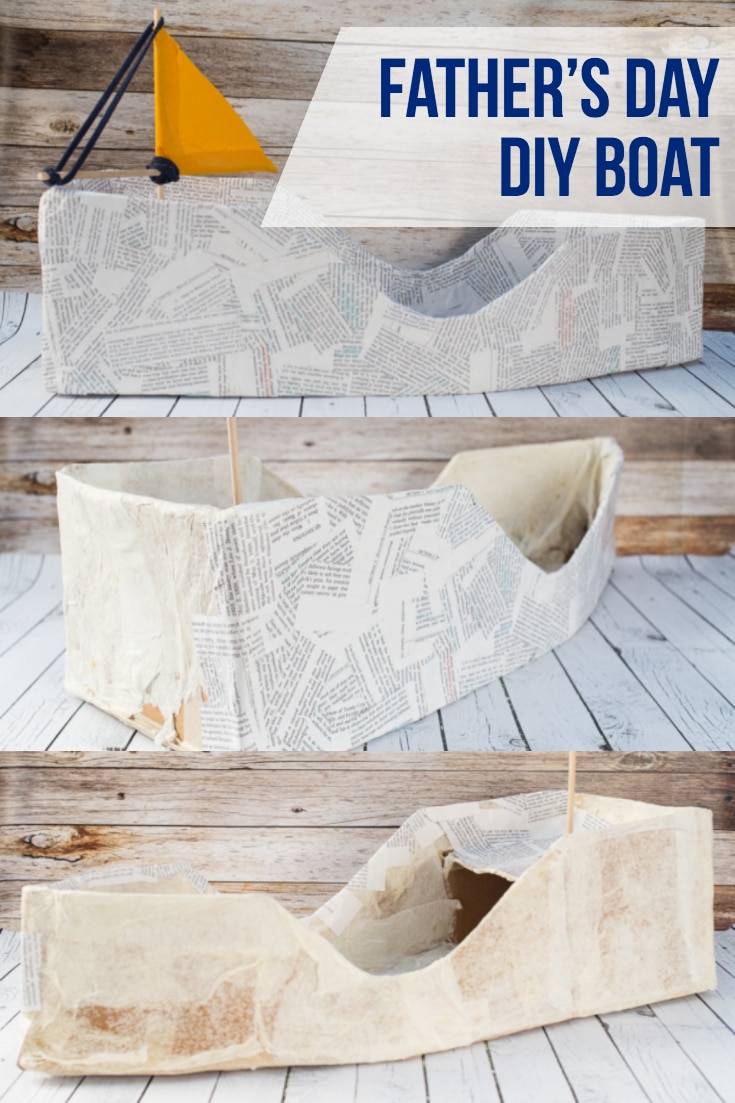
10. You now have the basic shape of the ship! Now use paper-mache to cover the boat. There are several ways you can accomplish this. We boiled a mixture of 1 part flour and 4 parts water and used paper towels to paper-mache the boat.
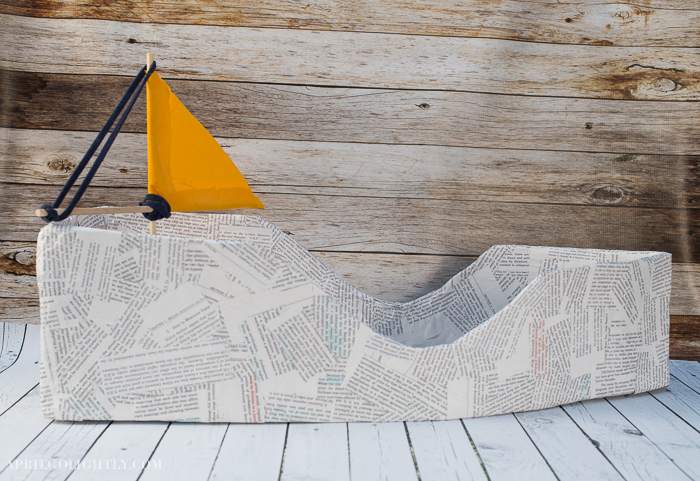
11. Once the boat is paper-mache’d you can paint it or add small pieces of book paper to it with modge podge.
12. Make a cross with 2 equal sized dowels tying them together with string.
13. Use the chopstick mast as a guide to cut out your sail. It will be a triangle. Leave enough of a seam allowance to allow you to make a pocket for the dowels to go through.
14. Add a string to the other side to keep.

This is a cute idea!
What an awesome idea! I hope you guys had an awesome Father’s Day…thanks for sharing! #client
What a creative and fun idea!