One of my favorite DIY home decor ideas is to create my own art. This Lucky Painting is perfect for beginners – even kids and toddlers.
It is starting to feel like spring and I wanted to bring some fun color to my house. This green painting DIY will help bring more color to your home and have fun with your toddler to create it. My daughter and her friend had a blast with this craft project.
Easy Lucky Painting DIY Craft
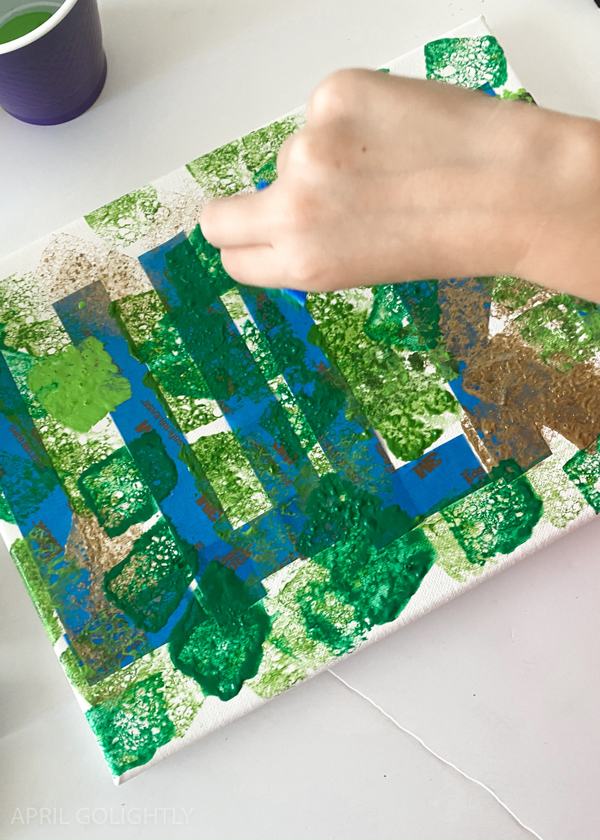
This is a craft that is easy enough for everyone to create – even kids! There isn’t any painting or fine motor skills required. All you do is dip the sponge into the different shades of green.
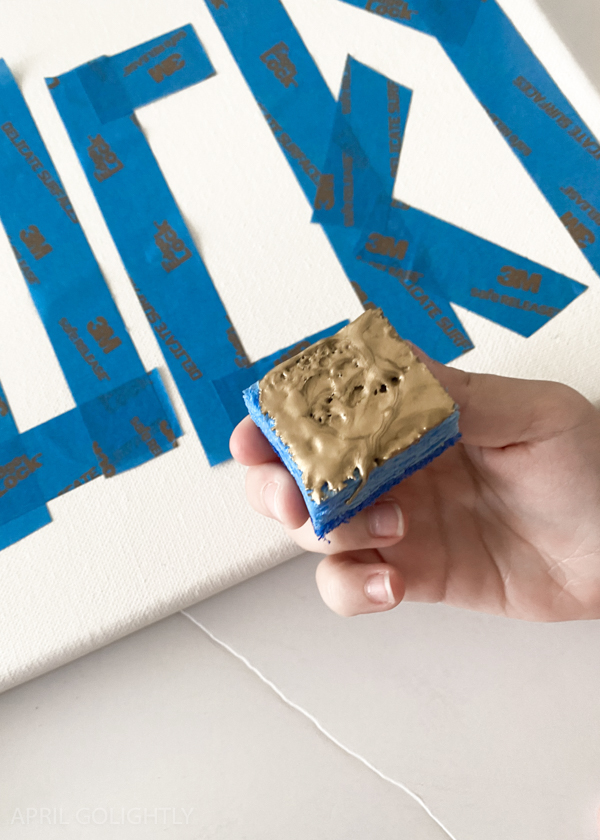
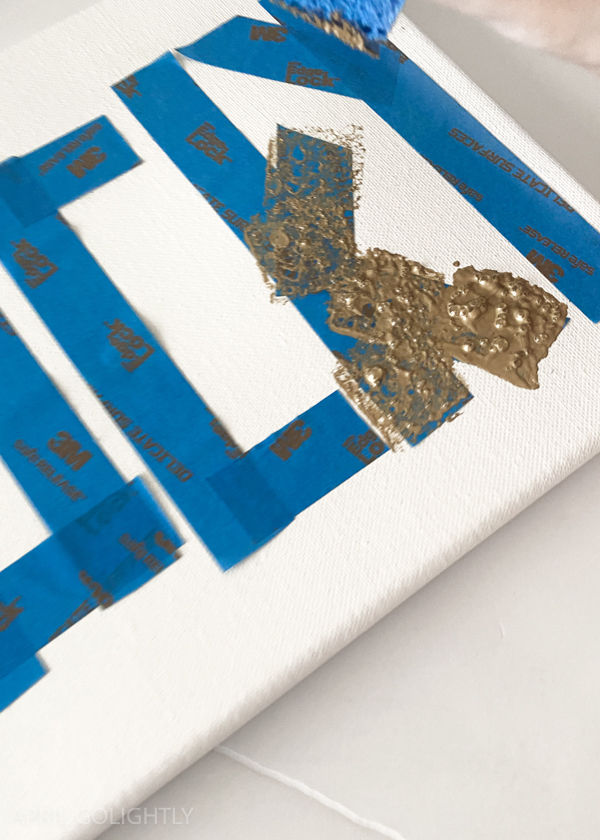
I also love how easy it is to custom with different colors that match your decor. I have gold accents in my living room and I added gold to the picture to help you match the surroundings.
Lucky Canvas Painting
Are you looking for some lucky canvas art that you can hang up around the house? Well, this one is perfect! This is so easy, even your toddlers can join in the fun. I’ll give you everything you need to know, including supply list and step by step instructions.
Canvas Painting Tools & Supplies
Before you get started, here are the supplies you’ll need to make your own art.
- Various Colors of Acrylic Green Paint
- Round Foam Paintbrushes or a sponge cut up into squares
- Canvas
- Paint Tape
- Scissors
Lucky Canvas Painting Instructions
Ready to get started? Here are the step-by-step instructions. Making your own canvas painting is going to be a cinch. Our says “Lucky” but you can have it say anything you want.
First, line the workspace with something so that it does not get on the table. We use butcher paper. You need to keep your space clean.
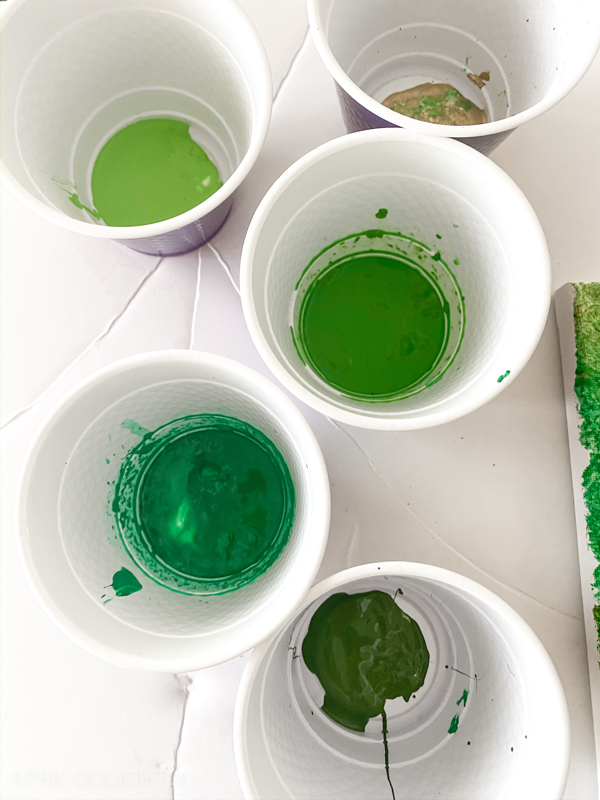
Start with a blank canvas and a palette of green colors and maybe a metallic like gold.
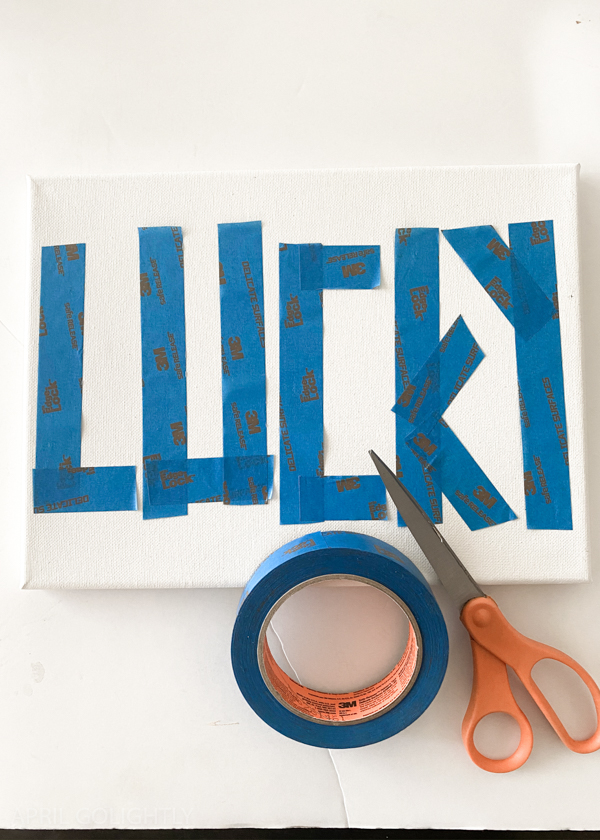
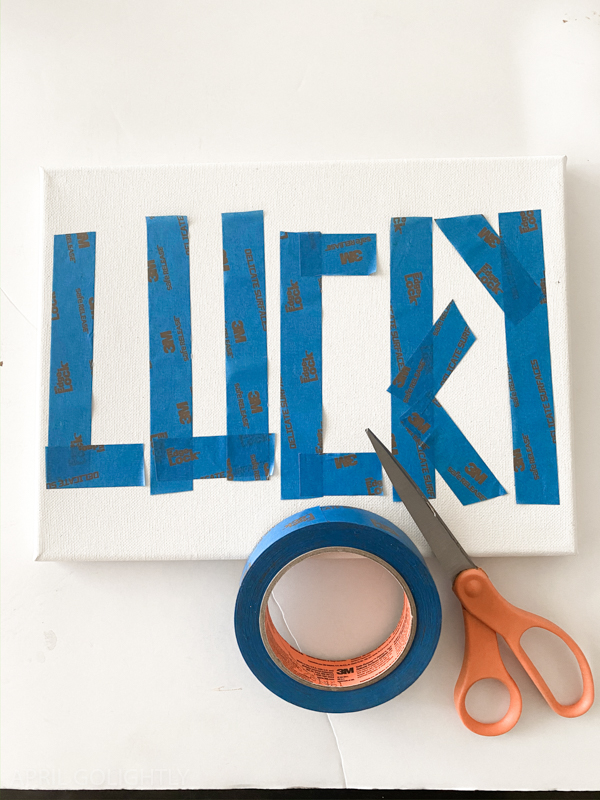
Tape off words using the painters tape and scissors to create straight pieces. You can do things like ‘Lucky’ or ‘Luck of the Irish’.
I added each color of green to a disposable cup. You can use craft cups or clear jars that you use for crafts. I have a few that I set aside for crafting only.
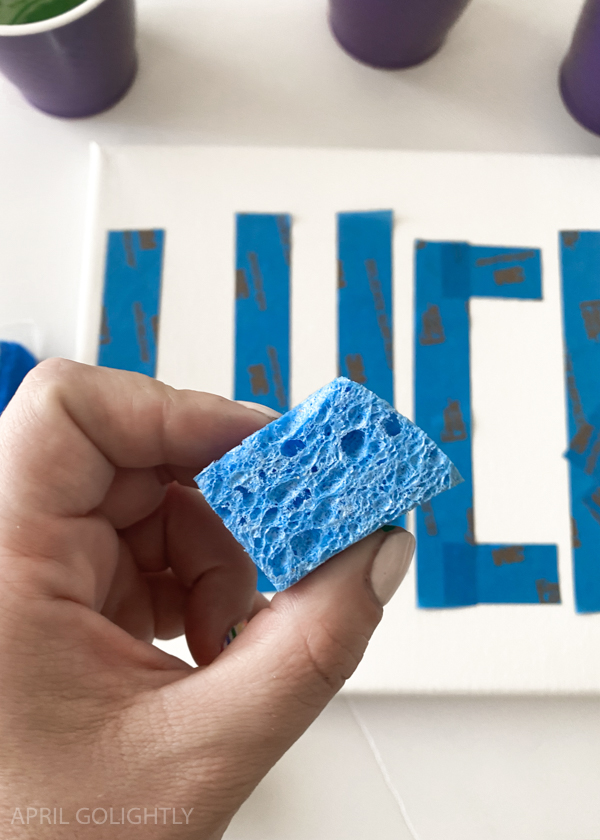
If you do not have round foam brushes, you can a sponge into 6 squares.
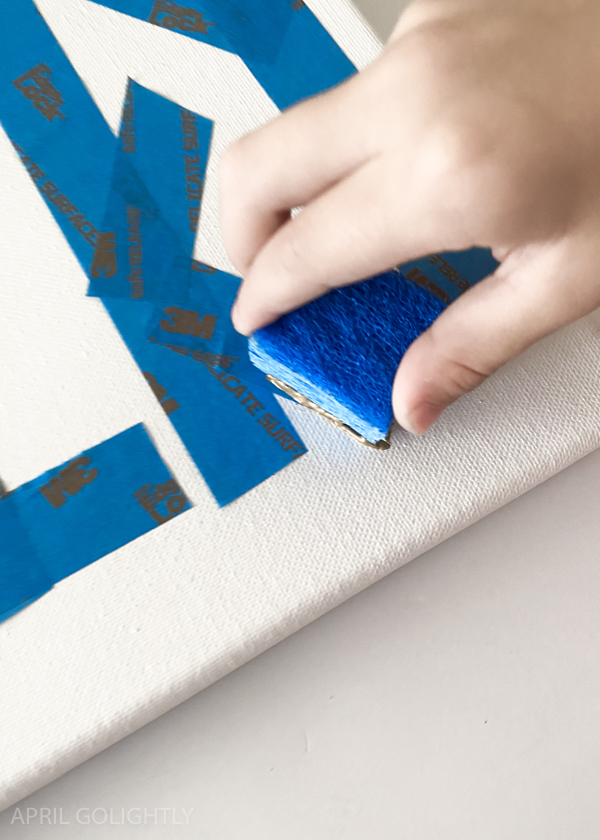
Use the round foam brushes or cut up sponge pieces to make round dabs in different colors all over the canvas.
We used different sizes of foam paintbrushes to create an oversized pointillist painting.
Make sure to outline the letters in full so that when you pull off the tape, you can make out the letters.
Let the painting dry completely and pull off the tape.
More Ideas For the Canvas
You can be really creative with this too! Feel free to make it say other words. I love ‘Lucky’ because it is so simple. Here are some ways to make it more your own. If you make a lucky canvas painting, share it with me on Instagram (@AprilGoLightly) so I can see it!
- Cut the tape into thinner strips for longer words
- Create hearts and star-shaped stencils out of paper
- Paint the entire canvas light green or gold and let it dry first. Then, put your painter’s tape on top – this will create a much more dramatic look.
Happy St. Patrick’s Day Canvas Art For Kids
This is such a fun and versatile craft! Here is my daughter showing off her art. You can just see how extremely proud she is of her art! The entire process isn’t very messy – which is another bonus.
Lucky Canvas Painting Gift Ideas
What are some ways to use this DIY canvas art idea? Here are my favorites.
- Lucky Painting Party
- Either make it part of a birthday party or even just have friends over just for fun. Everyone can make their own canvas art and have something fun to take home and display.
- Gift Idea
- If you know someone that just LOVES art, this is a perfect gift! You can also use their favorite colors or the colors they are using in their room. It also makes a wonderful baby shower gift if you know the color scheme of the nursery.
- Housewarming Gift
- Do you know someone that is moving to a new place this springl? Give them something new to hang on their wall. They will think of you every time they see it.
- Educational
- If you are making this with a toddler, take the chance to teach colors. You can also teach shapes by using differently shaped sponges. Plus, holding onto the sponge brushes teaches hand-eye coordination and motor skills.
Pin to Save it for Later
There you go! Don’t forget to pin this idea for later so you have it for years to come.
More Fun Crafts
Looking for more crafts? Here are some of my favorites.
