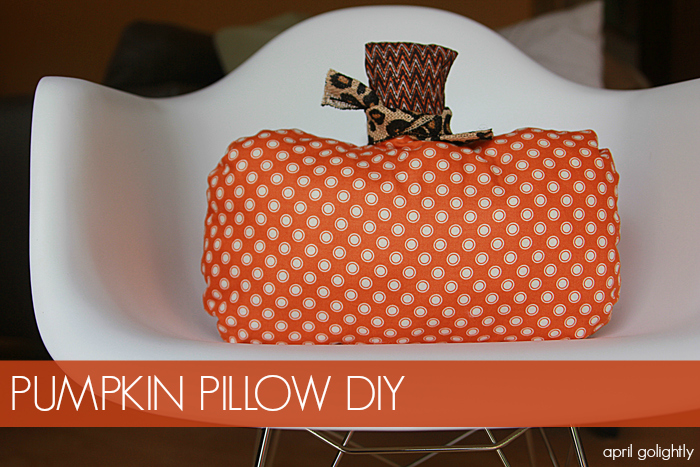
Halloween is by far my favorite holiday. I love dressing up and pretending to be someone else for a day. Now that I have my own house, I am going to decorate for the Halloween inside and out. I am super excited for the trick-or-treaters that definitely come through our neighborhood. Stay tuned for some outdoor Halloween decorations! For now, try this awesome pumpkin pillow DIY!!!
How to Make A Pumpkin Pillow
This pumpkin pillow tutorial is super easy to follow. In fact, it is perfect for beginner sewers. So if you have ever wanted to try and make your own DIY home decor, this is the perfect place to start!
This pumpkin pillow makes a wonderful housewarming gift. Since you made it yourself, it has so much more meaning and thought. It’s also great for your own home decor. Even if you don’t normally decorate for fall, a little orange accent brightens up the space so much.
Here is how to make your very own pumpkin pillow.
Supplies & Tools
- 1 large fabric 1/2 yard in an orange pattern
- 1 fabric square in a different complementary fabric, I used an orange and brown chevron pattern
- orange thread
- sewing machine
- sewing needle
- scissors
- ruler
- leopard pattern ribbon
- pillow stuffing
- large sheet of paper (used a piece from a large sketchbook)
How to Make Your Own Pumpkin Pillow Pattern
I made my own pattern out of paper from a sketchbook. You don’t even need to print anything online or follow a difficult to read a pattern. Nope! Just take a large piece of paper and sketch your own pattern. It just needs to be a rounded rectangle. The best thing about this pillow is that it is so forgiving. Your pattern or even your cutting doesn’t have to be perfect.
To make your own pattern, cut a paper roughly this size:
Draw a rectangle 17″ x 10 1/4″, then draw a rectangle inside that first one that is 12″ x 10 1/4, giving 2 1/2″ on each side to make the edges rounded. Don’t worry about making them match at this point.
After cutting the pattern out, fold it in fours and shave off the unmatched parts so that the pillow will be symmetrical.
Instructions
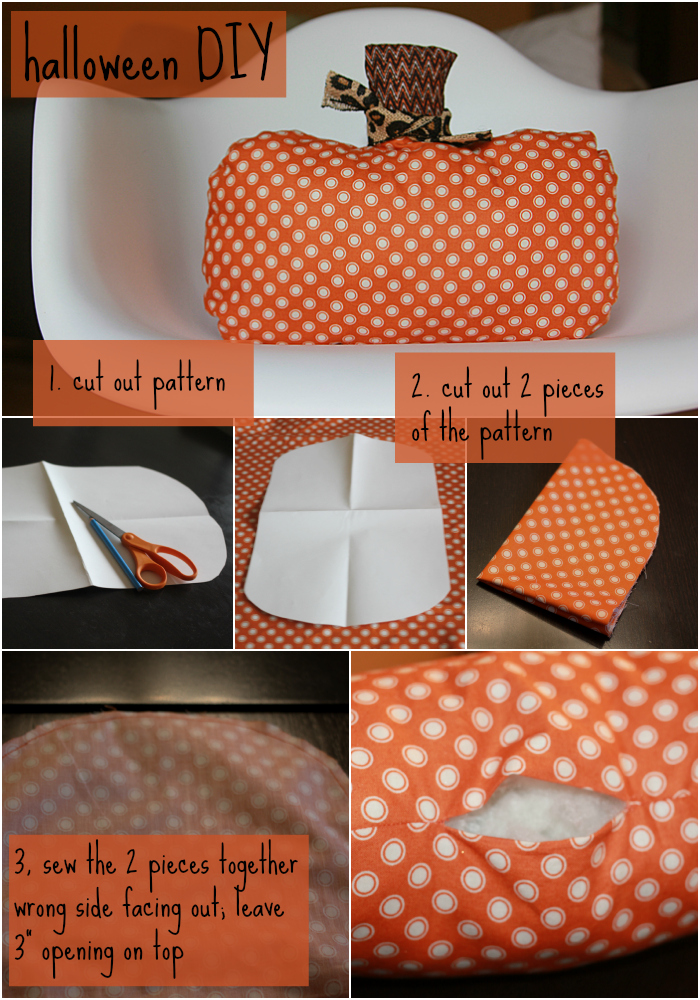
- Cut Out Pattern. I used a large sketchbook to draw freehand a rectangle with rounded sides. I first drew a rectangle 17″ x 10 1/4″, then I drew a rectangle inside that first one that is 12″ x 10 1/4, giving 2 1/2″ on each side to make the edge round. Don’t worry about making them match at this point. After cutting the pattern out, fold it in fours and trim off the unmatched parts so that the pillow will be symmetrical.
- Use the pattern to cut out 2 pieces of the first orange fabric. Once the pieces are cut out, face the right side outward. Fold the pattern in half twice and shave off the unmatched parts again.
- Using a sewing machine, sew the 2 pieces together wrong side facing out, leave 3″ opening on the top middle of the pillow.
- Using a ruler, measure 2 pieces of 4″ x 4″ fabrics from the fabric square in complementary fabric/chevron.
- Using a sewing machine, sew the complimentary fabric together wrong side facing out on 3 sides going in 1/2 inch on each side.
- Flip both pieces right side out. Using a sewing machine, sew the complementary /chevron piece to one side of the the hole in the orange fabric with pattern sides facing each other.
- Stuff both pieces of fabric with pillow stuffing.
- Use a needle and tread to sew the pillow closed.
Note
This pillow makes an awesome lumbar pillow! If you take the top off, you can make a very cool pillow that you can use all year!
How to Decorate With A Pumpkin Pillow
After you make your own DIY Pumpkin pillow, you will be super excited about where to show it off. Here are some of my favorite ways to decorate for fall with it.
Wherever you choose to display it, use teal accents to really make the orange colors pop.
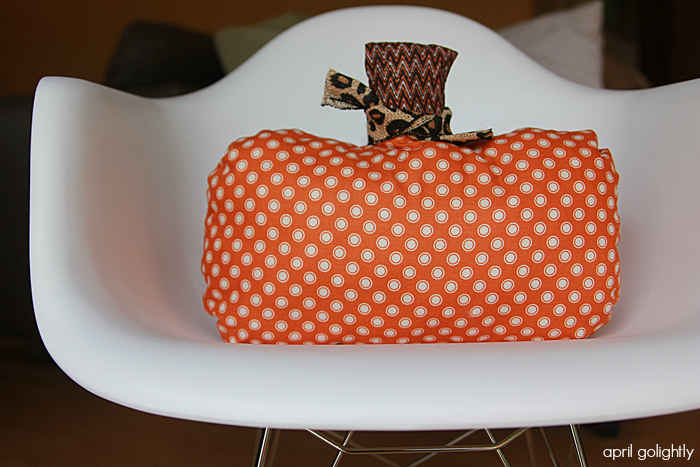
On A Chair
These look so cute on chairs. Make 2 or 3 of them an use them on your couches and chairs throughout your living room.
On Your Desk
You can even make it a little smaller and bring some fall happiness to your desk. If you spray them with a little bit of air freshener, they will fill your room with fall scents too.
On A Bookshelf
If you put a bag of sand inside the bottom of the pillow they can be used as bookends. They really spice up a bookshelf decor.
Let me know if you have any question about this Pumpkin Pillow DIY!
Happy Crafting and Happy Halloween!
More DIY Craft Tutorials
Now that you made a fantastic pumpkin pillow, here are more DIY ideas that will keep your creative juices flowing.
- DIY Bath Bombs – these are perfect year-round but also make fantastic gifts
- DIY Face Masks – Enjoy the luxury of face masks at home
- Easy Fall Canvas Tutorial – Make your own DIY home decor with this fall-themed painting.
Very cute Halloween craft!
That is a super cute Halloween pillow!
That is crazy cute! I really want to try this out. I would be a great housewarming gift for this time of year!
Love! This is so cute, if only I could sew!
Cute
Super Cute and You are Super talented!!!
This is so cute! THanks for sharing!
what a cute fall pillow!
how adorable and looks relatively easy.
I love this idea! How cute!
how creative
very cute!
to cute will have to try