This is a sponsored conversation written by me on behalf of Cricut. The opinions and text are all mine.
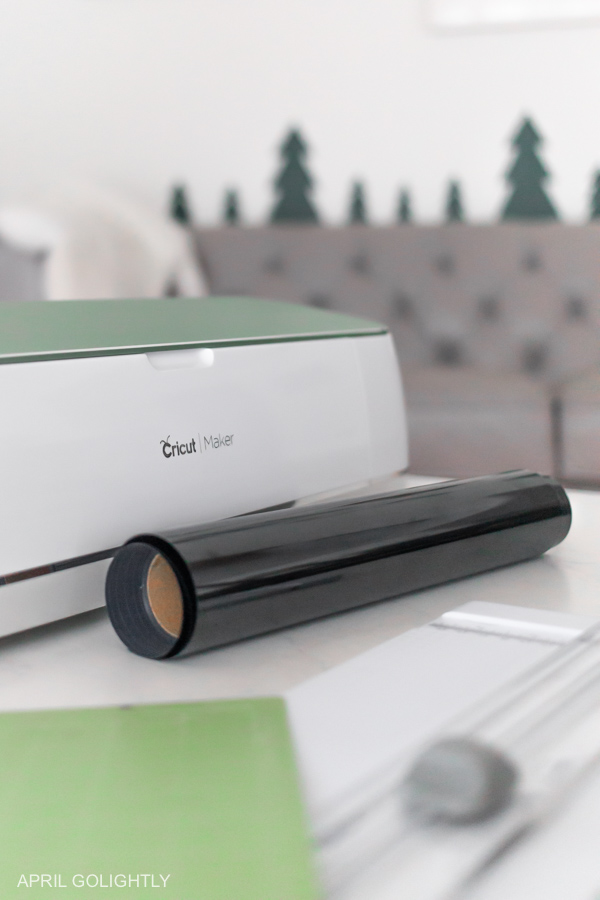
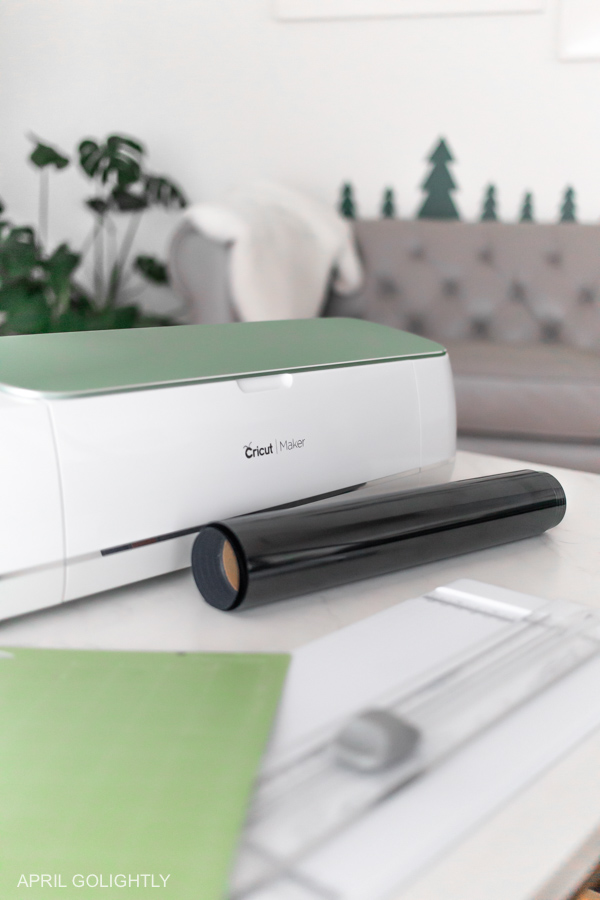
The Cricut Maker is my new favorite toy! It is up-leveled my crafting ability and made being the crafty mom on the block a fun moniker that I now proudly. Here are 5 reasons why I love Cricut Maker that I have discovered so far.
The Cricut Maker gives you the freedom to make virtually any DIY project you can imagine! You can make your own home decor, style accessories, iron-on vinyl clothes, and so much more. You can cut everything from wood to fabric!
Cutting Wood
Using the Knife Blade, I can cut wood on the Cricut Maker. It is so cool! This is one of the many reasons I love my Cricut Maker machine. You can buy Basswood on the Cricut website. I recently created a sign for my daughter’s room using the Knife Blade and the basswood. It is coming along nicely and I just need to paint the letters to match her room.
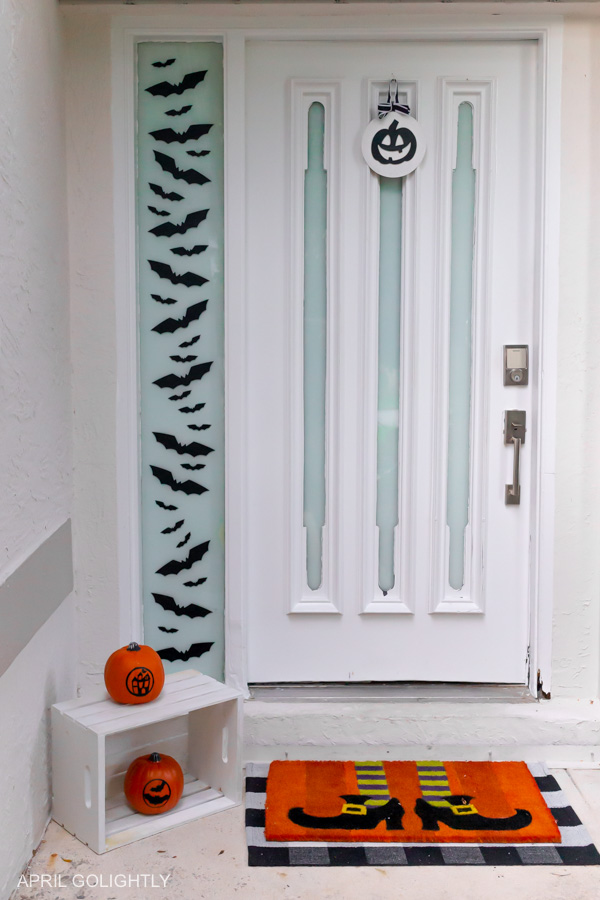
You can also use the wood to create custom signs to put at your front door. Check out the tutorial on how to make a sign for your front porch!
Leather Crafts
The Cricut maker allows you to cut leather as well. I started my leather crafting with this faux leather purse that I made for my daughter for her orientation day. I made a simple purse using the round shape in Cricut Design Space. Then, I added an iron-on vinyl red apple. I sewed it together with my sewing machine using a strong needle. I am working on a making a similar purse using only leather too. You can order colored and metallic leather on Cricut website.
Vinyl Crafts
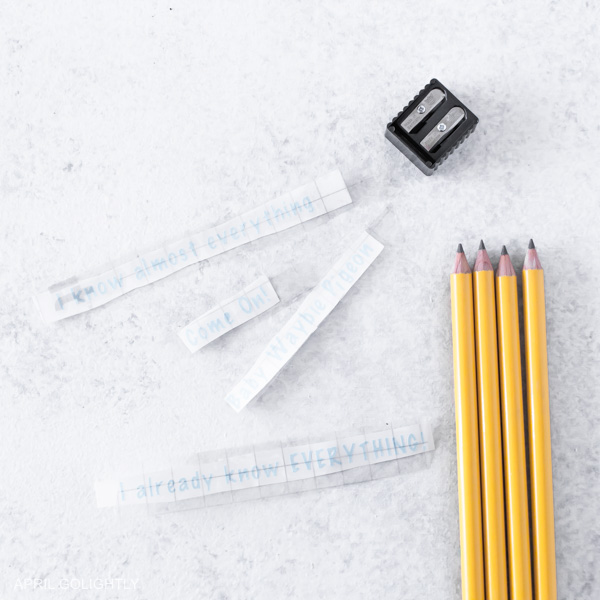
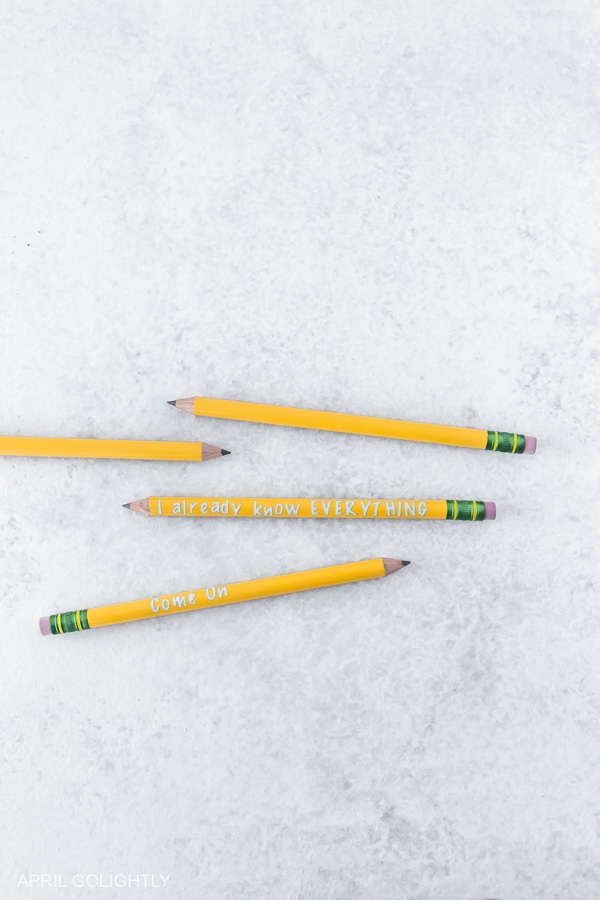
I started my Cricut crafting with Vinyl and still absolutely love it. With the Cricut Maker you can customize everything from mugs to pencils. I recently made these cute pencils with quotes from my daughter’s favorite book.
Iron-On Shirts
Making Mommy and me matching iron-on shirts has become my new favorite thing! I am addicted to mommy and daughter matching. The Cricut Maker allows me to make custom shirts for every occasion. I recently made my daughter a Dalmatian Halloween costume with the Cricut Everyday Vinyl.
A few weeks ago, I was trying to find Halloween pajamas for the whole family to match. I could not find something that would be delivered in time that had all of our sizes. Instead, I made bat print shirts with Cricut glitter iron-on vinyl for me and my daughter. It came out super cute!
Cricut has new free designs available every week. They are seasonal or themed for something going on that week. I recently saw they had a bunch of Be Kind designs encouraging children (and adults) not to bully. I made my daughter a few of the designs using the Iron-On vinyl that I had at home.
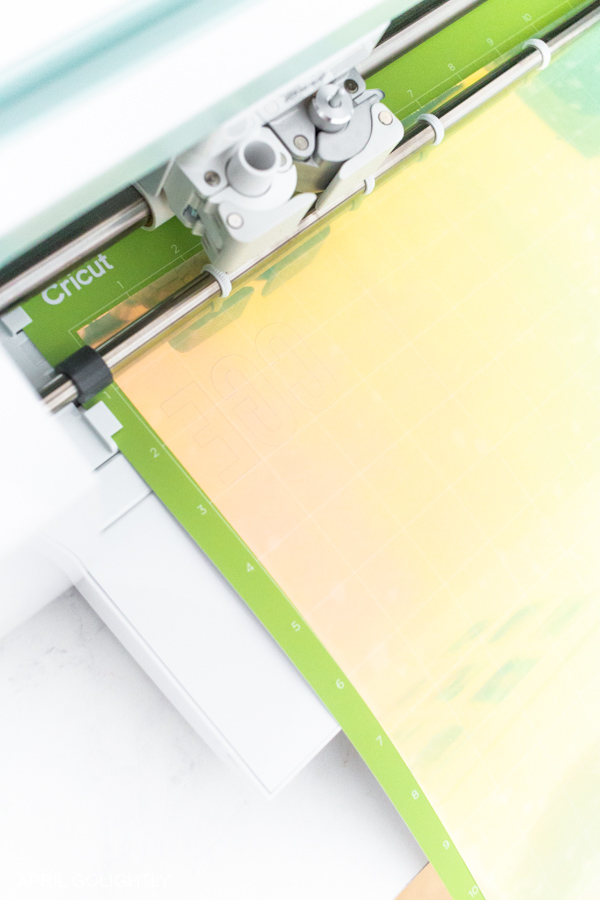
With Cricut Design Space, you can merge colors and make the designs your own. My daughter is obsessed with Holographic vinyl so I always incorporate into my designs. I customized her backpack with a Holographic monogram.
Wood Sign Tutorial
Tools & Supplies
- Masking Tape
- Strong Grip Mat
- Cricut Maker
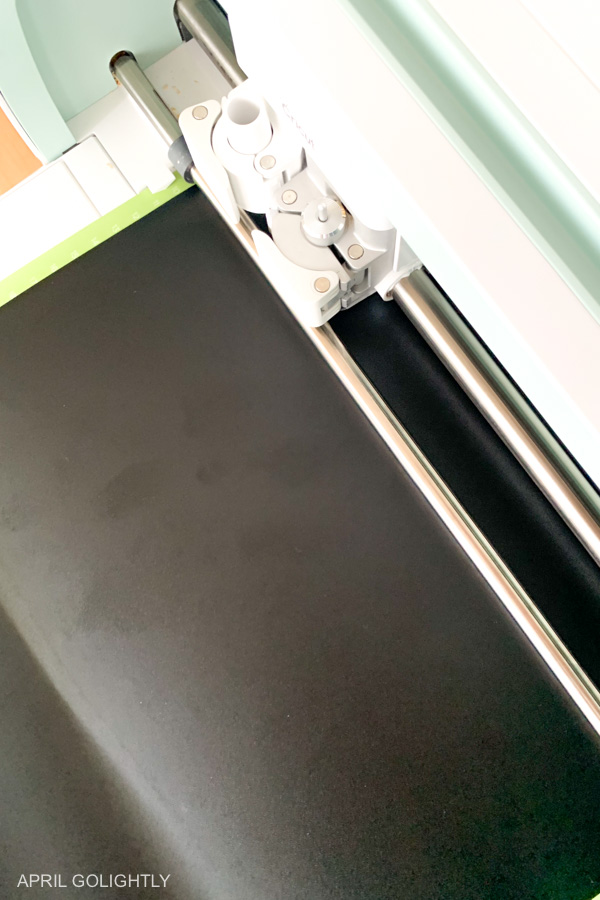
- RibbonBlack Vinyl
- Glitter Vinyl
- Hot Glue Gyn
How to Make a Wood Sign with Cricut Maker
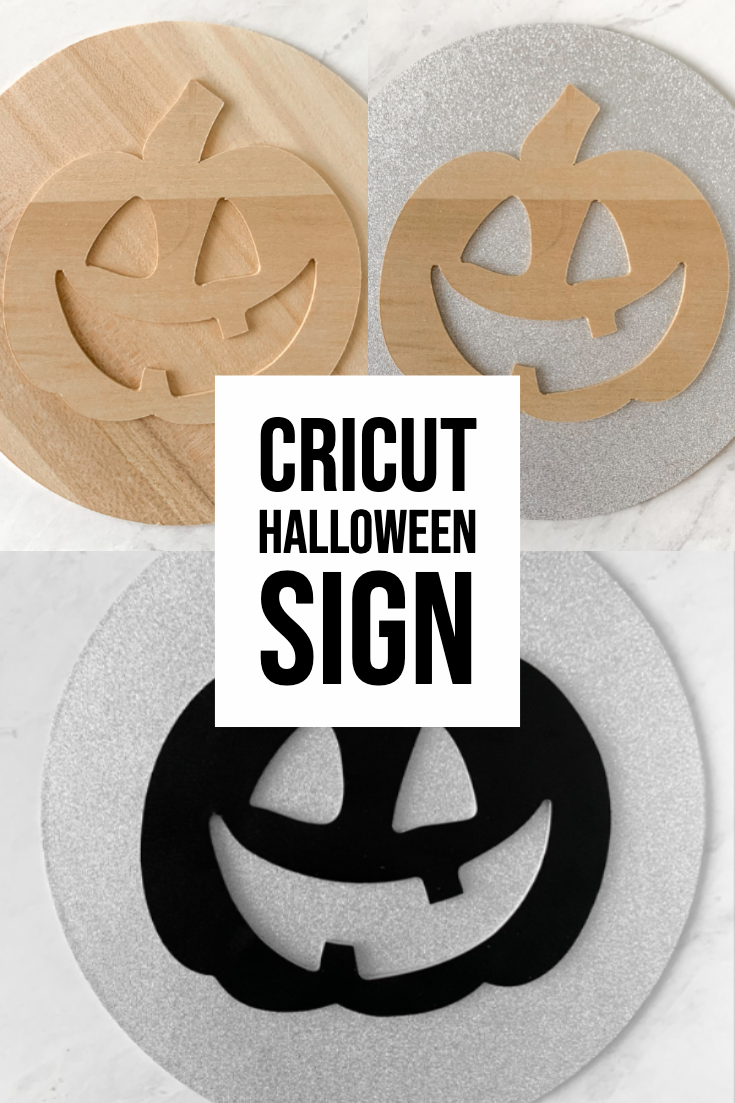
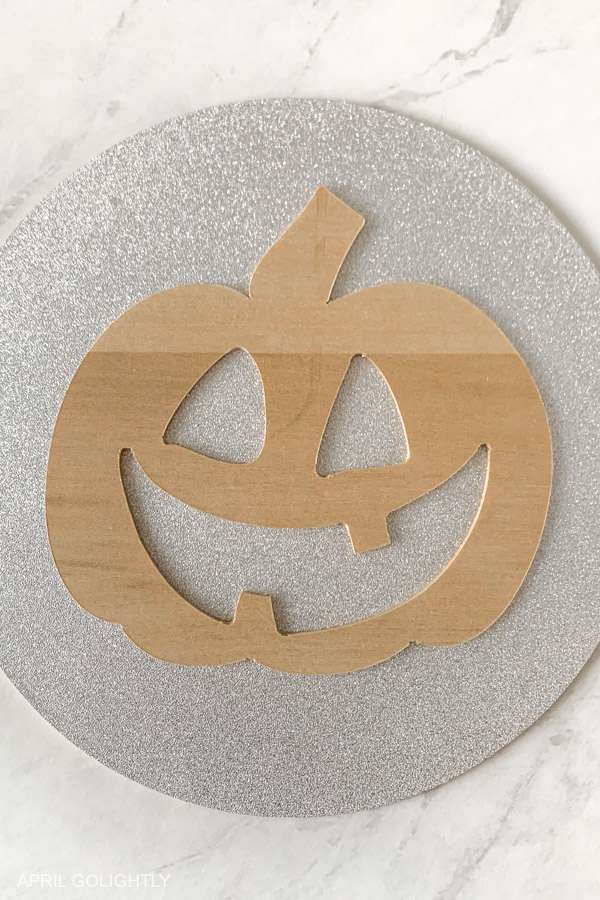
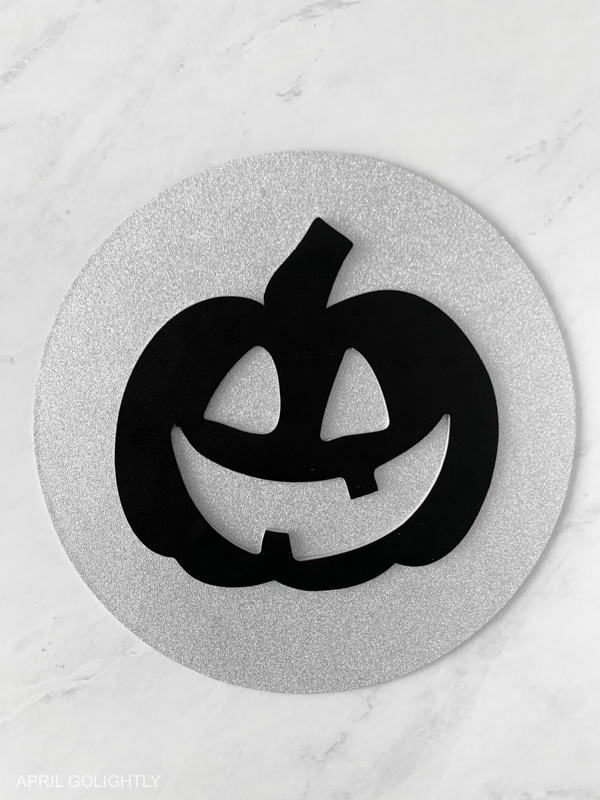
To create this wood sign, I searched for a jack-o-lantern that interested me and looked like I could cut successfully out of wood. I chose this cut file.
Next, I made a circle instead using the shapes. Then, I sized the jack-o-lantern to the circle.
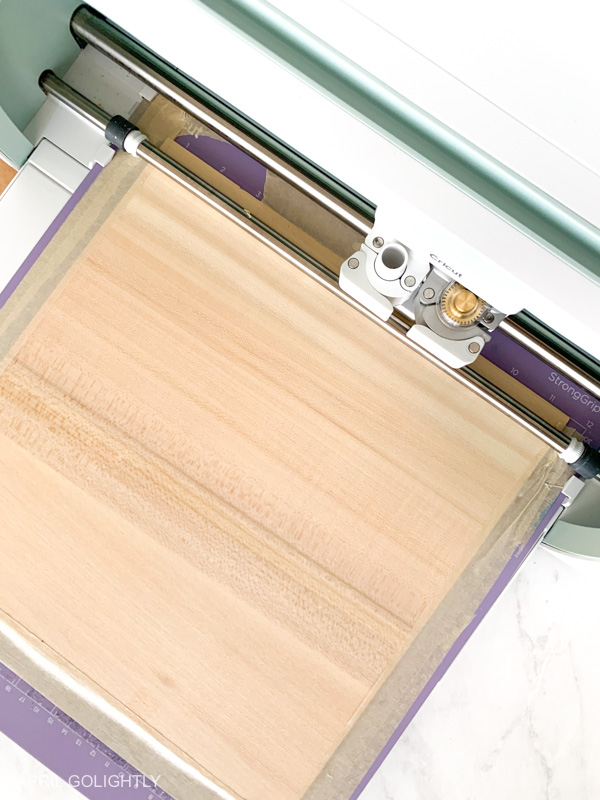
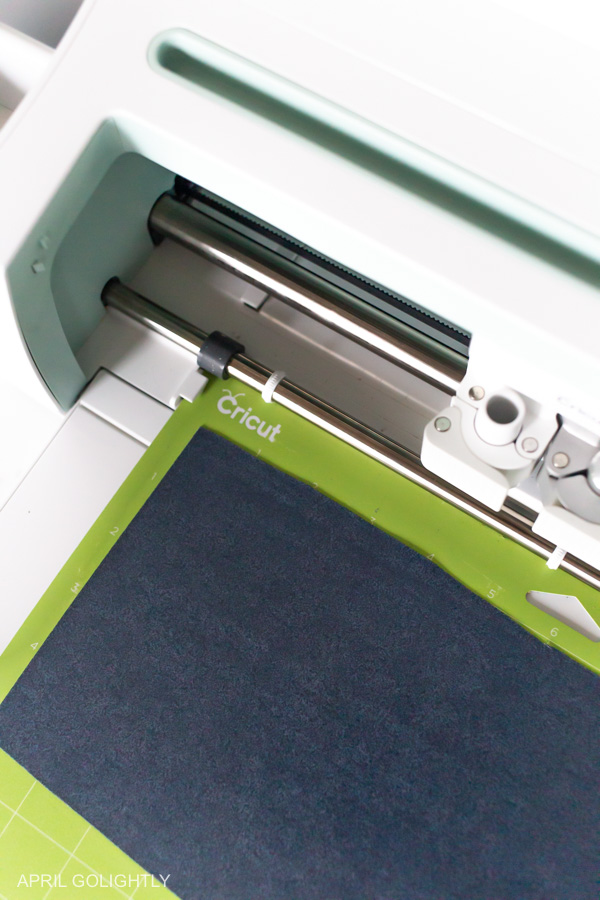
Add the basswood to the strong grip mat into the middle top of the mat. Then, use masking tape or painter’s tape to tape down the edges. Make sure not to go too far into the wood as Cricut instructs you not to cut over the masking tape.
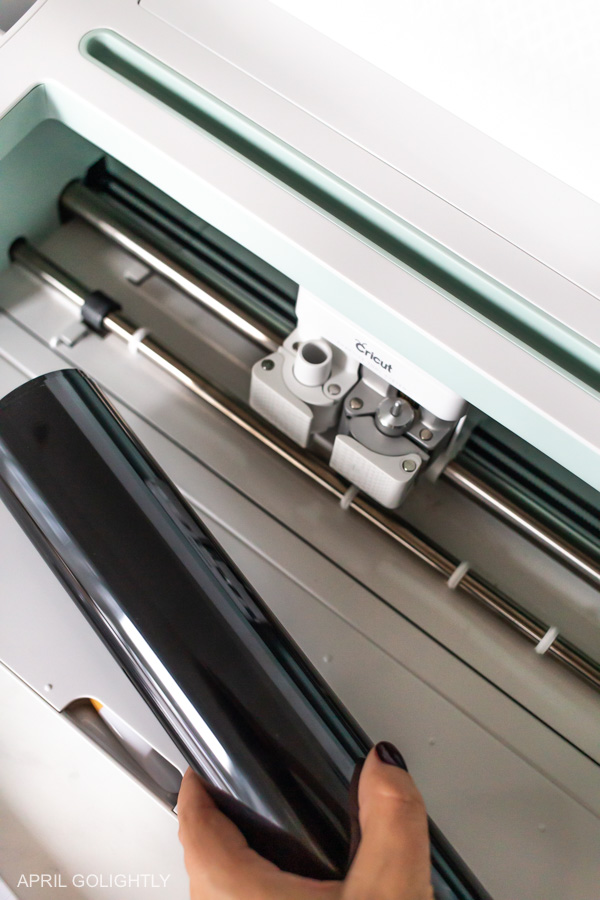
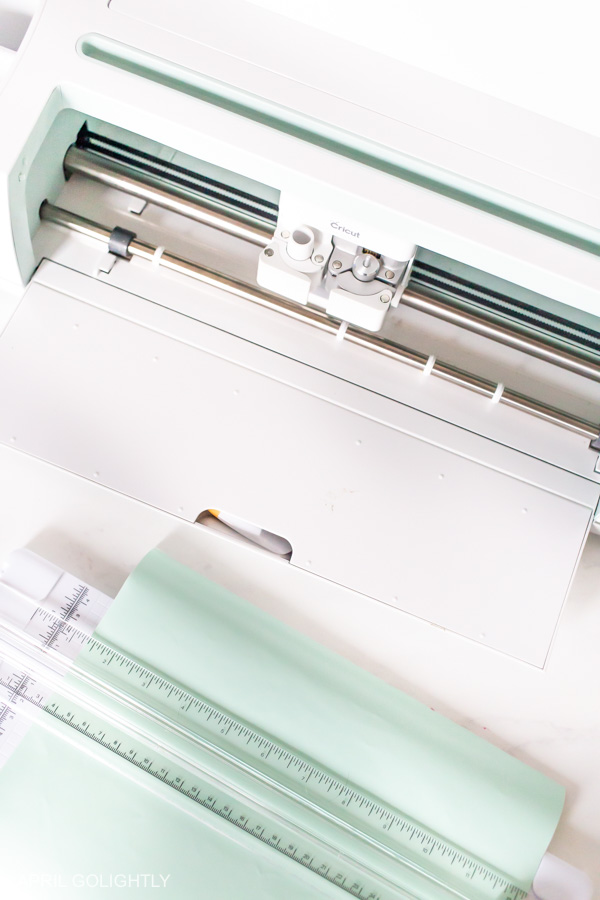
Push the little white guides on the machines to the side as instructed on Design Space.
Then, load the mat into the Cricut.
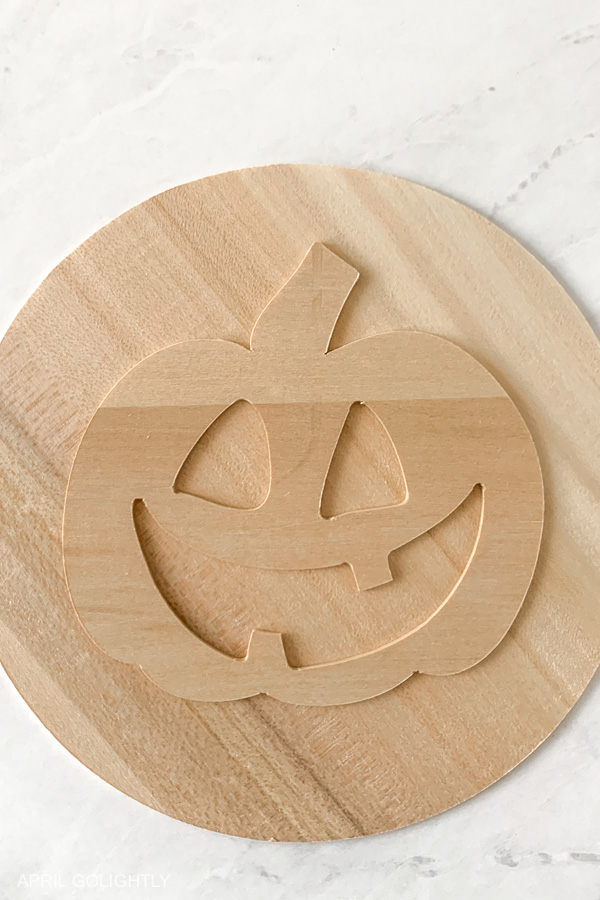
Hit make and follow the prompts in Cricut Design Space to cut images from the basswood using a Knife Blade.
Use masking tape or painter’s tape to secure edges of the basswood to your mat.
Before removing the wood project from the machine, ensure that the wood is cut properly. Remove the masking tape from the bottom and check. The wood should have a clean cut. If it is all good, use the arrows to remove the mat.
Remove the wood from the mat.
Using the same cut files, print out vinyl version of the project to cover the wood. I was considering painting the wood, but decided instead to use the Cricut to cut out some vinyl to cover the wood.
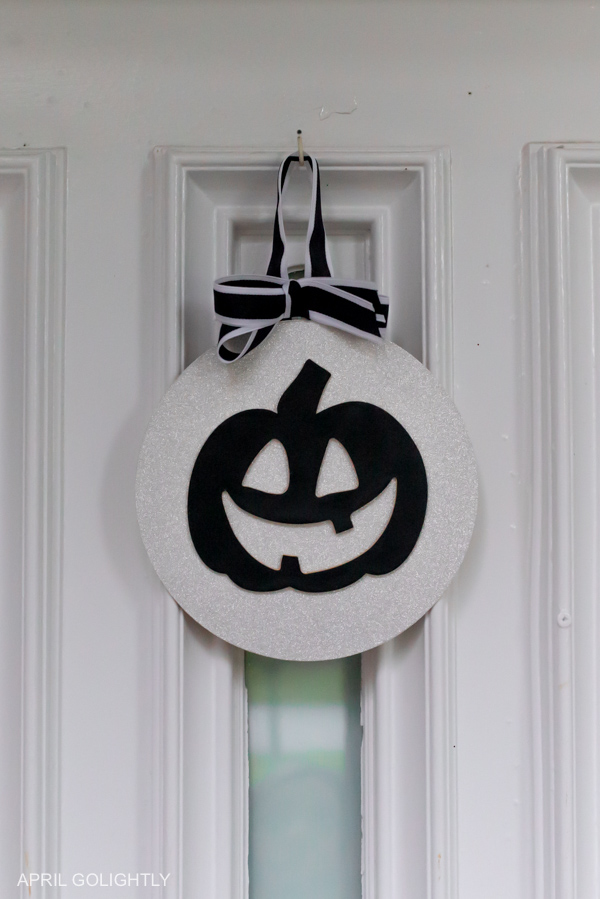
Apply the vinyl to the wood using transfer tape. Then, glue the jack-o-lantern to the circle using dots of hot glue.
Apply hot glue to the back of the sign and make sure that the top of the ribbon will lay flat on a hook. You don’t want the sign flipping around.
Make a bow with the ribbon to top off the sign.
