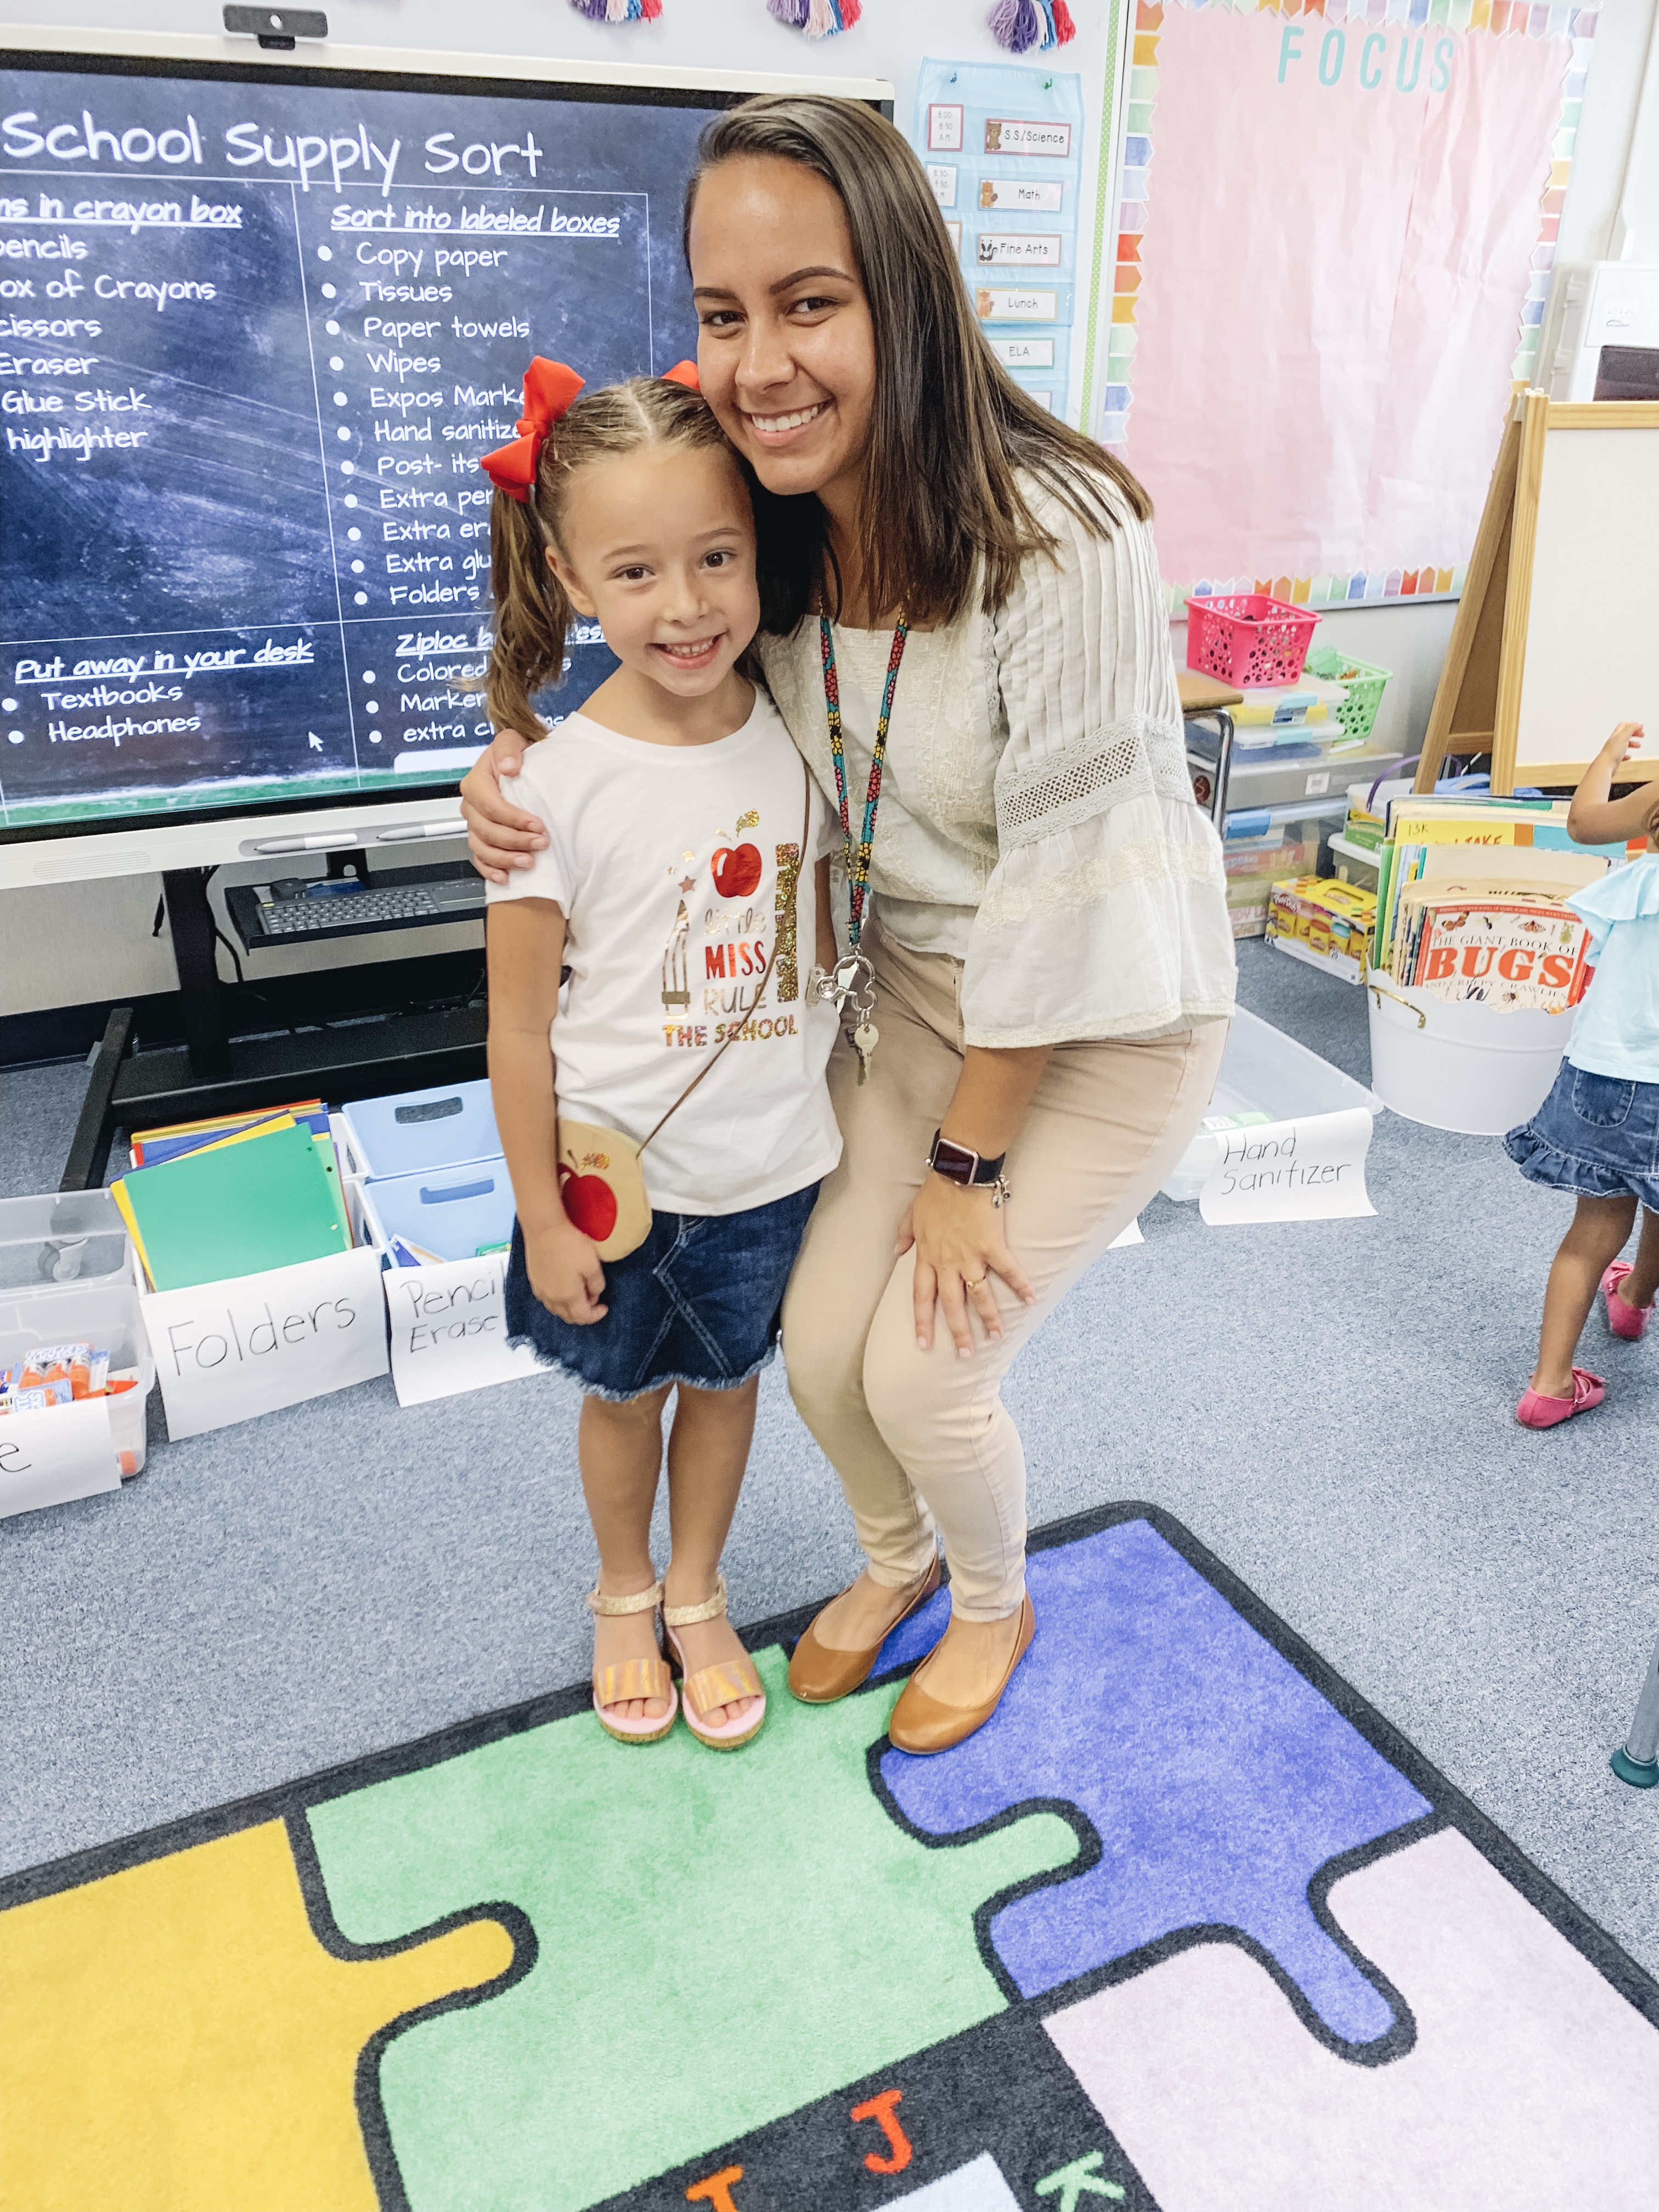
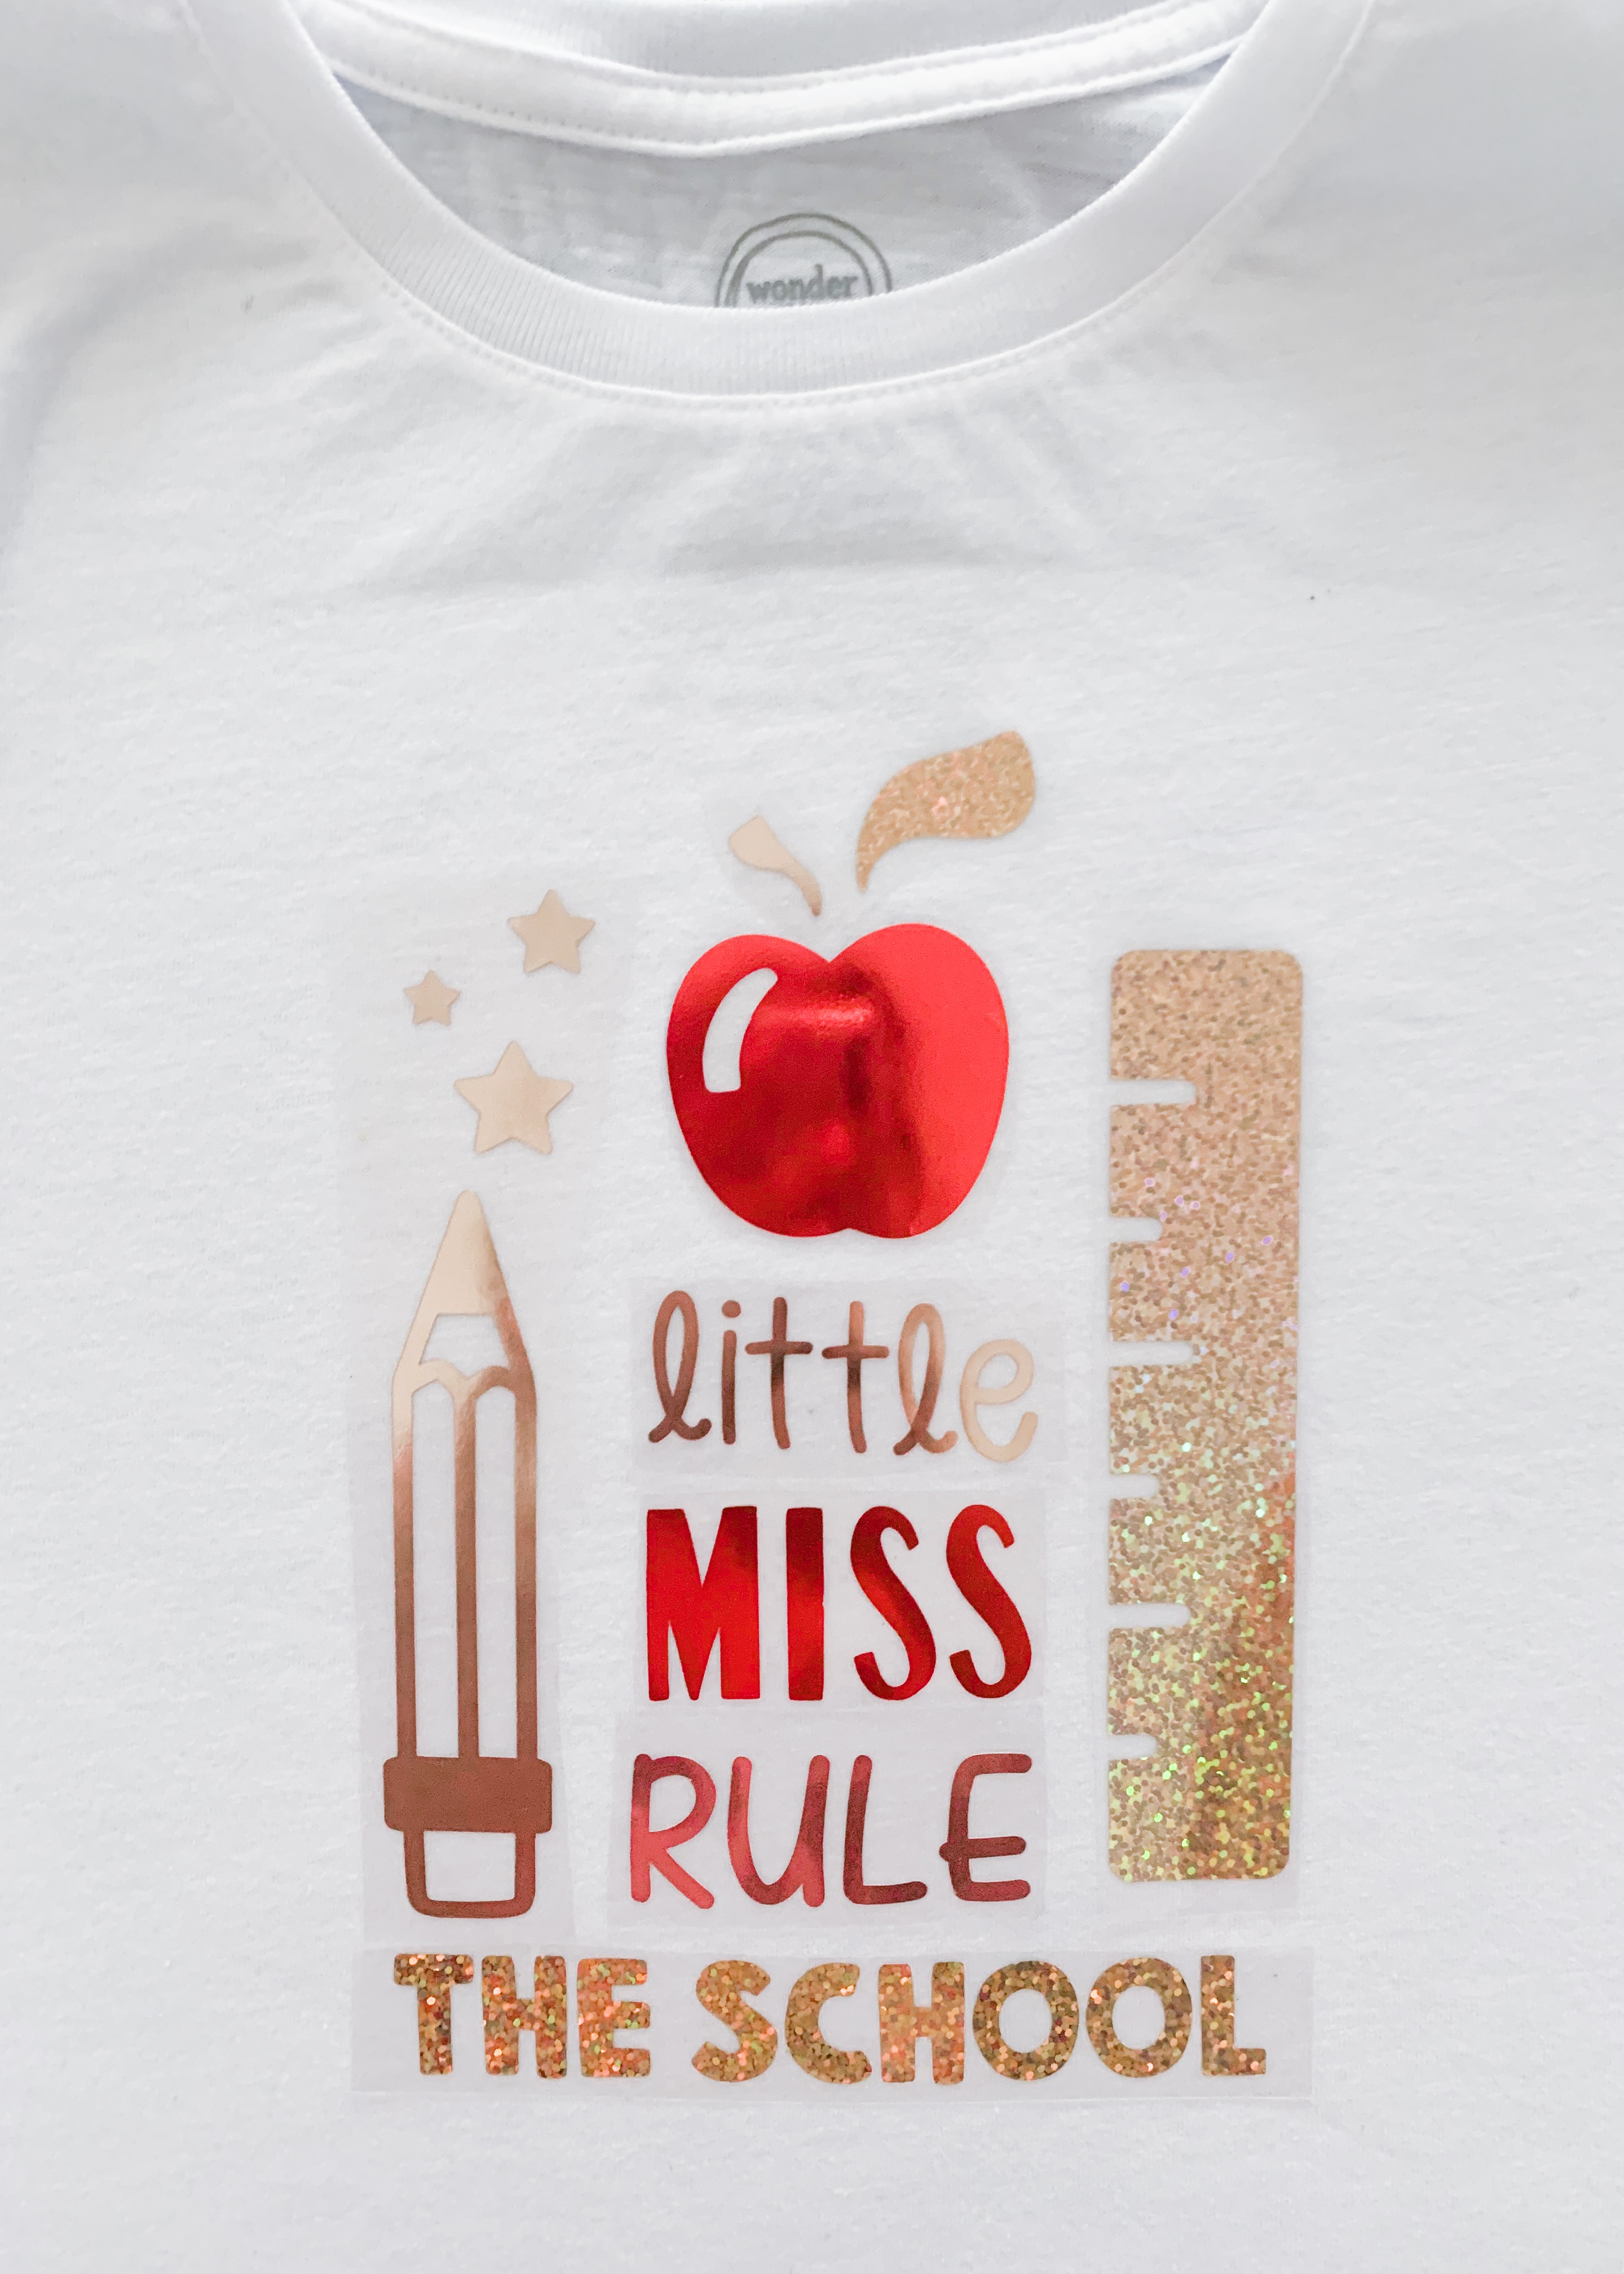
My daughter just started 1st grade and I am so excited for all the fun things she will learn! Before school started, I made this Cricut Iron On Foil Shirt and purse to match using the ‘free this week’ images. They are all school themed and super cute.

Cricut Iron On Foil
My daughter was immediately drawn to the Cricut Iron On Foil material. It is so shiny and amazing. Have you made your child a t-shirt at home? My friend used to make me shirts and was always telling me to get a Cricut. I really wish I had bought the Cricut Explore earlier! It is awesome and I don’t know how I ever lived without it! Iron-in vinyl is my new favorite!


Cricut Images
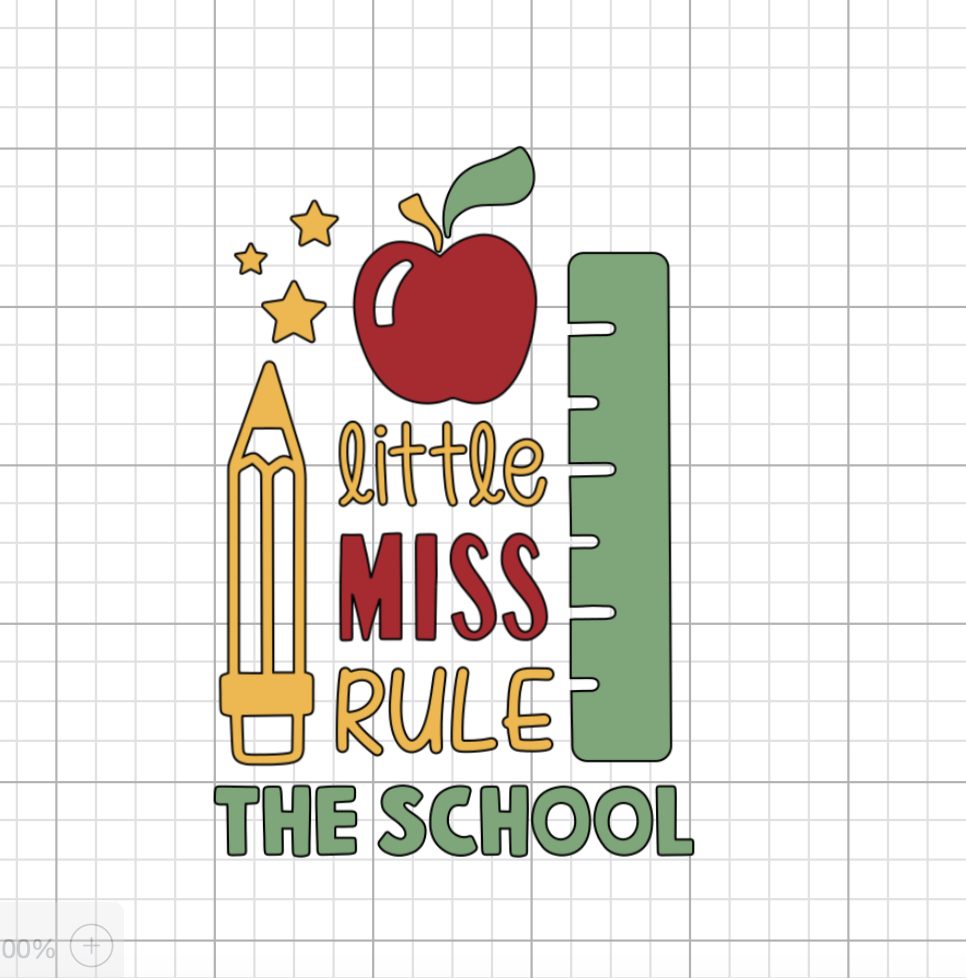
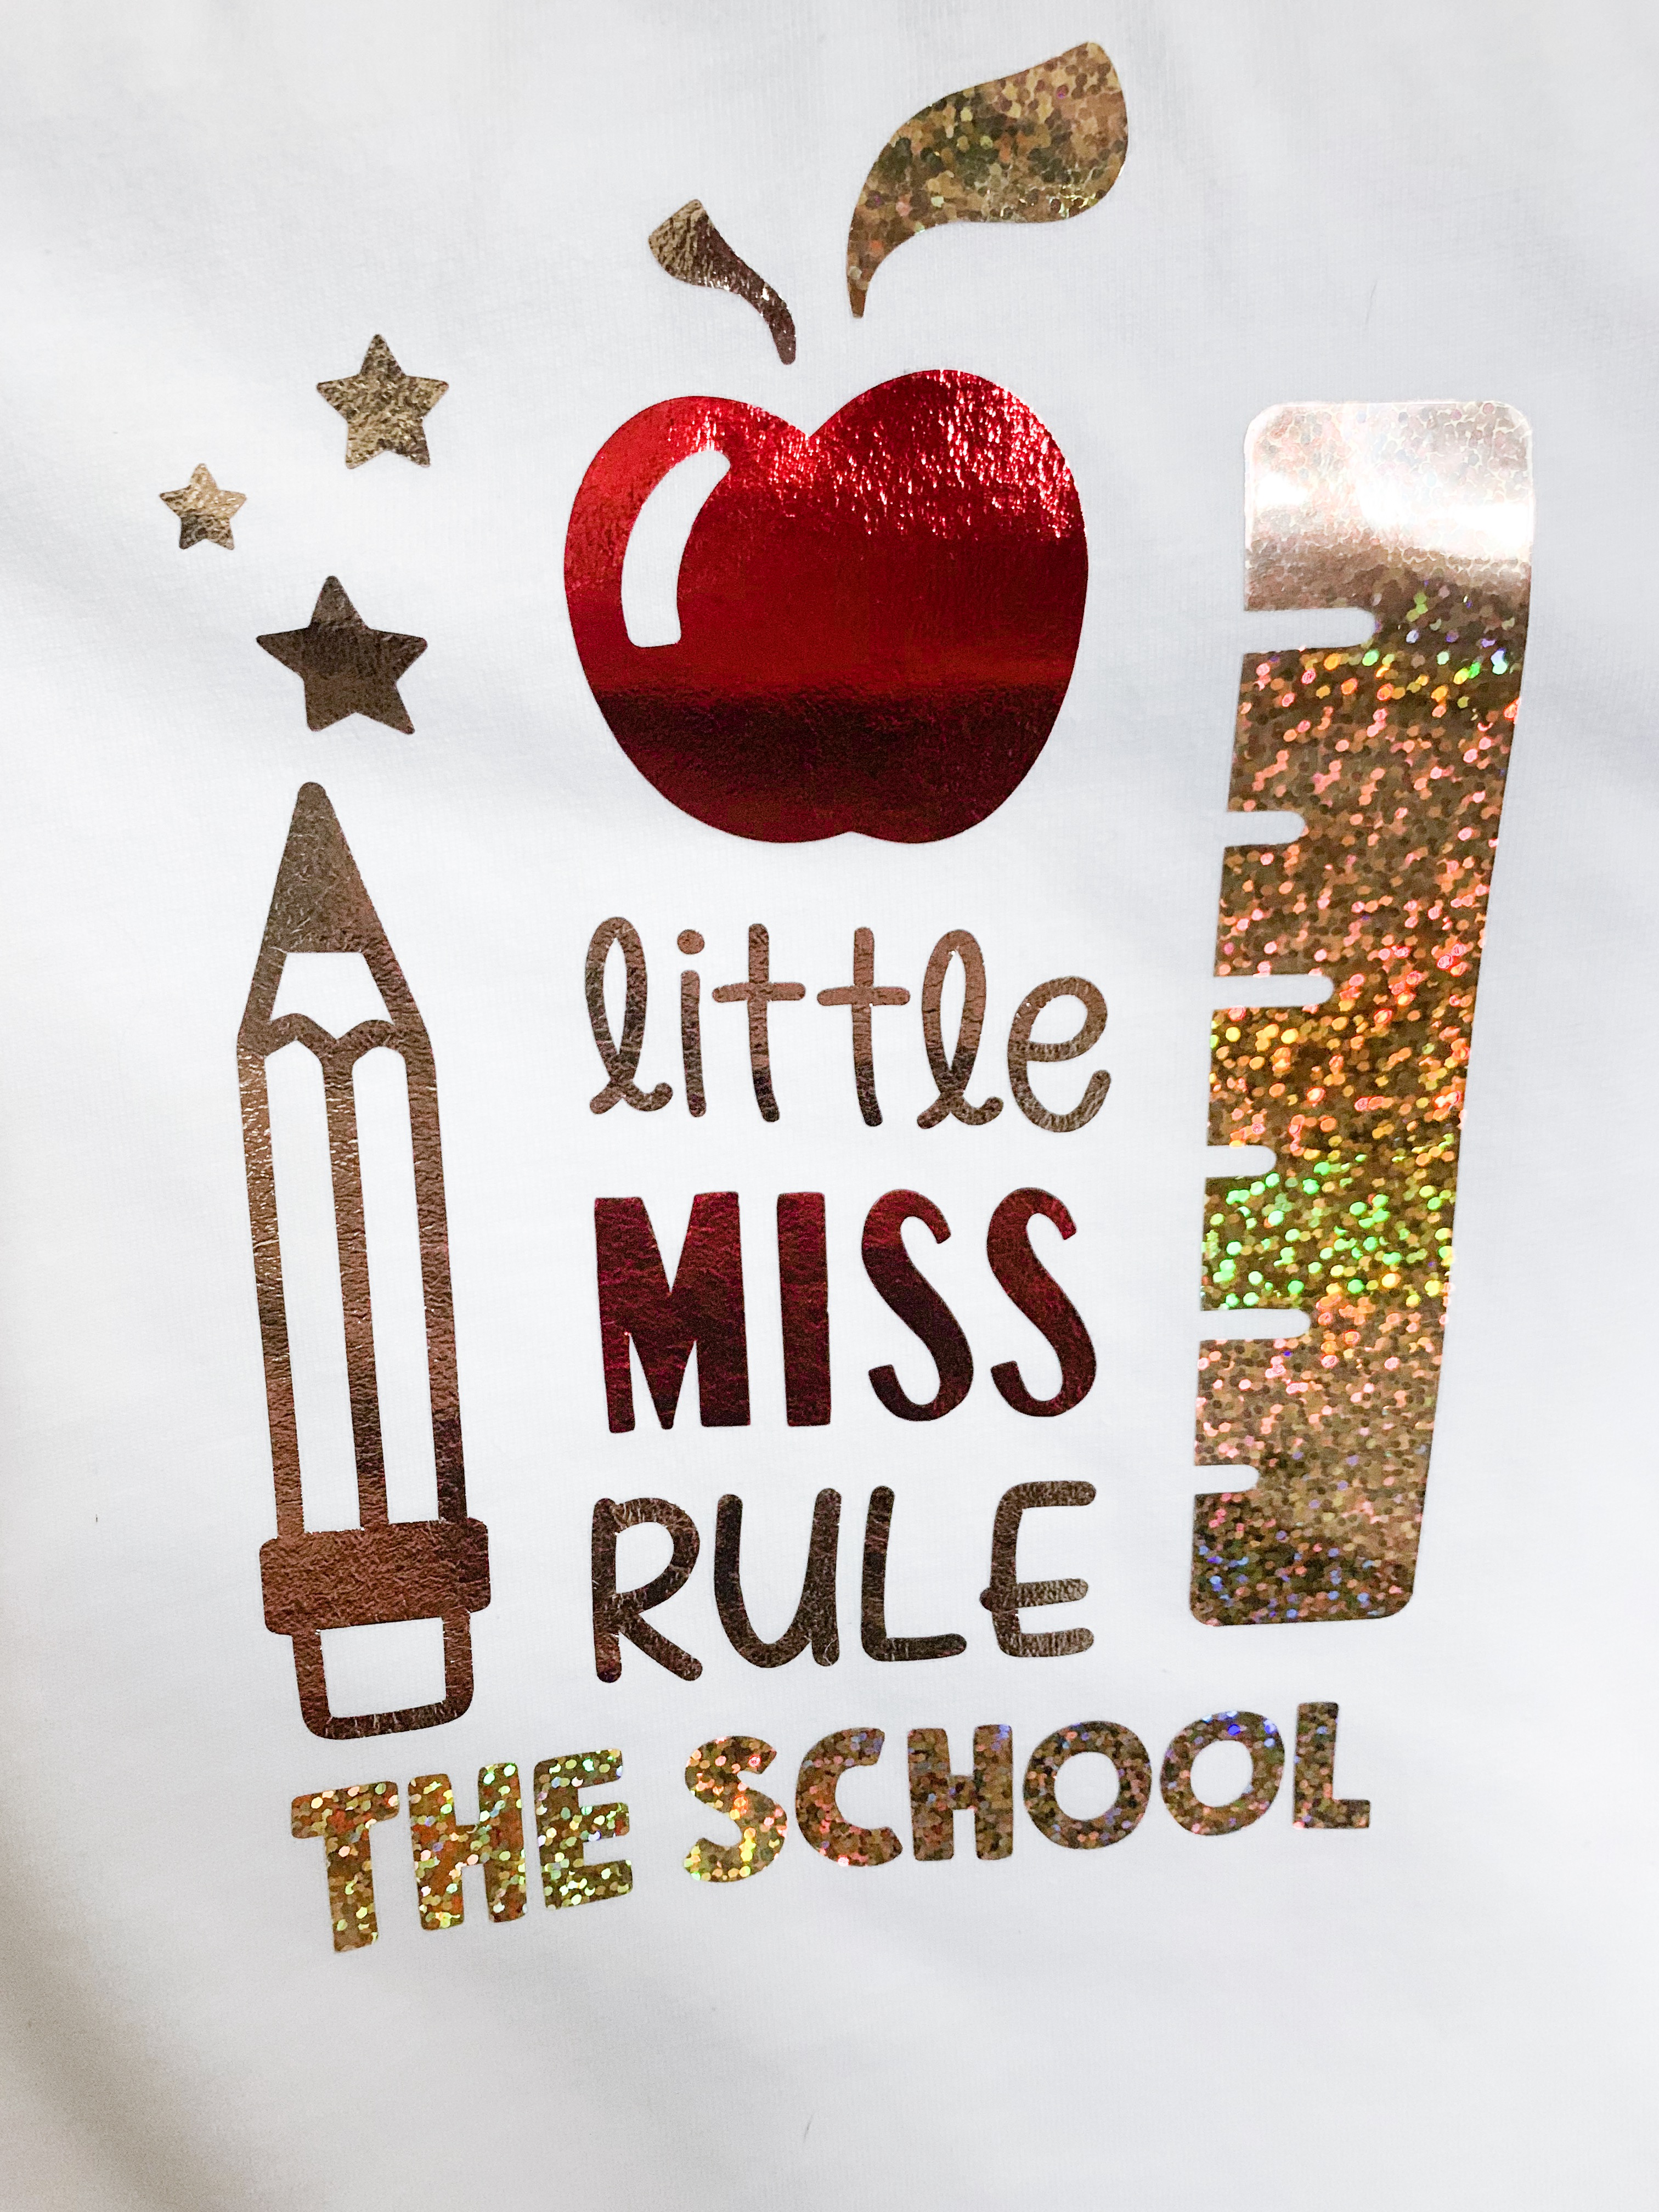
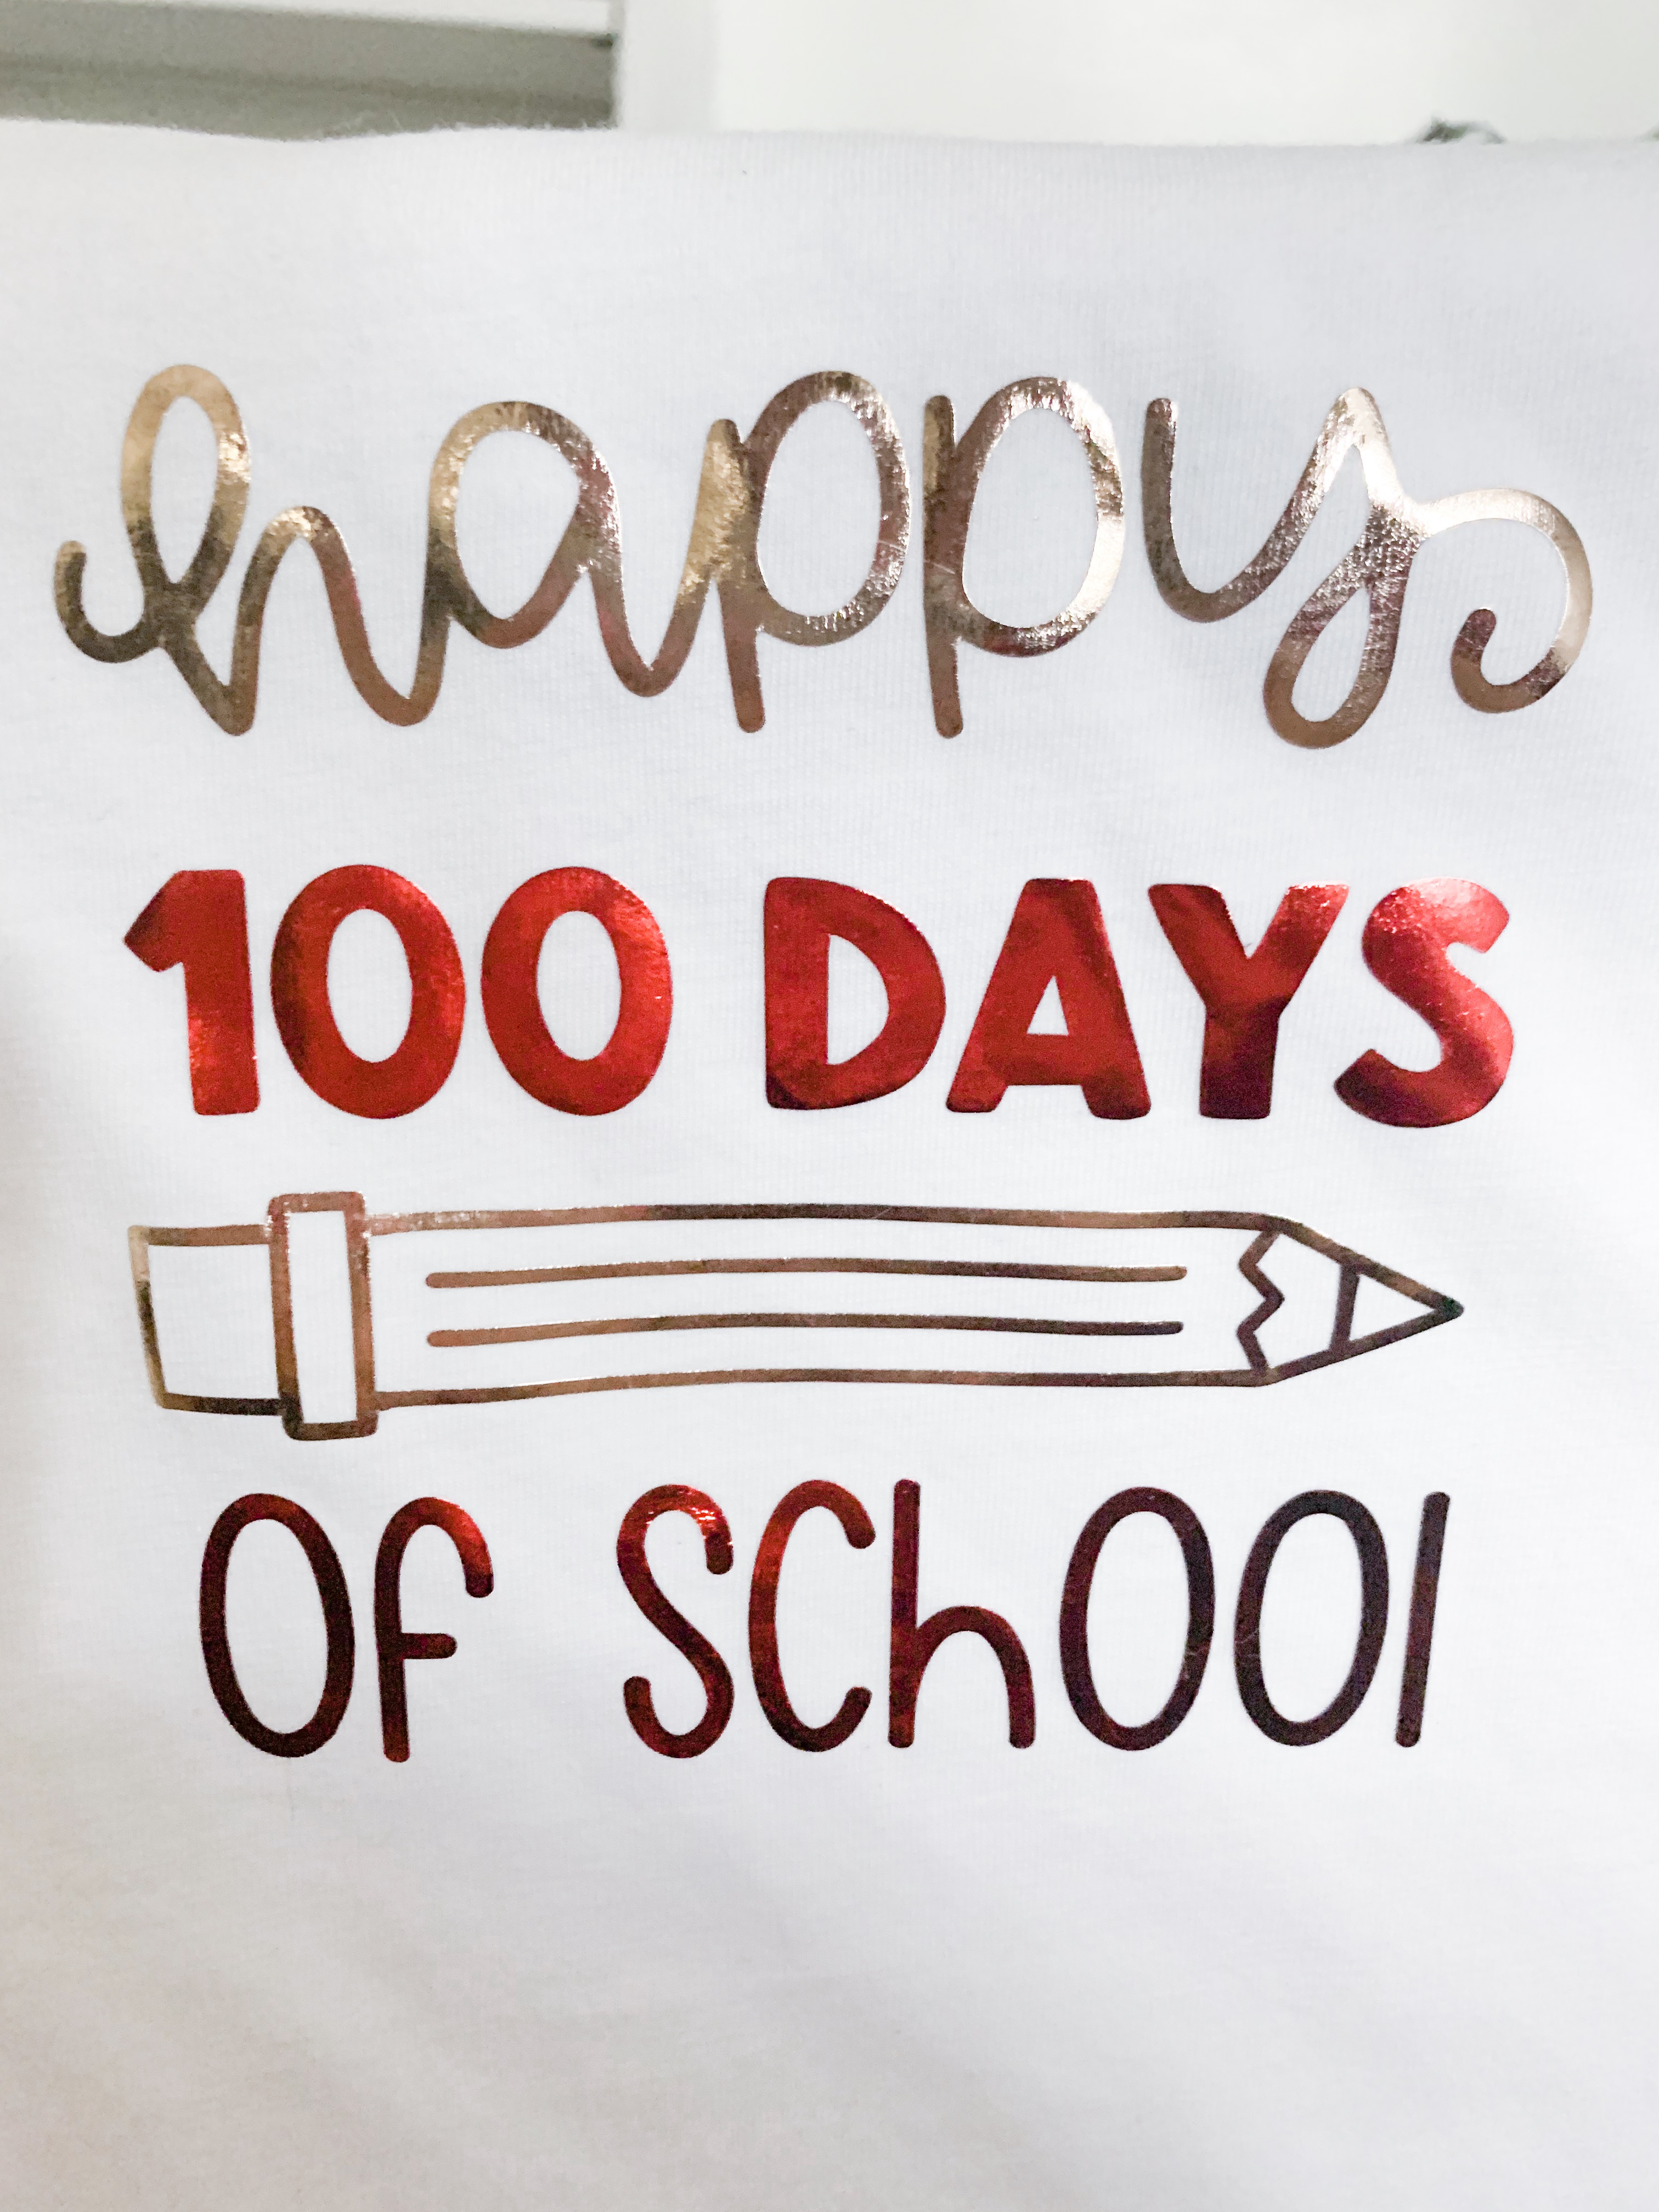
Using the Happy 100 Days of School#M9A0F843, I made a shirt with Cricut Iron On Foil in red and rose gold. With Little Mister Rule The School #M9A0F9F0, free this week image, I made this super cute shirt for my daughter’s orientation. With the apple from the Little Mister Rule The School #M9A0F9F0, I made a purse with an iron on foil apple on it to match her Little Miss Rule the School shirt.
Cricut Iron On Foil Shirt
Tools & Supplies
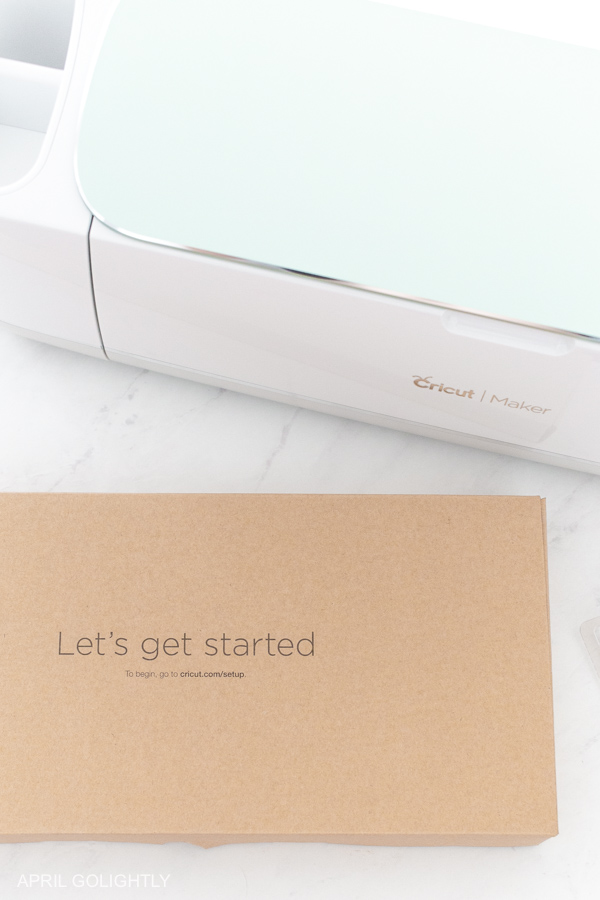
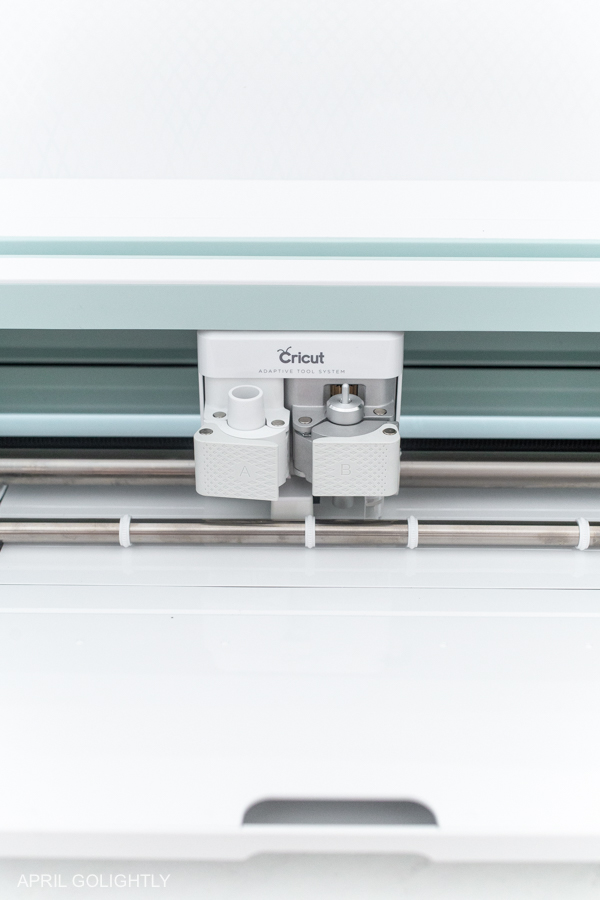
- Explore Air 2 or Cricut Maker
- Standard Grip Mat (get it here)
- Acrylic Ruler
- Cricut Easy Press 2 (we have the 12″ x 10″ so that you can use it for any size project –check it out here)
- Cricut Foil Iron On Vinyl (order it here)
- Cricut Easy Press Mat
- Weeding Tools
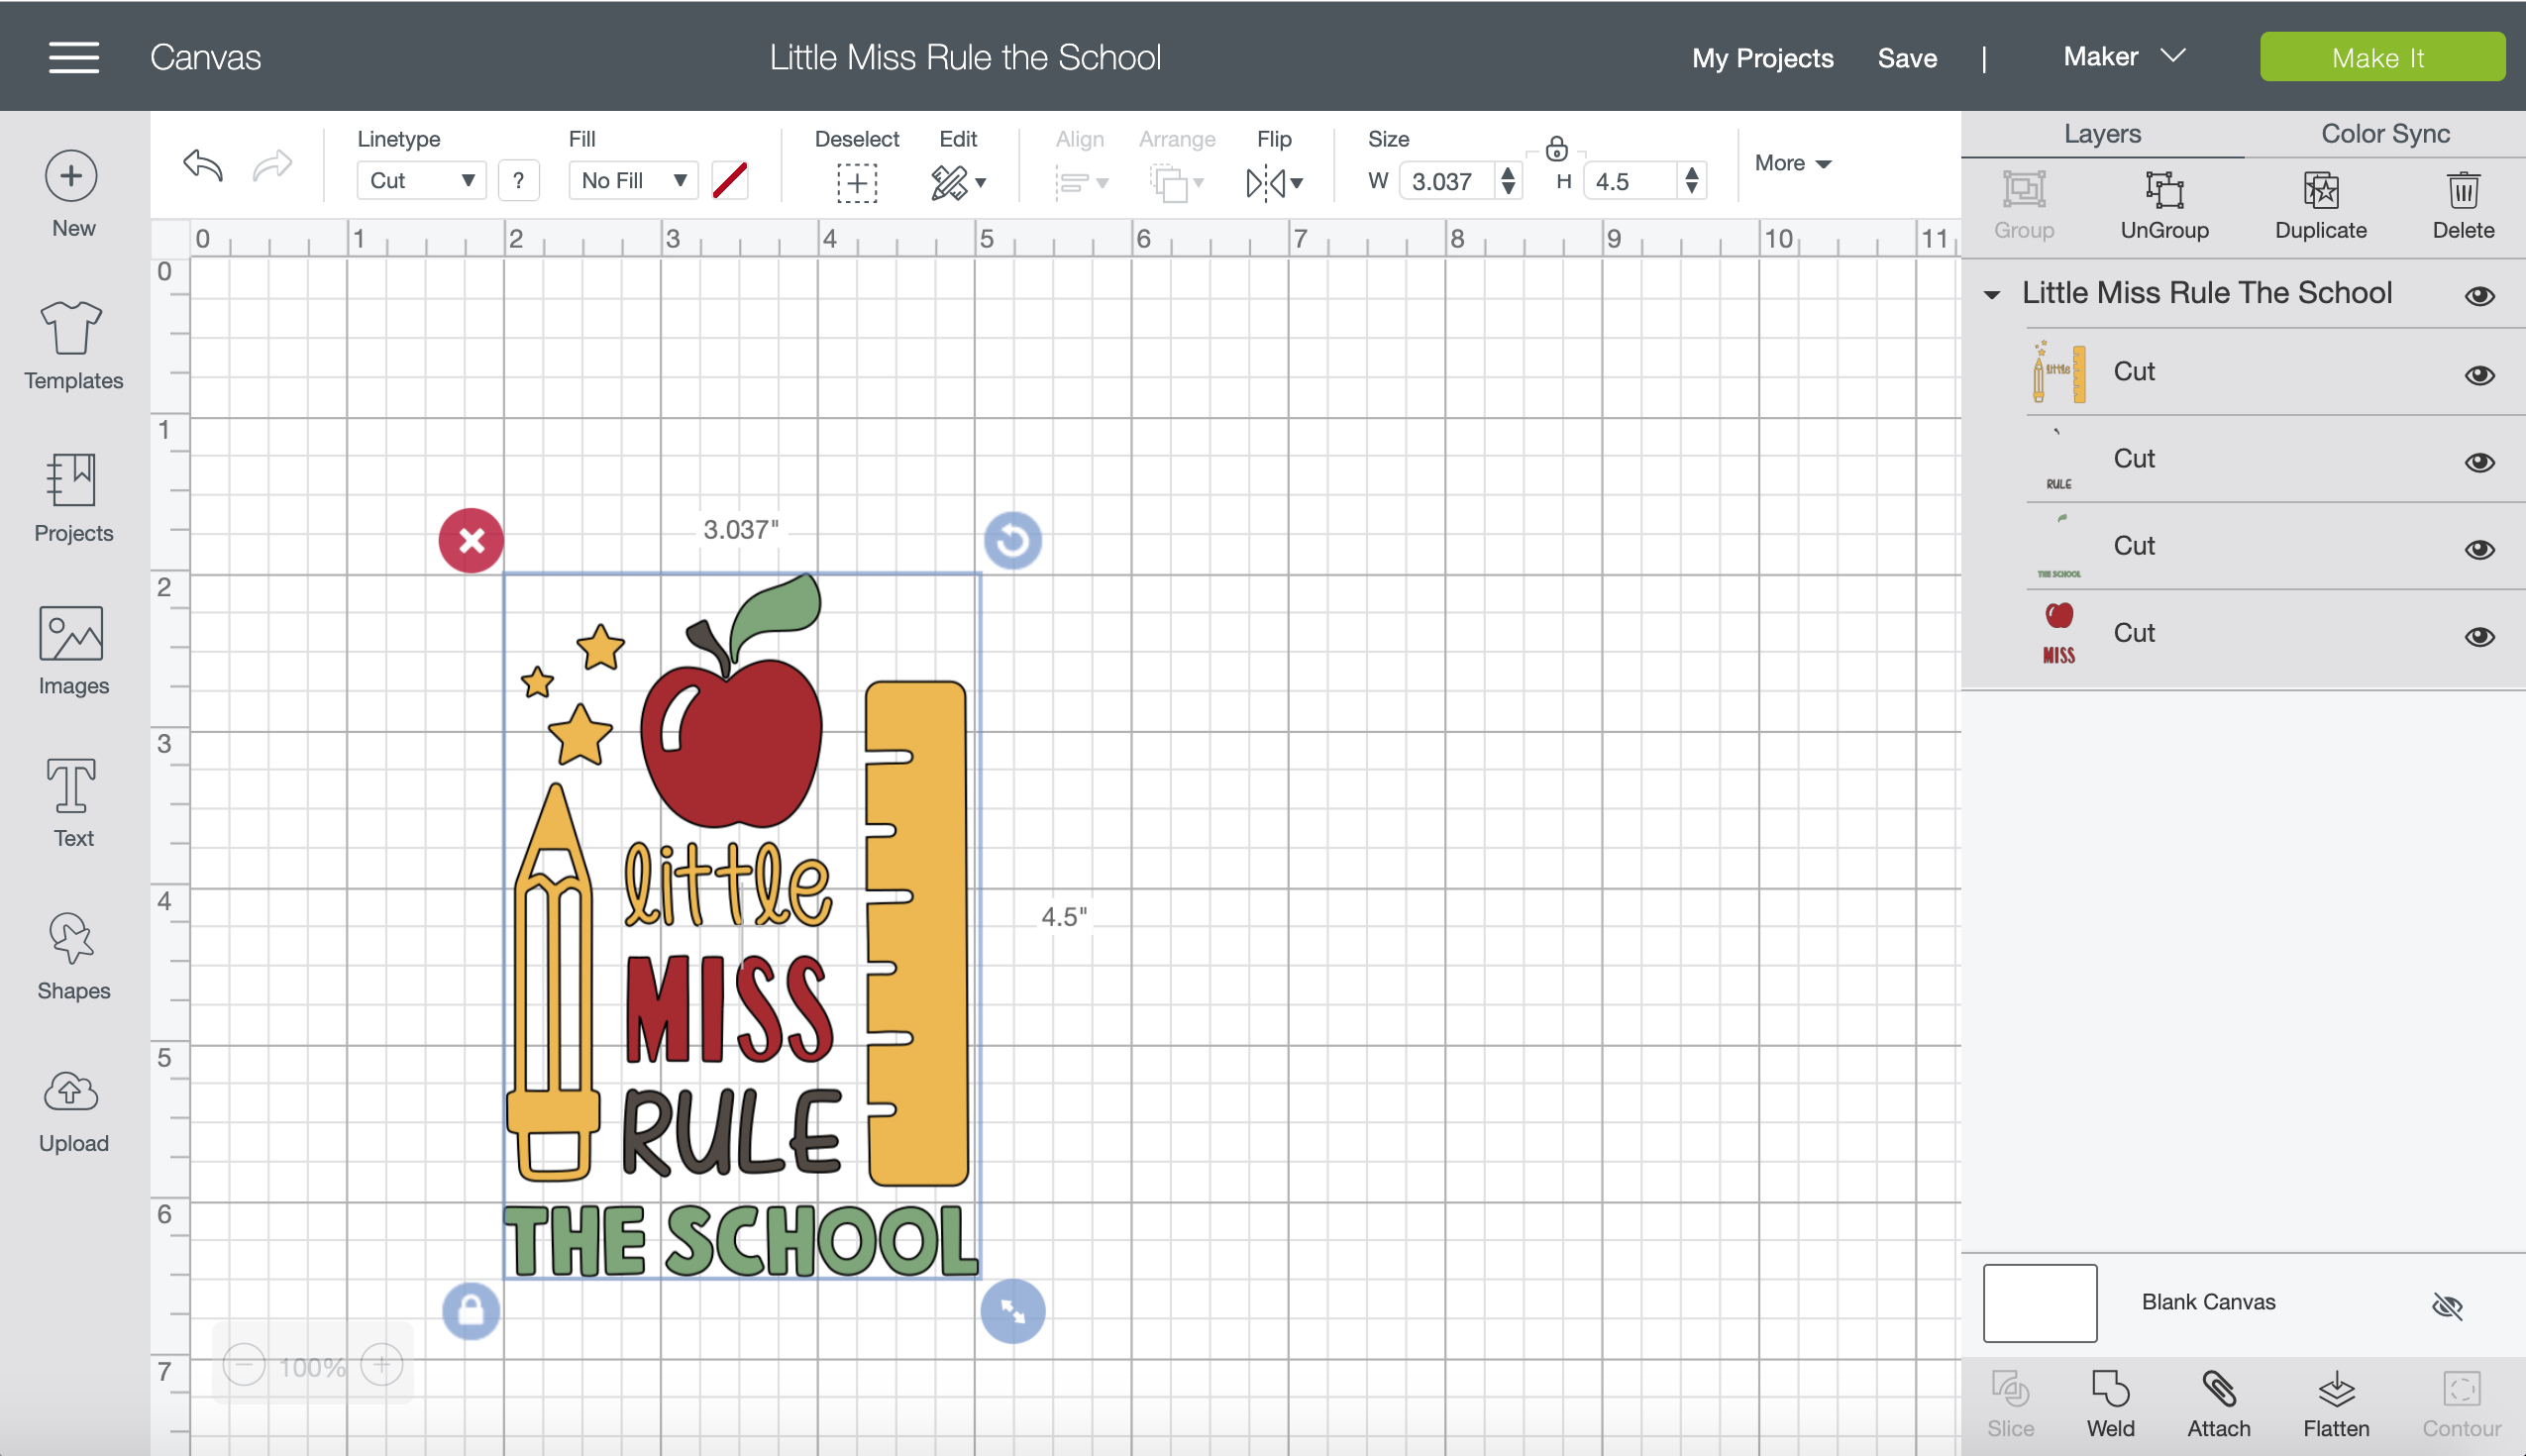
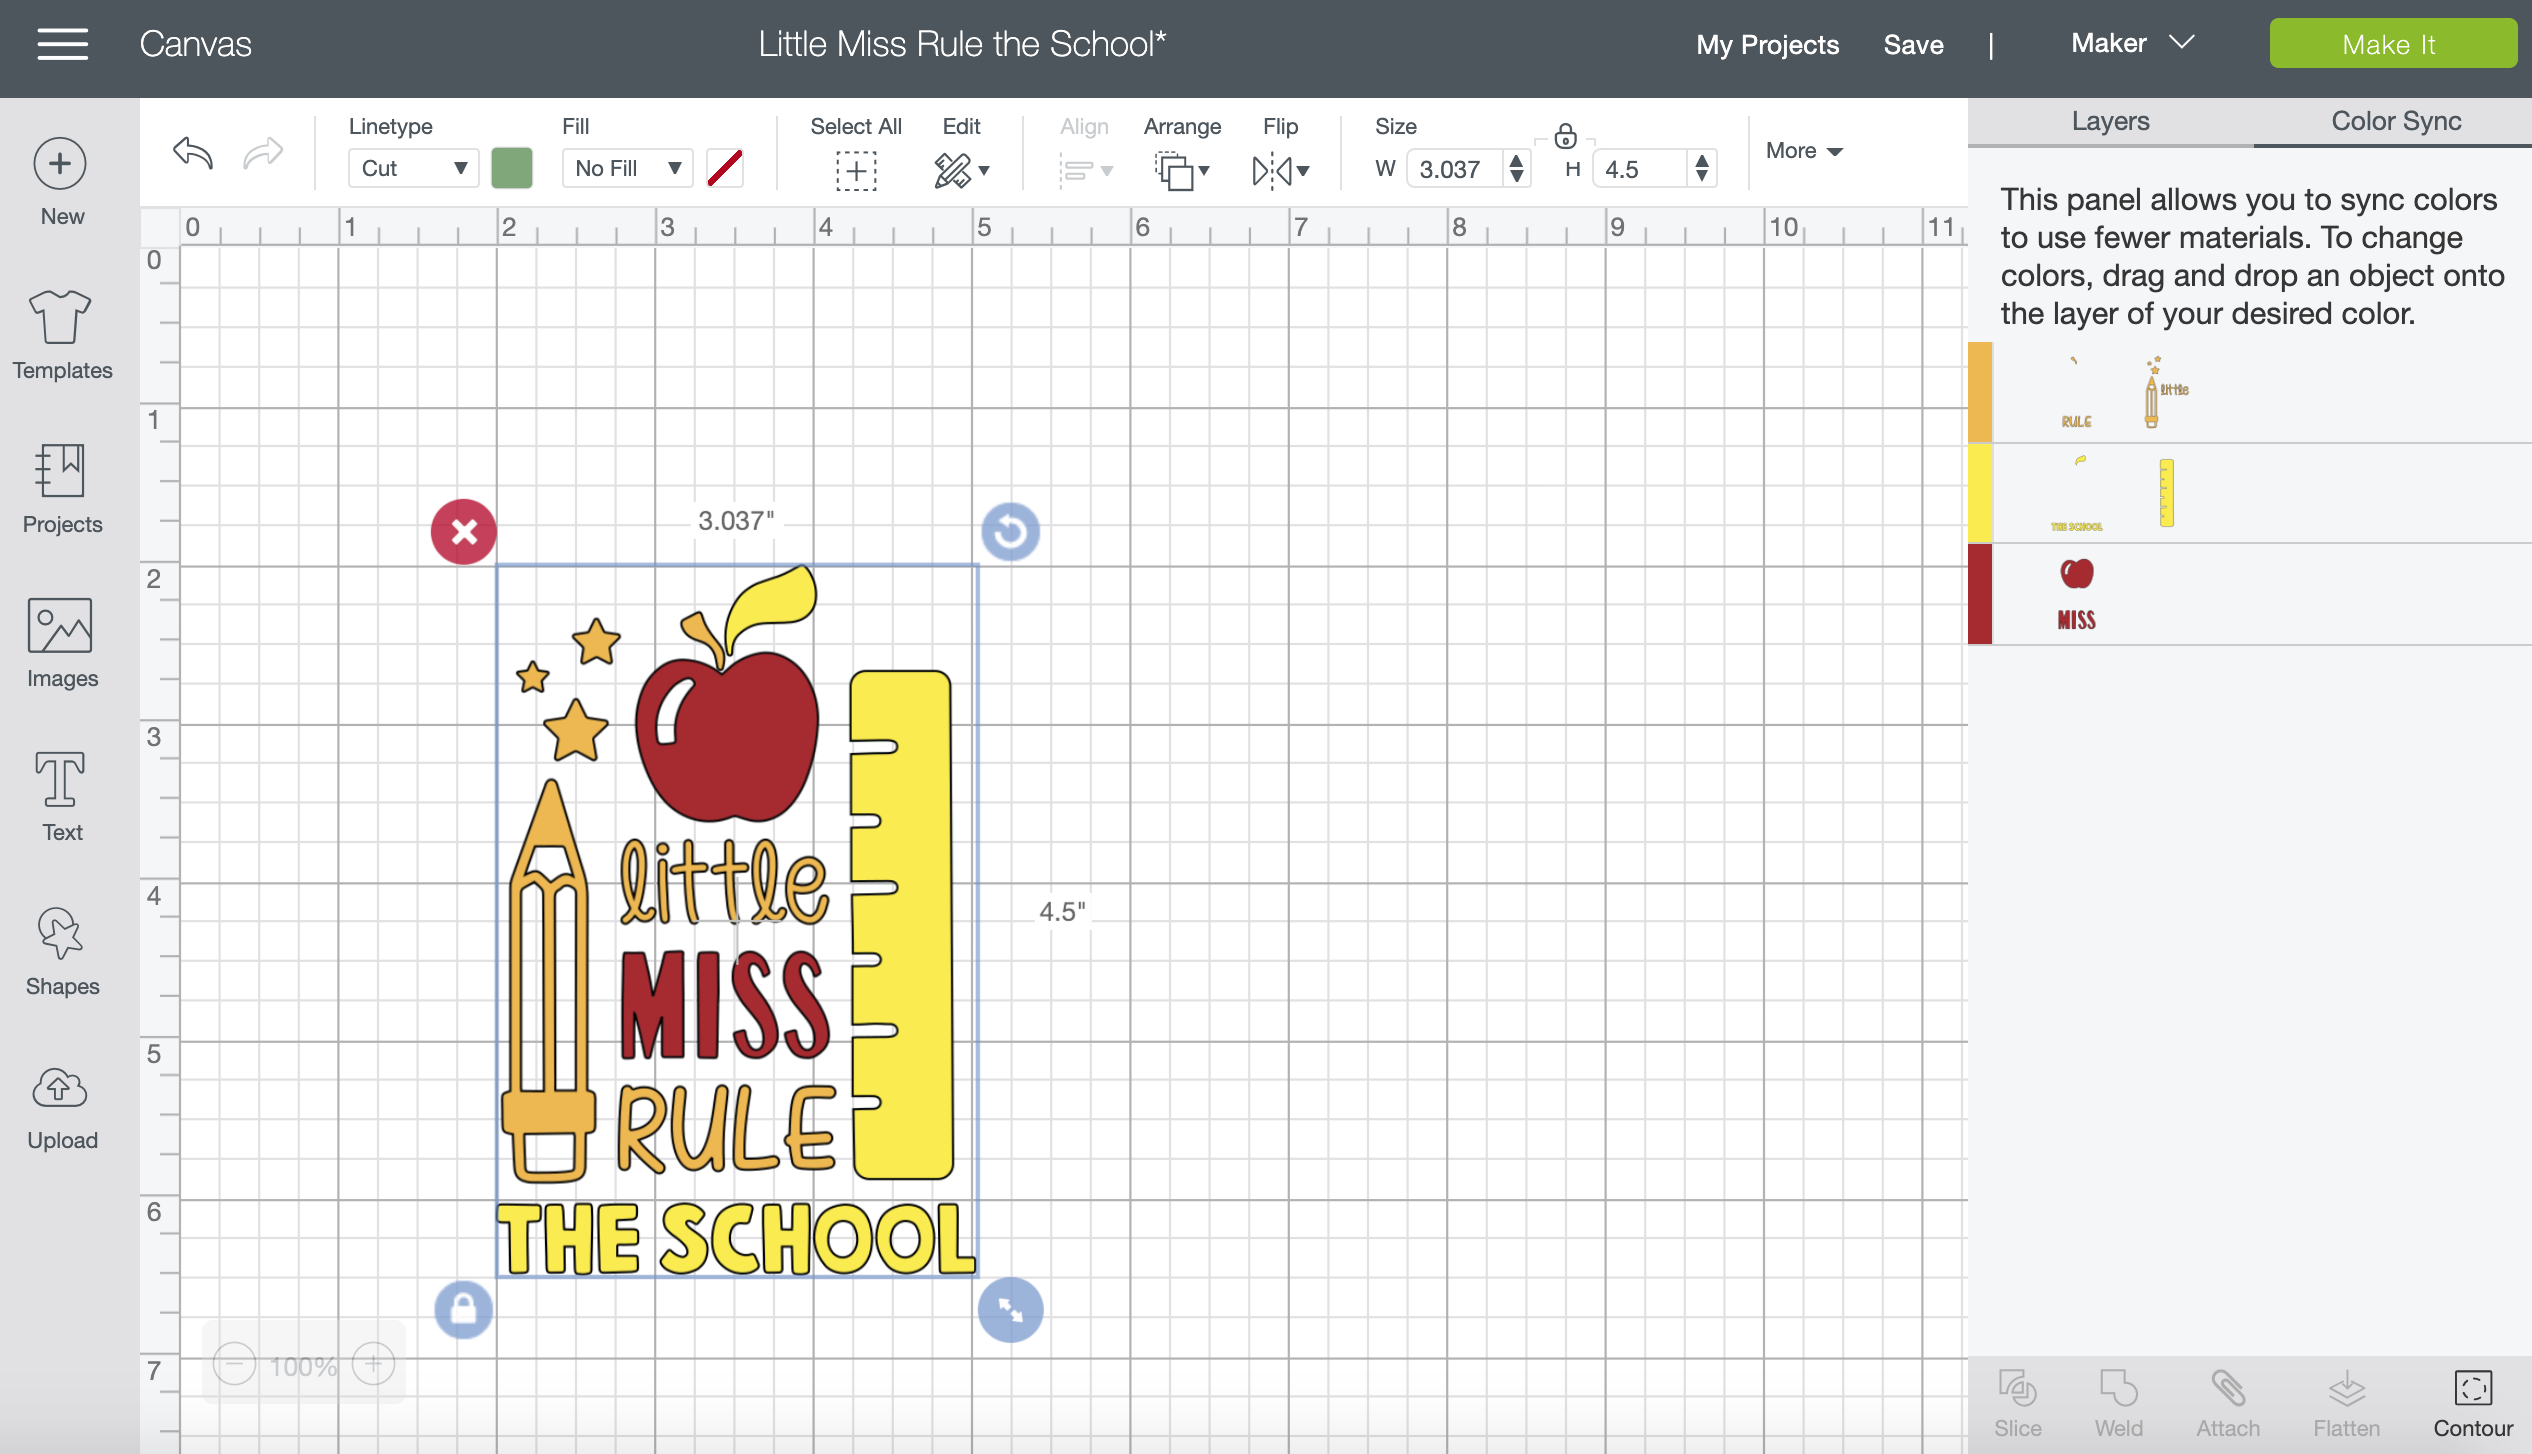
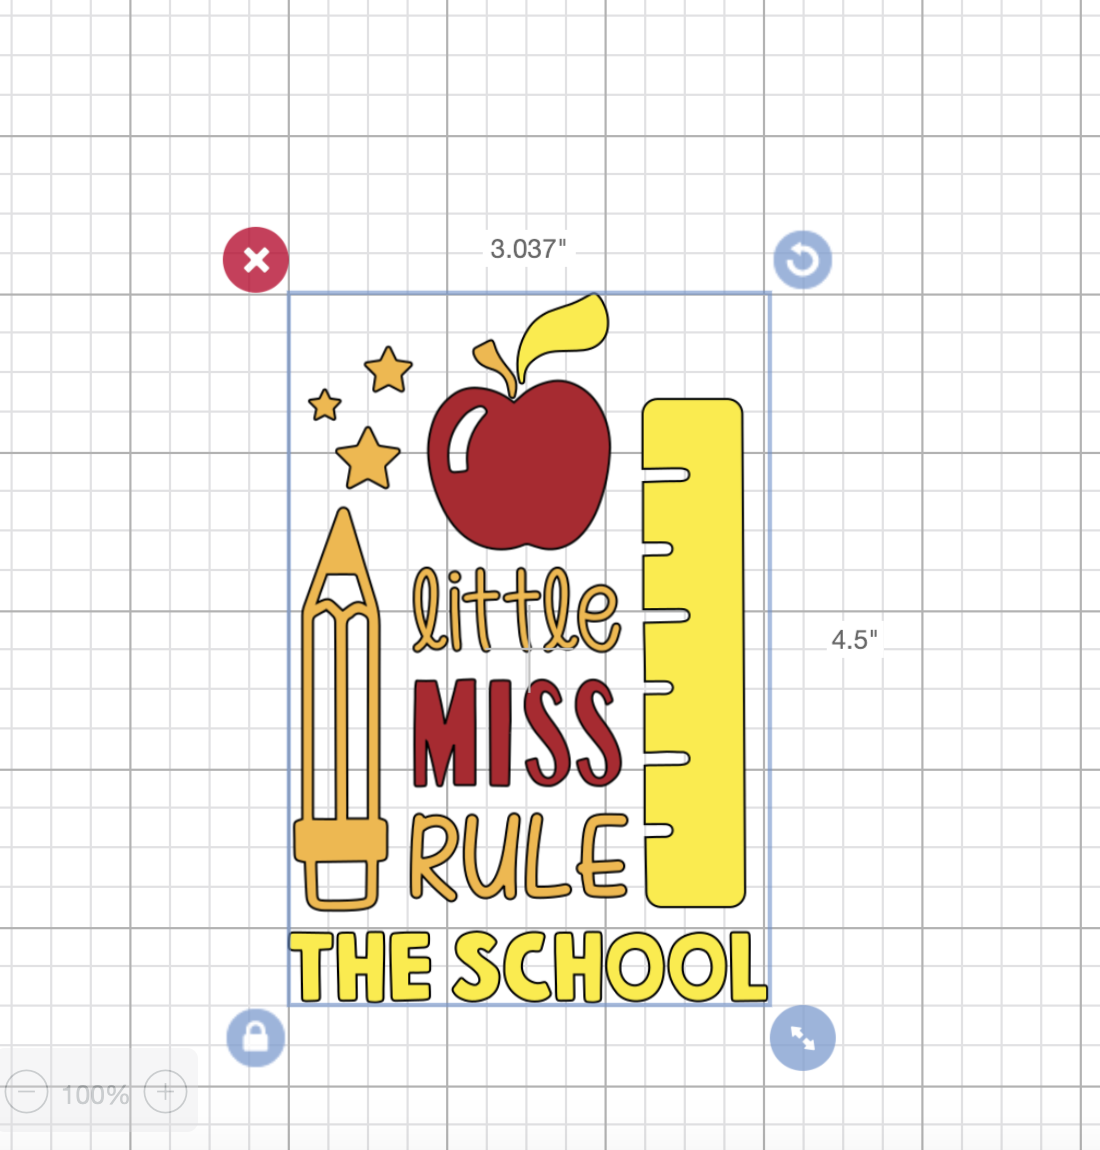
Color Sync
Start by selecting the design in the side bar and ungrouping the Little Miss Rule the School Design.
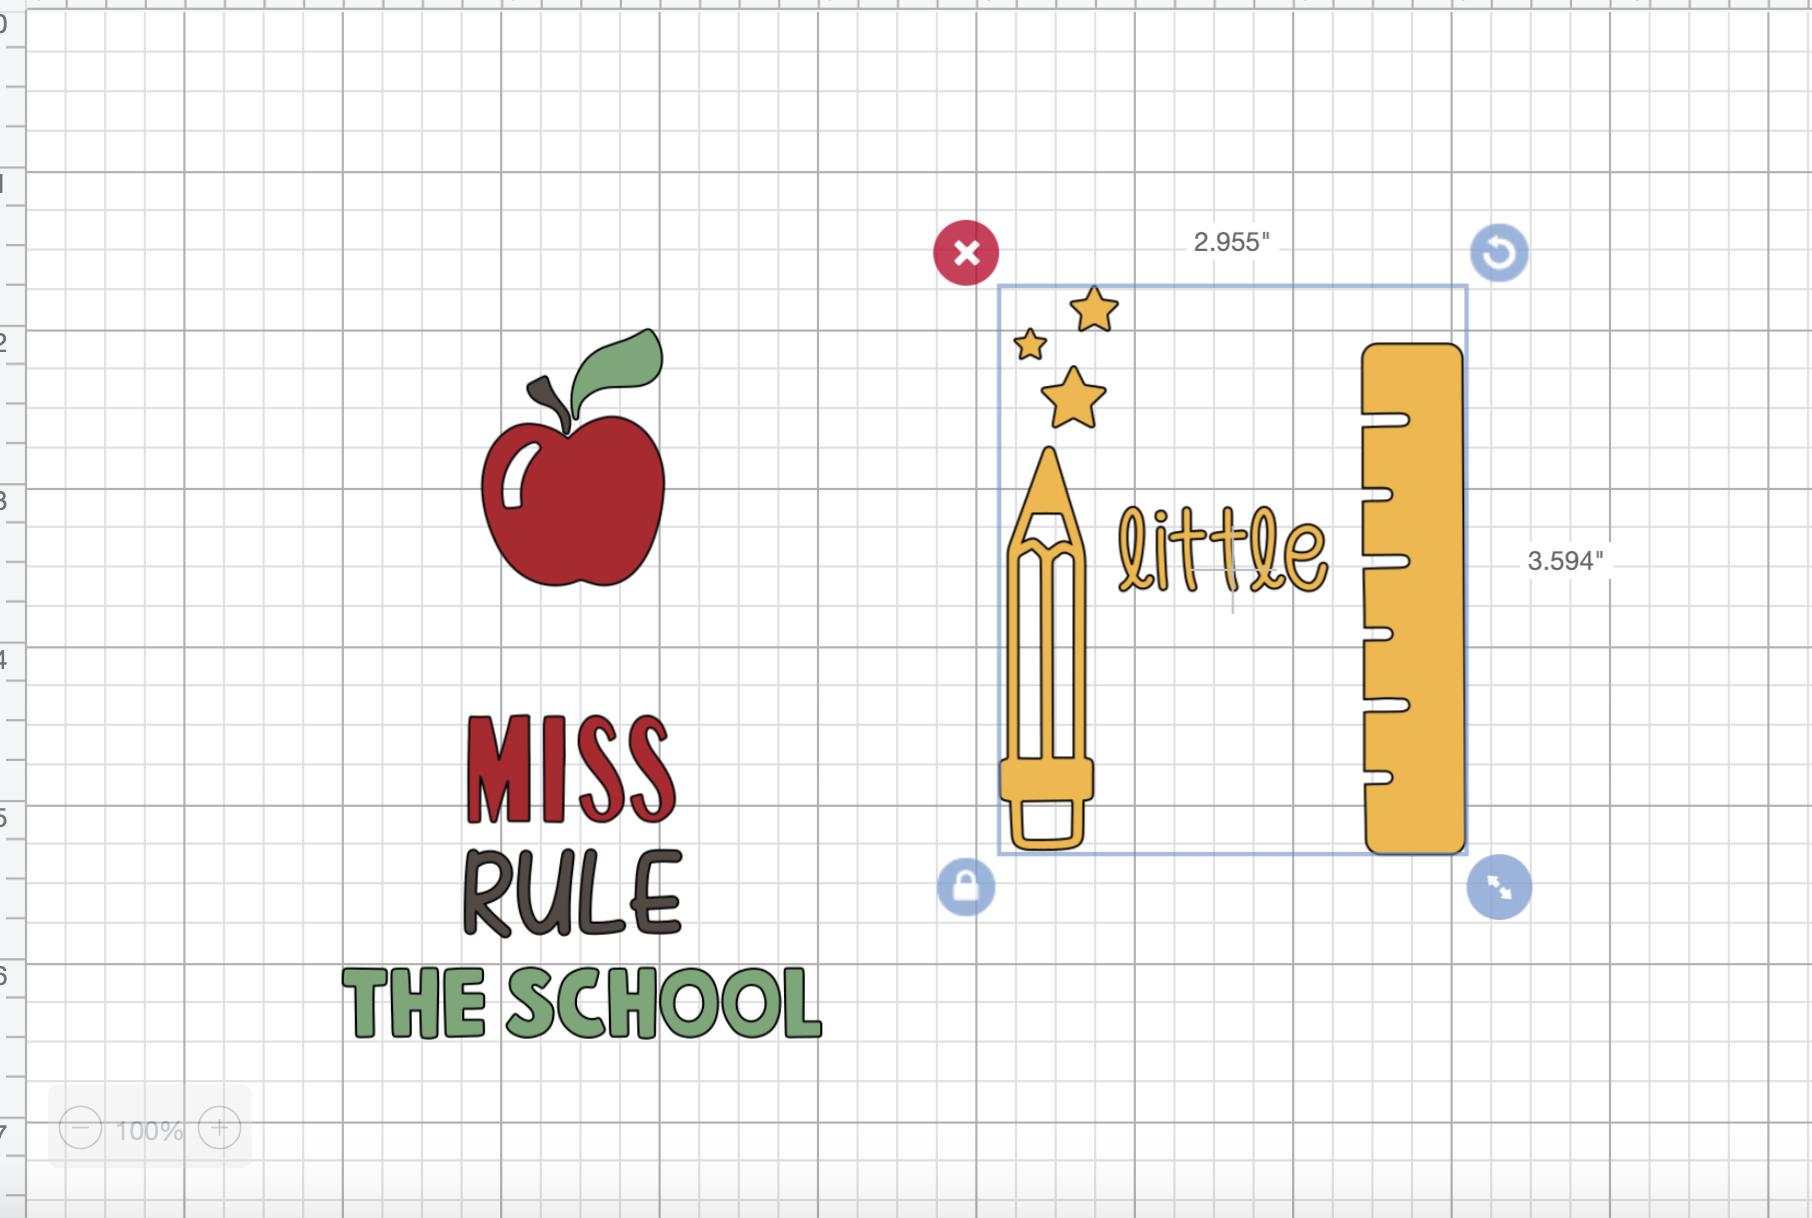
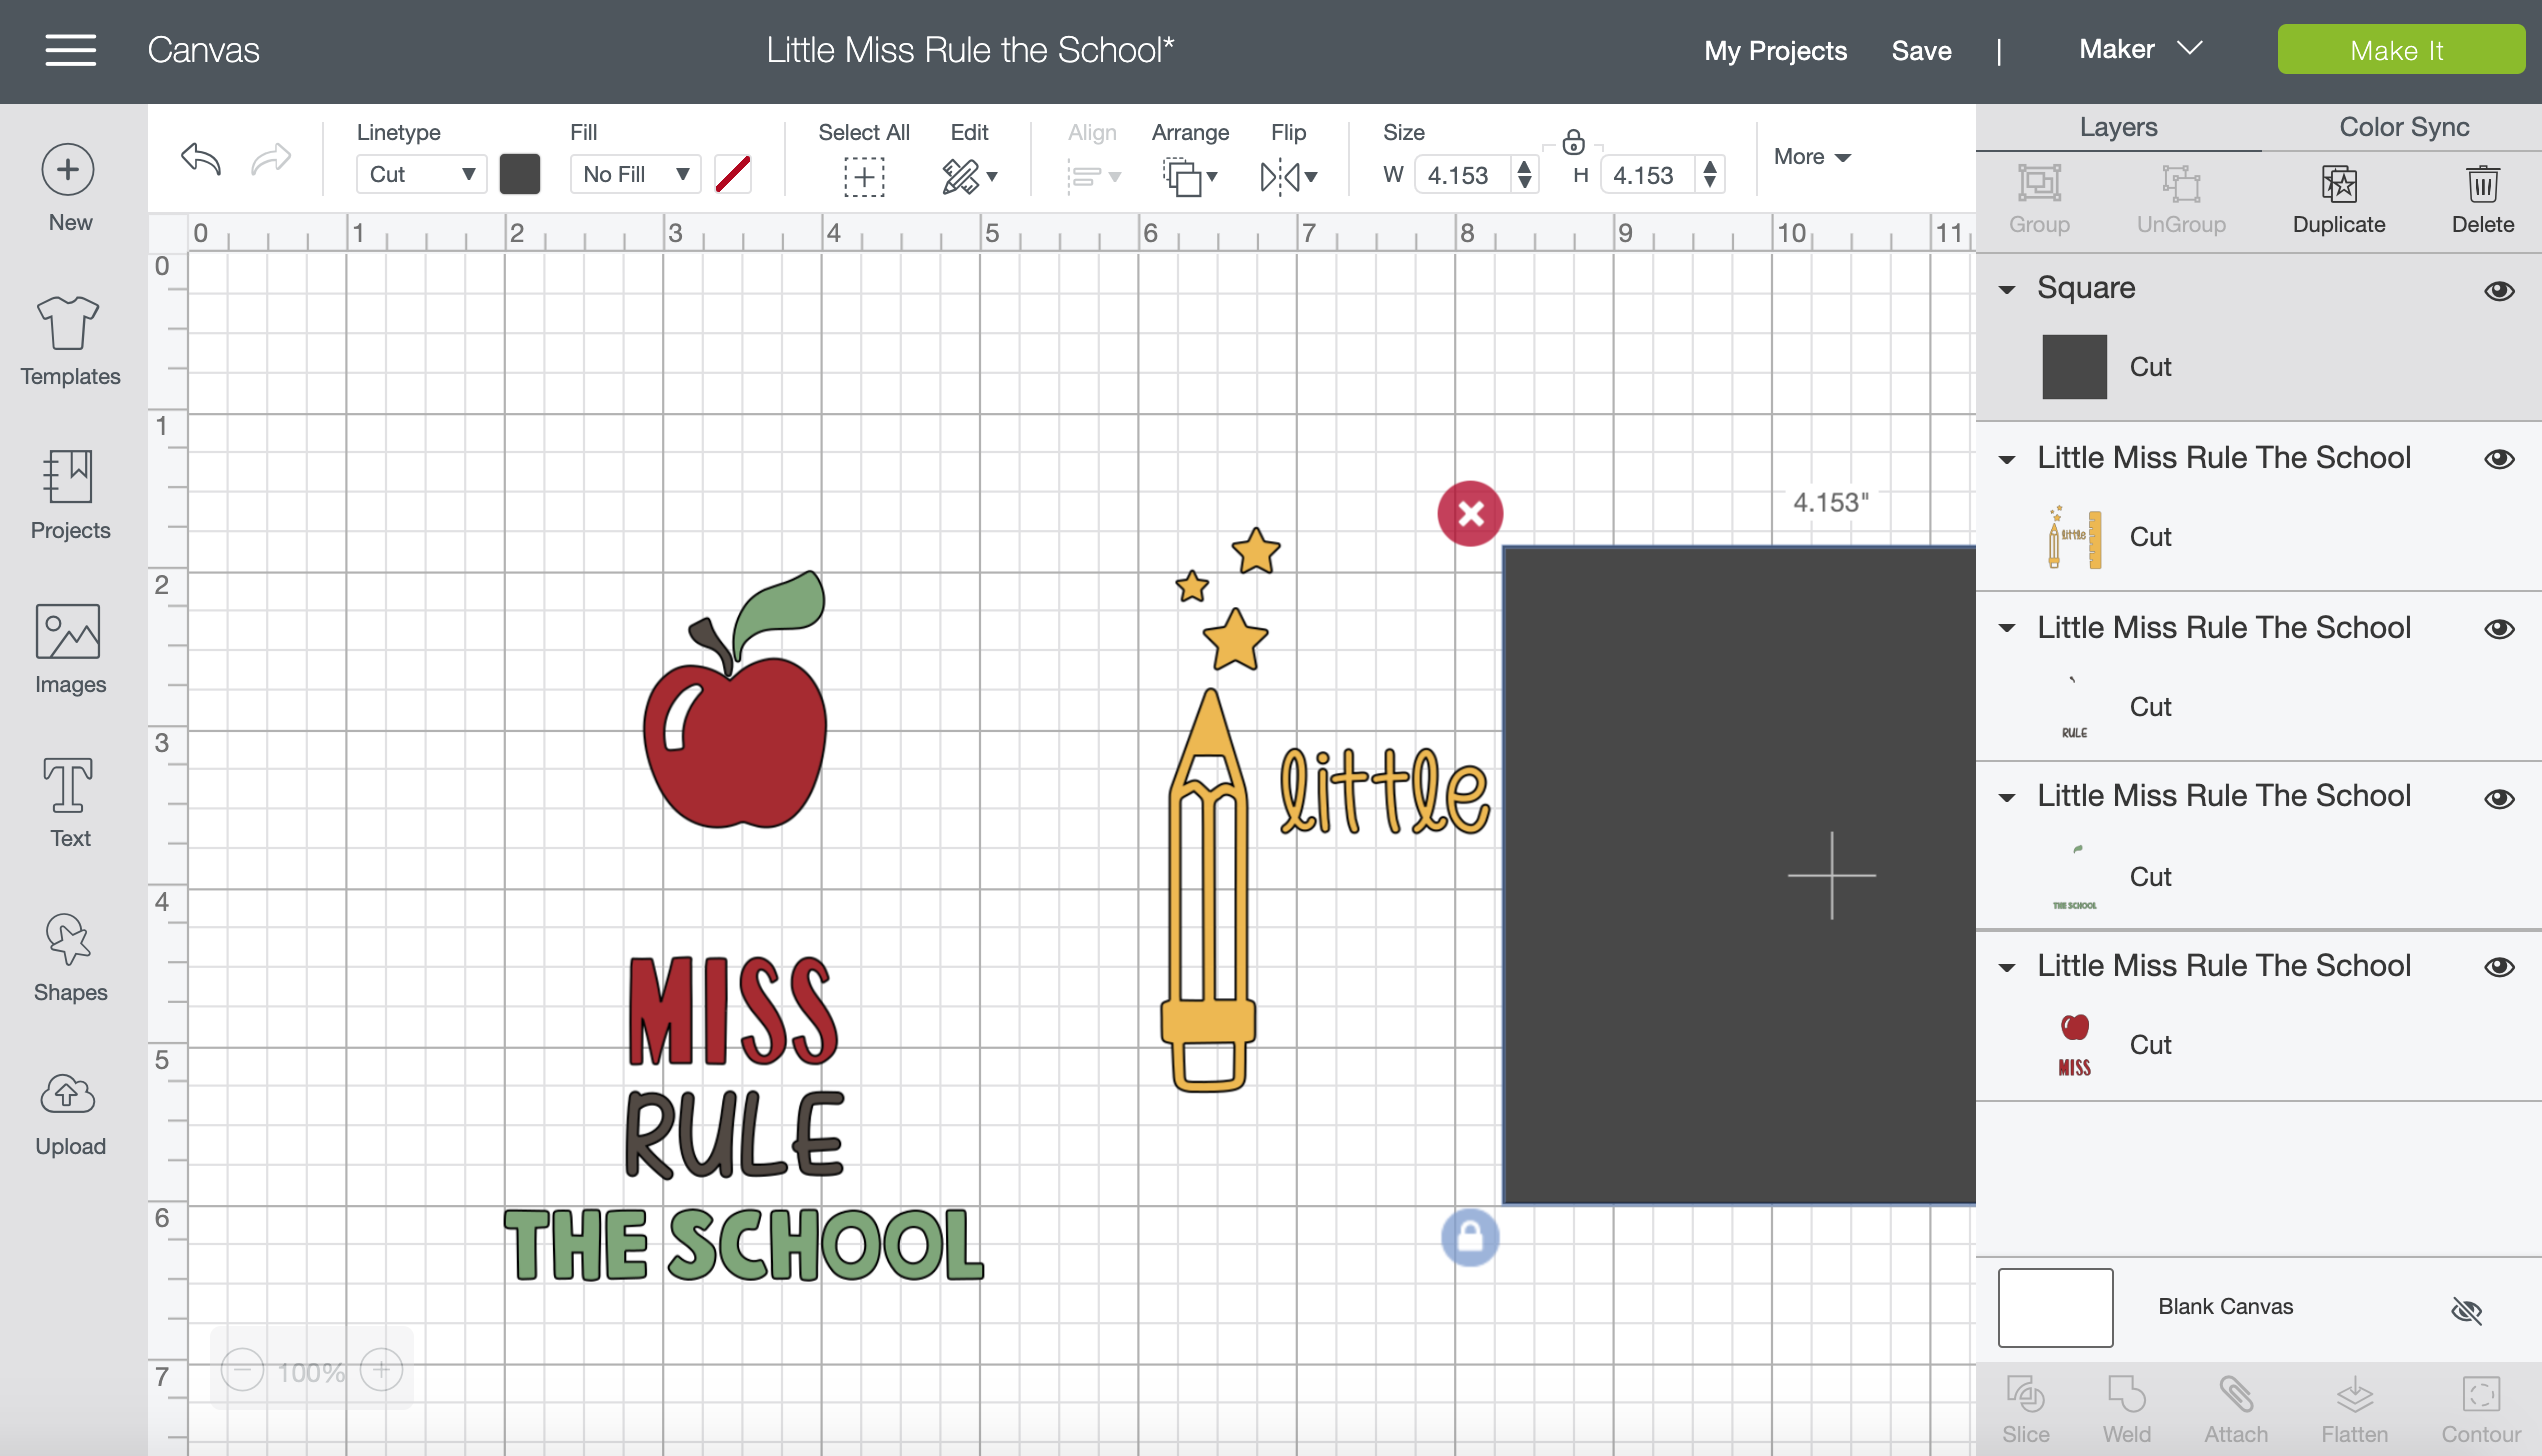
You can also make changes to color of the different items. For example, I made the ‘The School’ and the ruler the same color. You can do this by making a shape and covering the piece completely that you want to change and slicing it out of the design.
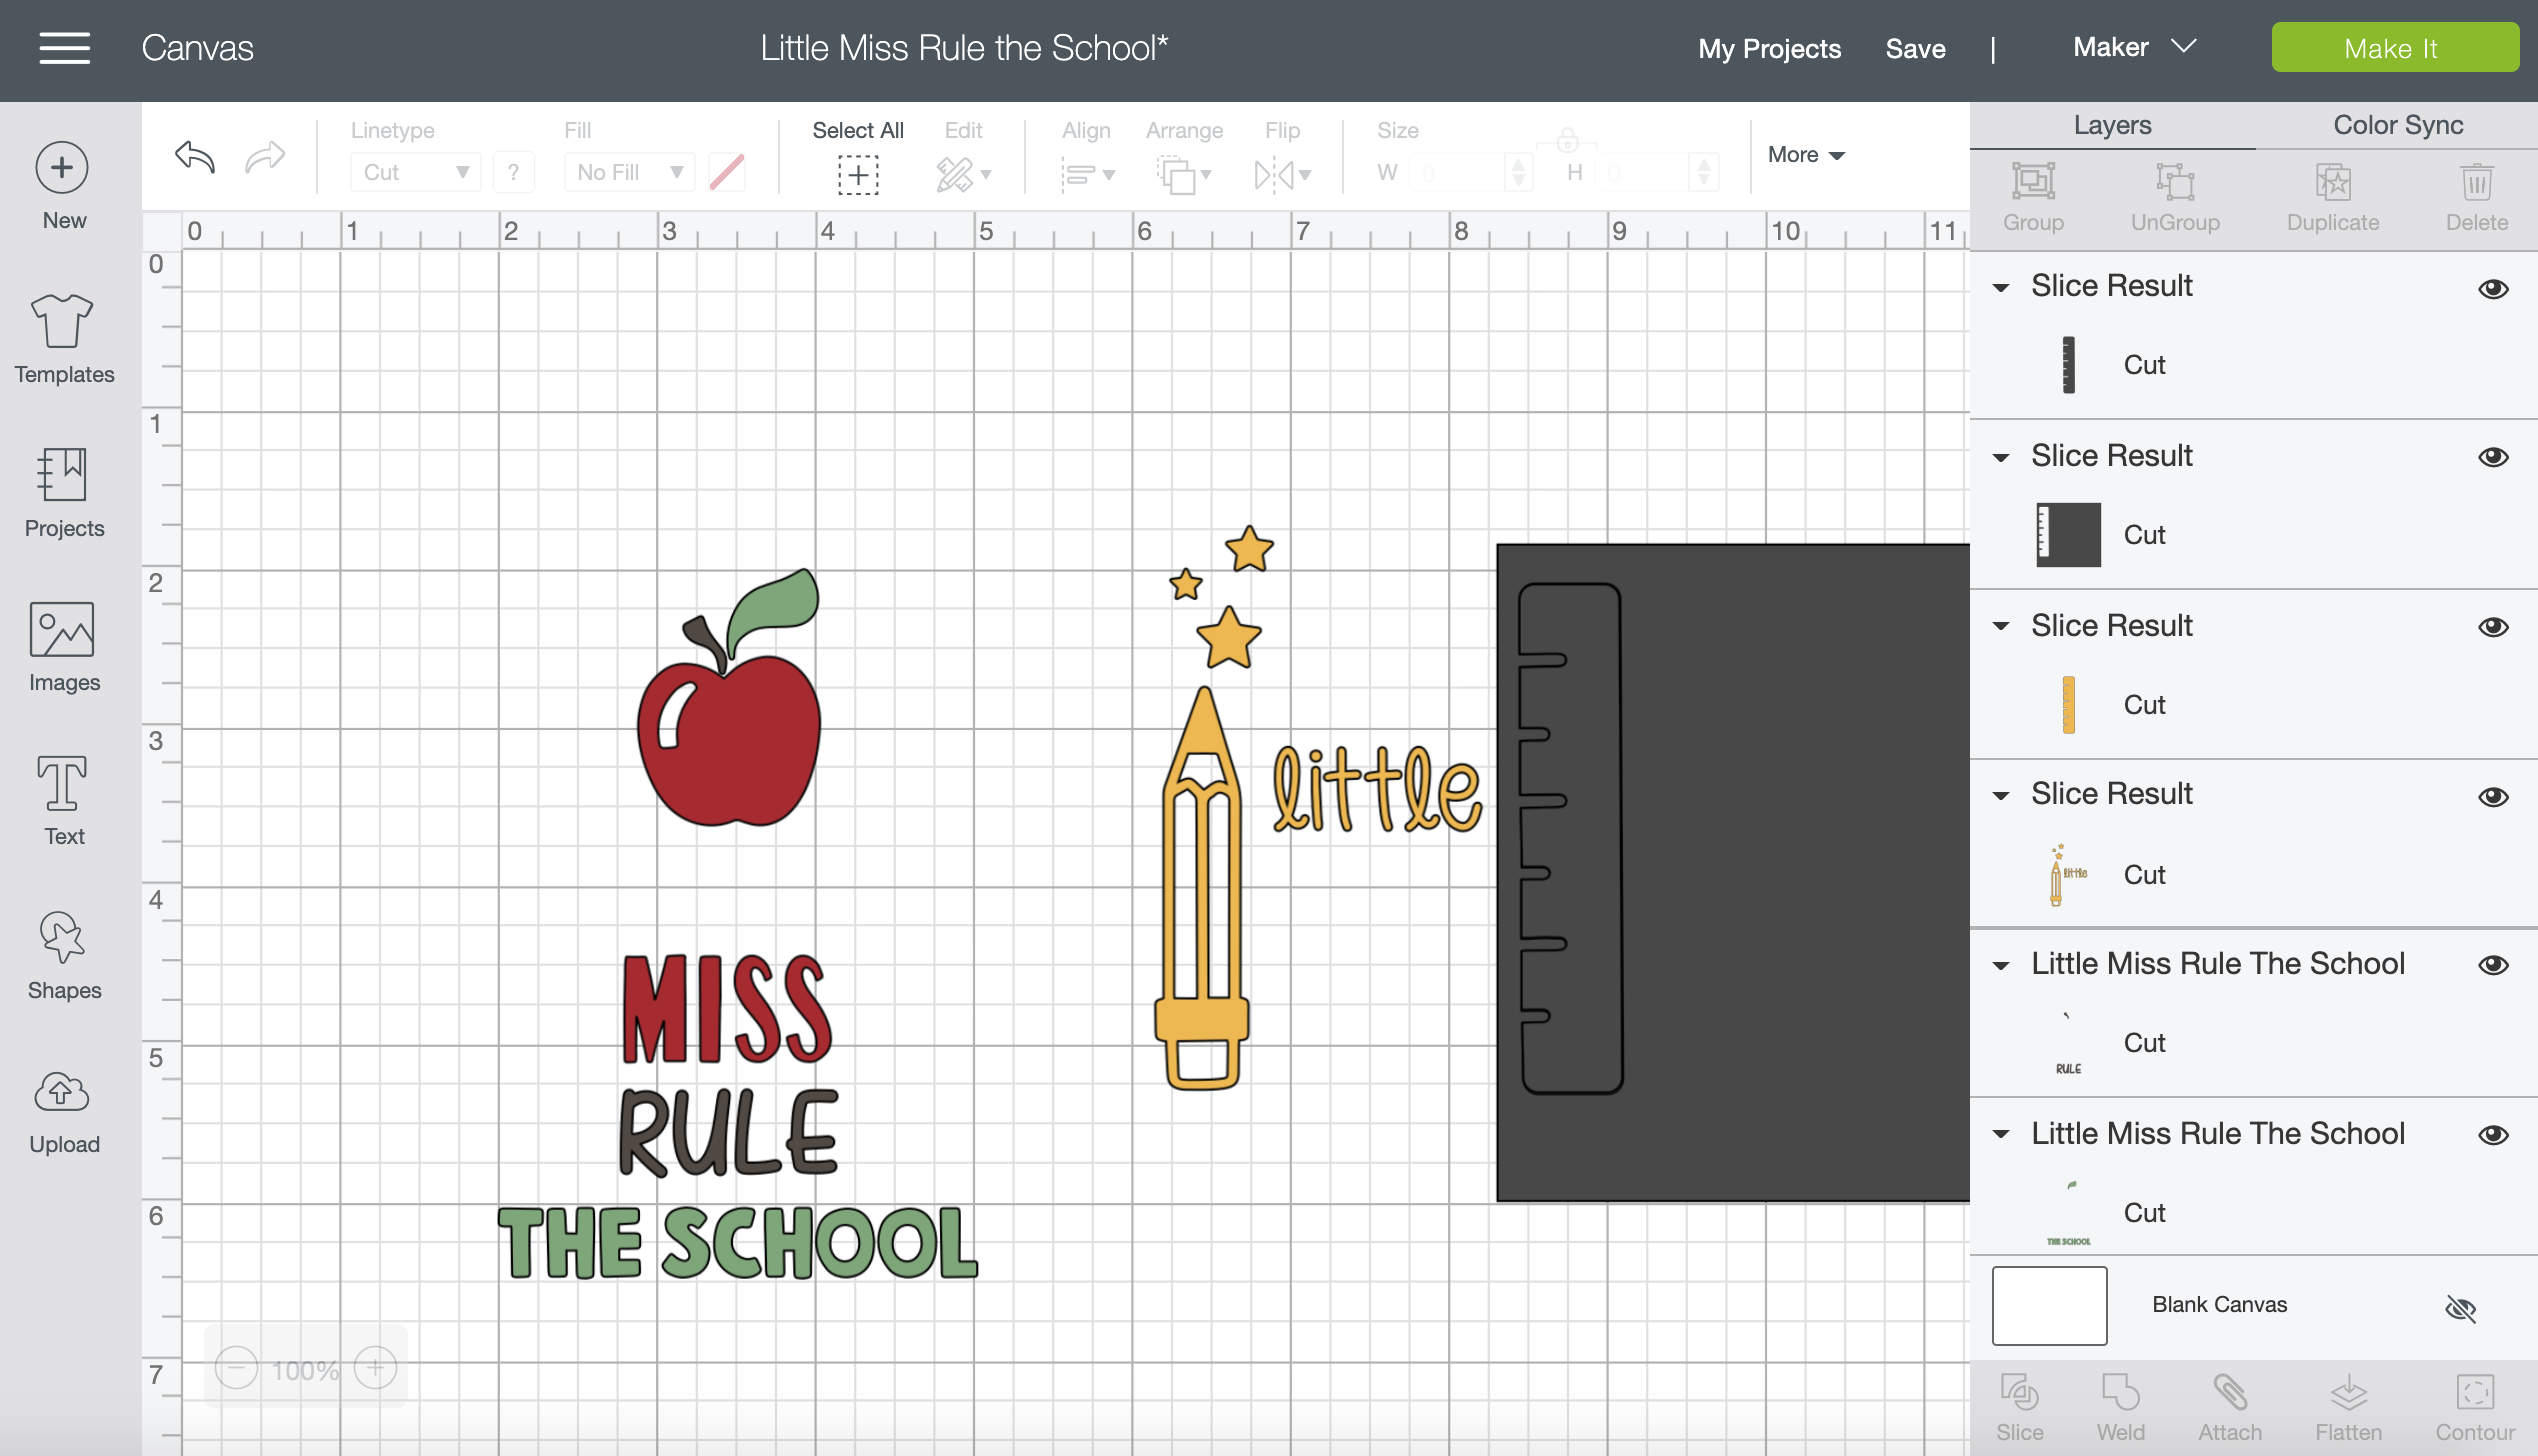
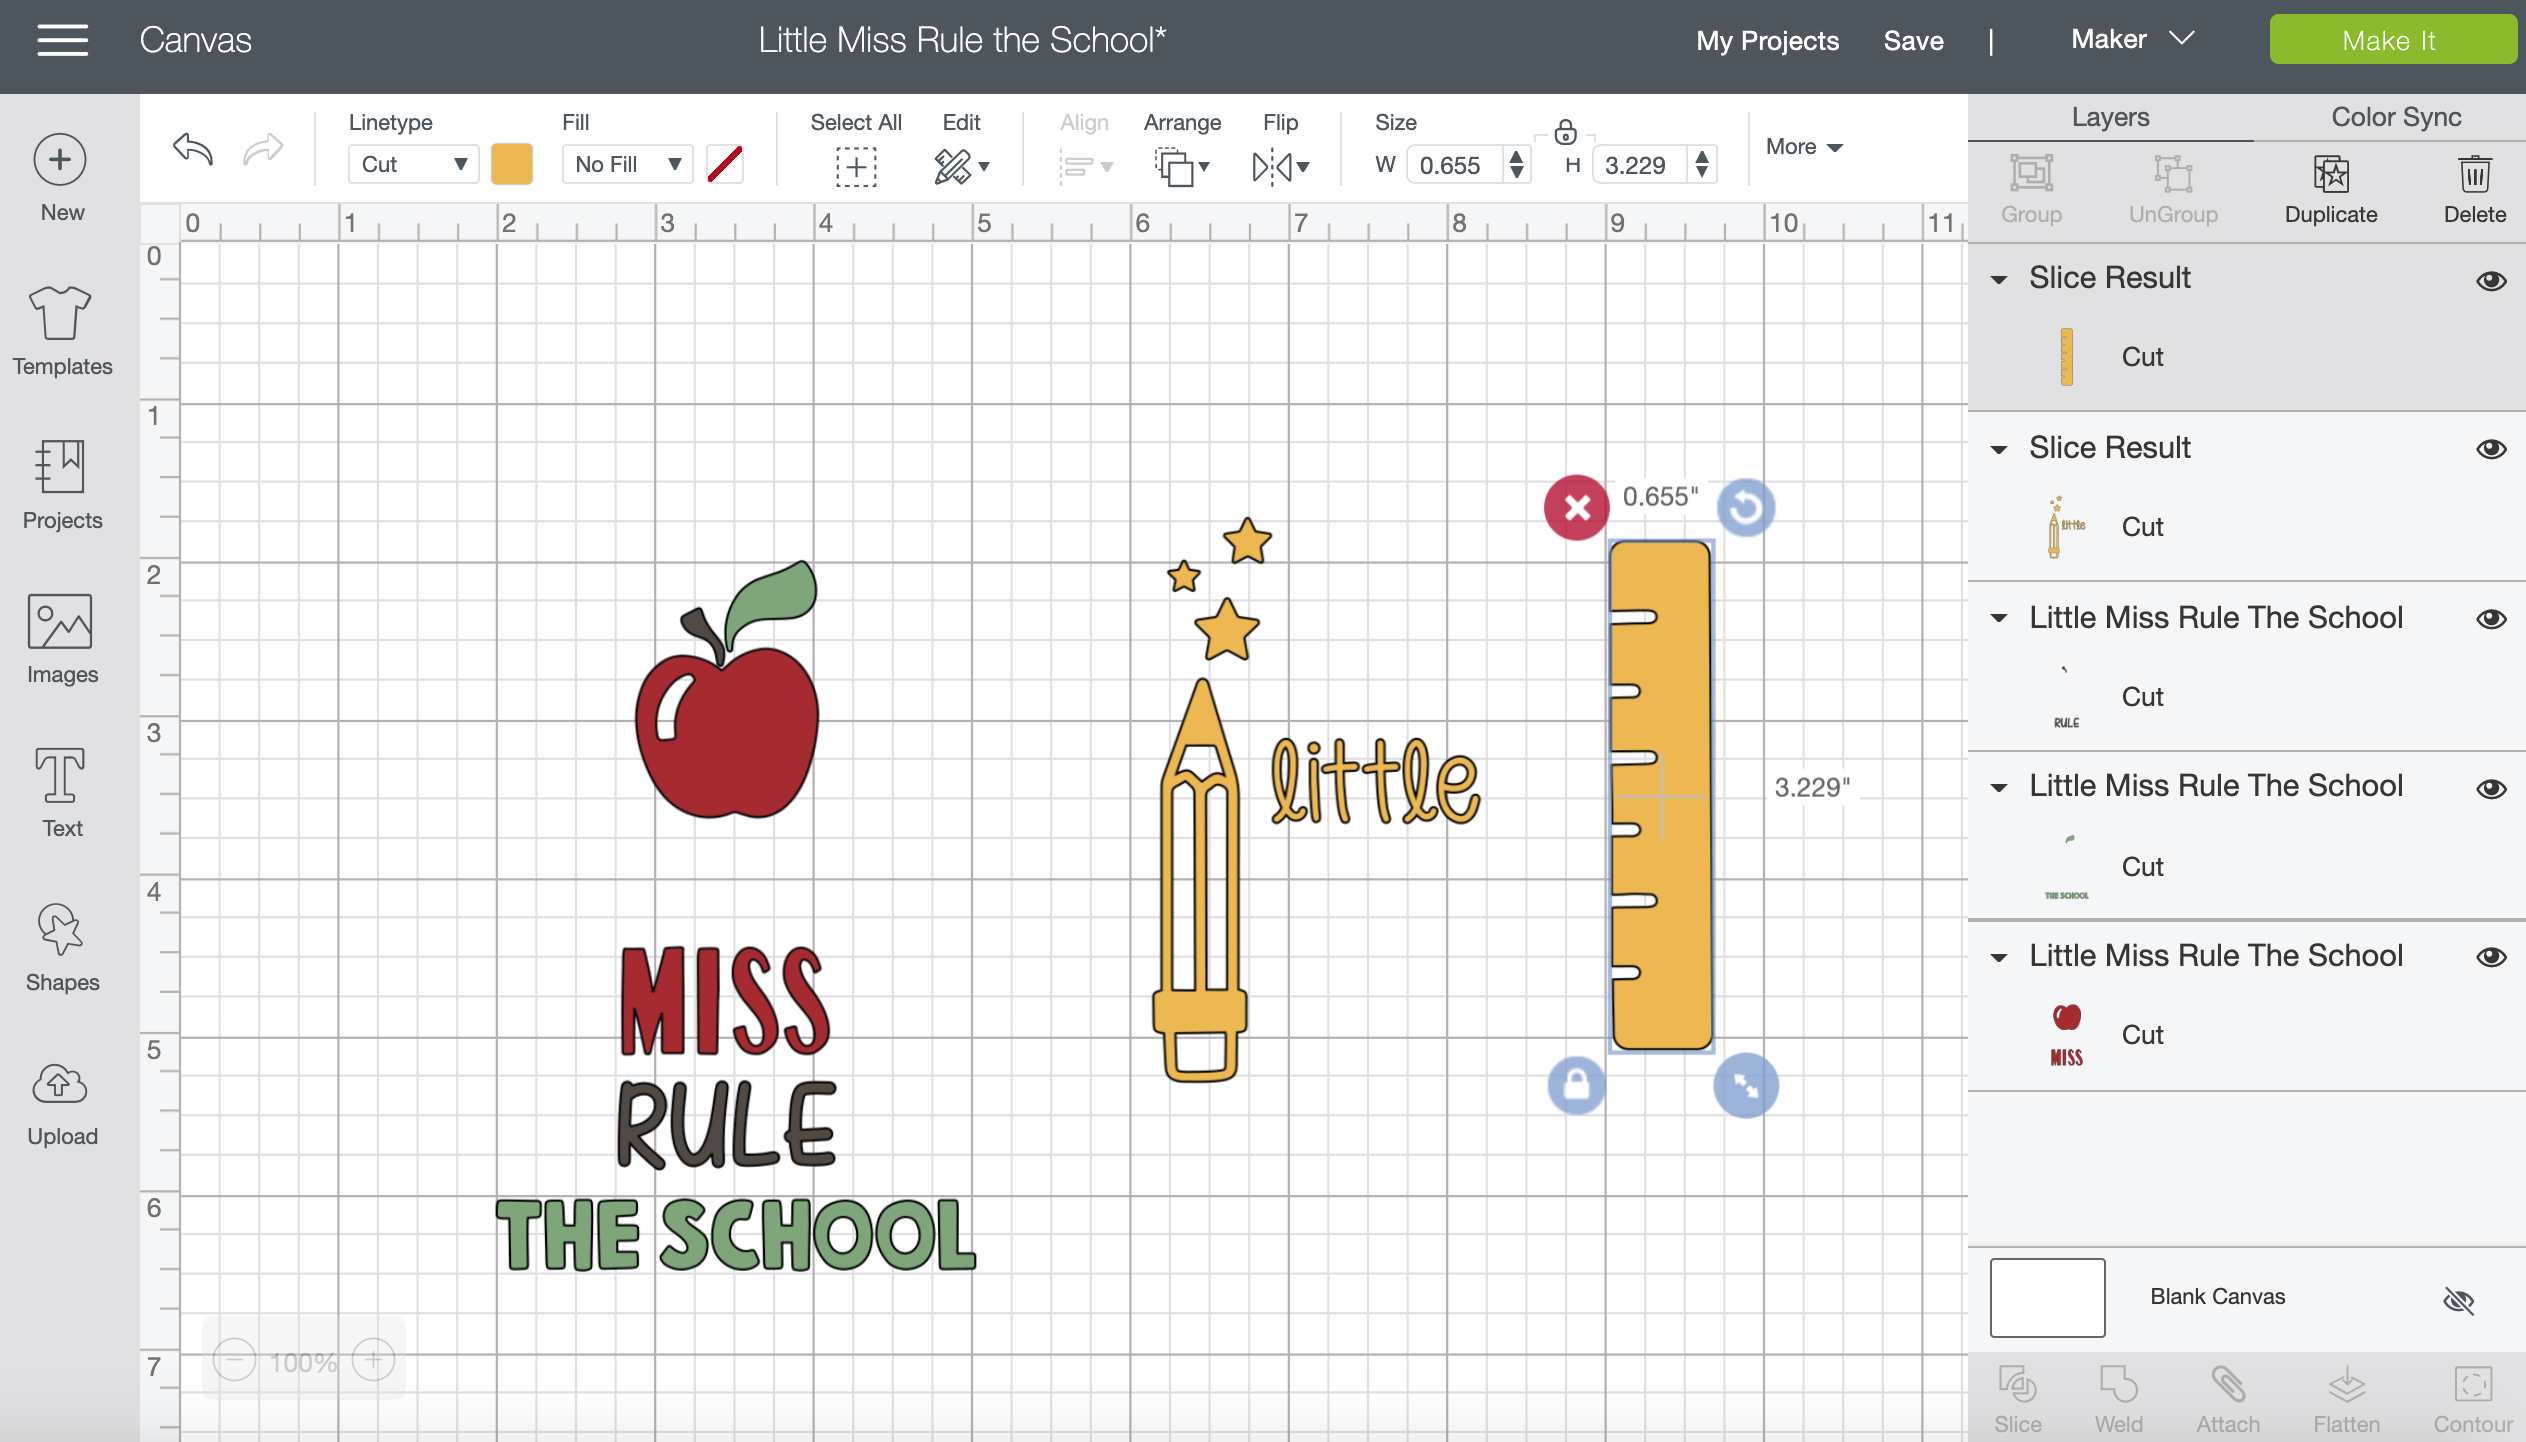

In order to simplify the design so that you can reduce it to the iron on colors you have on hand. Click color sync and couple the designs together that you want to be the same.
How to Print Using Cricut Iron On Foil
To use Cricut iron on foil vinyl, you should use the green circuit sheet with the medium stickiness.
Place the vinyl shiny side down on the green standard grip Cricut mat. Make sure it is secure and try to avoid bubbles.
Load the green sheet with the foil vinyl on it using the arrows and make sure the Cricut pulls it in properly.
Mirror the Image
On the computer, choose the machine and make sure that you are reversing the image.

Also, choose the type of Cricut foil iron on vinyl by selecting from the Cricut database of material. There are so many – make sure you get the right one.
Ensure that the Cricut has space behind and in front so it can work properly.
When the C – Cricut symbol is flashing, press it and watch the Cricut cut the letters.
Remove the sheet with the arrows.
Pull off the Vinyl and cut the space where the letters are.
Remove everything except the letters from the sheet using the weeding tools.
How to Use the Cricut Easy Press 2
Set up your Cricut Easy Press 2 by following the directions.
Turn on the Cricut Easy Press 2 and make sure the timer is set to 30 seconds and hook into the computer so that you can choose which materials are using so that the Easy Press 2 knows what’s up. You can see the temperature guide here. For Cricut iron on foil, it should be set to 295 degrees F and 30 seconds.
Let the Easy Press 2 heat up while you prep the shirt.
Add the Easy Press Mat into the shirt or under it depending on the size. Lay the shirt on flat surface like a table.
Heat up the area for 5 seconds where you will adding the design.
Set Design In Place
Measure to make sure you have the design and where you want them. Set them in place so you only have to press once. If you have to press more than once, split the press up into 1/2 or 1/3 time depending on how many layers you have. I was able to do it one shot by cutting down the contact paper, but that is not always possible with certain designs. I did 2 presses with the 100 days of summer to get the spacing right.
Place the press on top of the back to school design and let it is sit while you hold the machine for 30 seconds. Use light pressure.
Remove the Easy Press and put it back on the cradle.
Flip over the shirt and use the Easy Press 2 to heat the back of the design for 15 seconds.
Wait a few minutes before peeling off the contact paper. You want it to be cool.
Cricut Iron On Foil is sensitive to being over heated so ensure that you don’t leave the press on longer than recommended. If you use the Easy Press 2 instead of the iron, the foil iron-on should not wrinkle or distort. With large designs, an iron can cause dents in the foil or to regulate the temperature.
More Cricut Projects for Back to School
- Monogram you child’s back pack with holograpchic vinyl with this tutorial.
- Personalize your kid’s pencils with this easy vinyl tutorial.
What are you most excited for back to school?
4 thoughts on “Cricut Iron On Foil Shirt Tutorial”