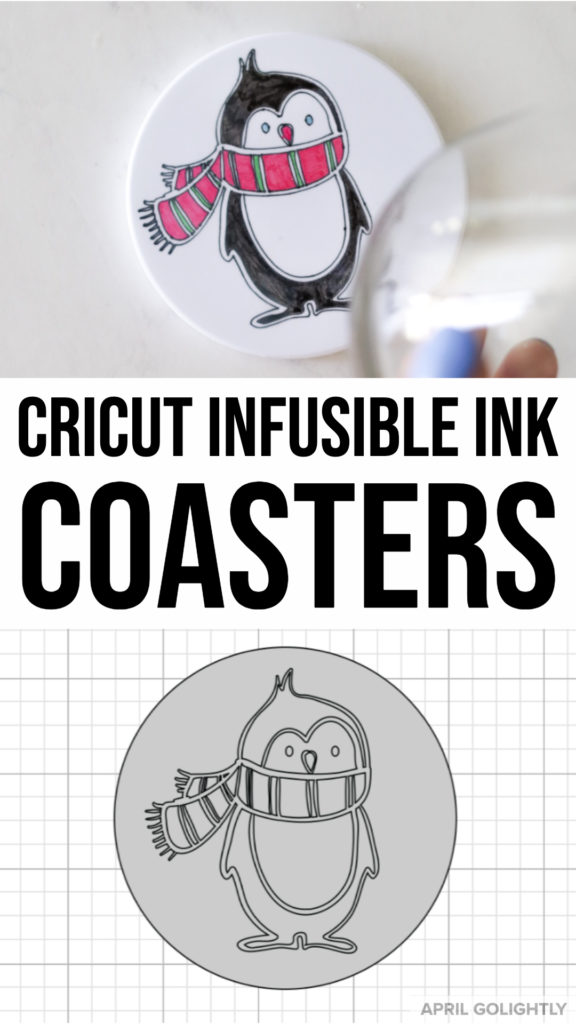
As a fun activity, my daughter and I made these Cricut Infusible Ink Coasters. We chose holiday images in Cricut Design Space and had the Cricut draw them using Cricut Infusible Ink Pens. Then, we colored in the drawing with infusible ink pens making the entire design infusible onto coaster and Cricut blanks.
Do you love your Cricut as much as we do? We started making Cricut projects a few years ago and have gotten more into it lately. Get a ton of Cricut Project Ideas here.
Cricut Infusible Ink Coasters
Tools & Supplies
- Cricut Machine – whether it is the Cricut Explore 2 or the Cricut Maker (we have the Cricut Maker)
- Cricut Easypress 2
- Easy Press Mat
- Butcher Paper (comes in the infusible ink package)
- Basic White Card Stock
- Cricut Infusible Ink Blanks Coasters
- Lint Brush
- Light Grip Mat

What is Cricut Infusible Ink?
Cricut’s infusible ink comes in sheets and infusible ink pens. You can infuse the ink from the sheets and the pens into Cricut Infusible Ink Blanks. Right now, they make shirts, tote bags, and coasters. I am sure if it is a hit, they will make more items.
You cannot infuse the ink into non-Cricut blanks because the colors will not transfer as well. I have seen it on Youtube and it looks pretty terrible.
Cricut Infusible Ink Pens
The Cricut Infusible Ink Pens allows you to draw your own creations to infuse on to the Cricut blanks (shirts, coasters, and tote bags). You can also use the Cricut Infusible Ink Pens and markers to draw something from Cricut Design Space. All you have to do is convert the Cricut Design files to Draw Files. Learn how to do it below.
Turn Cricut Designs into Draw Files
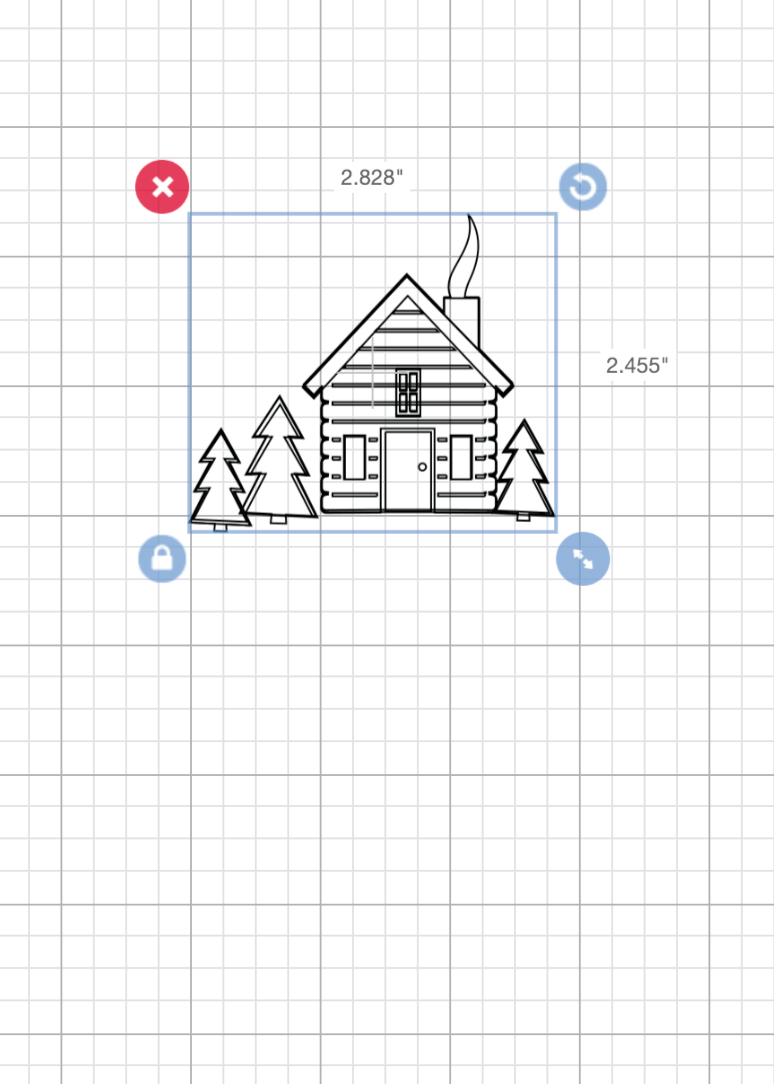
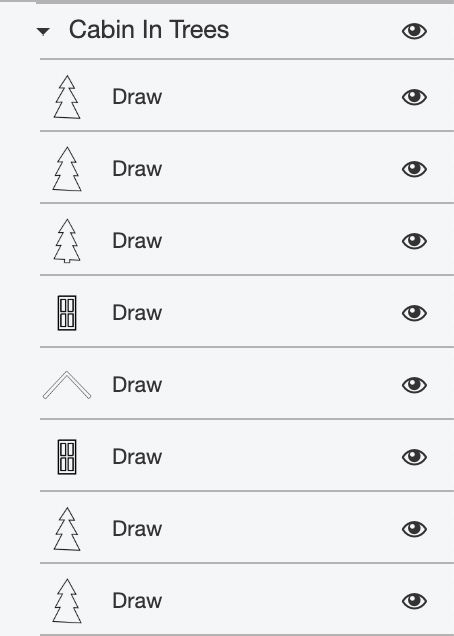
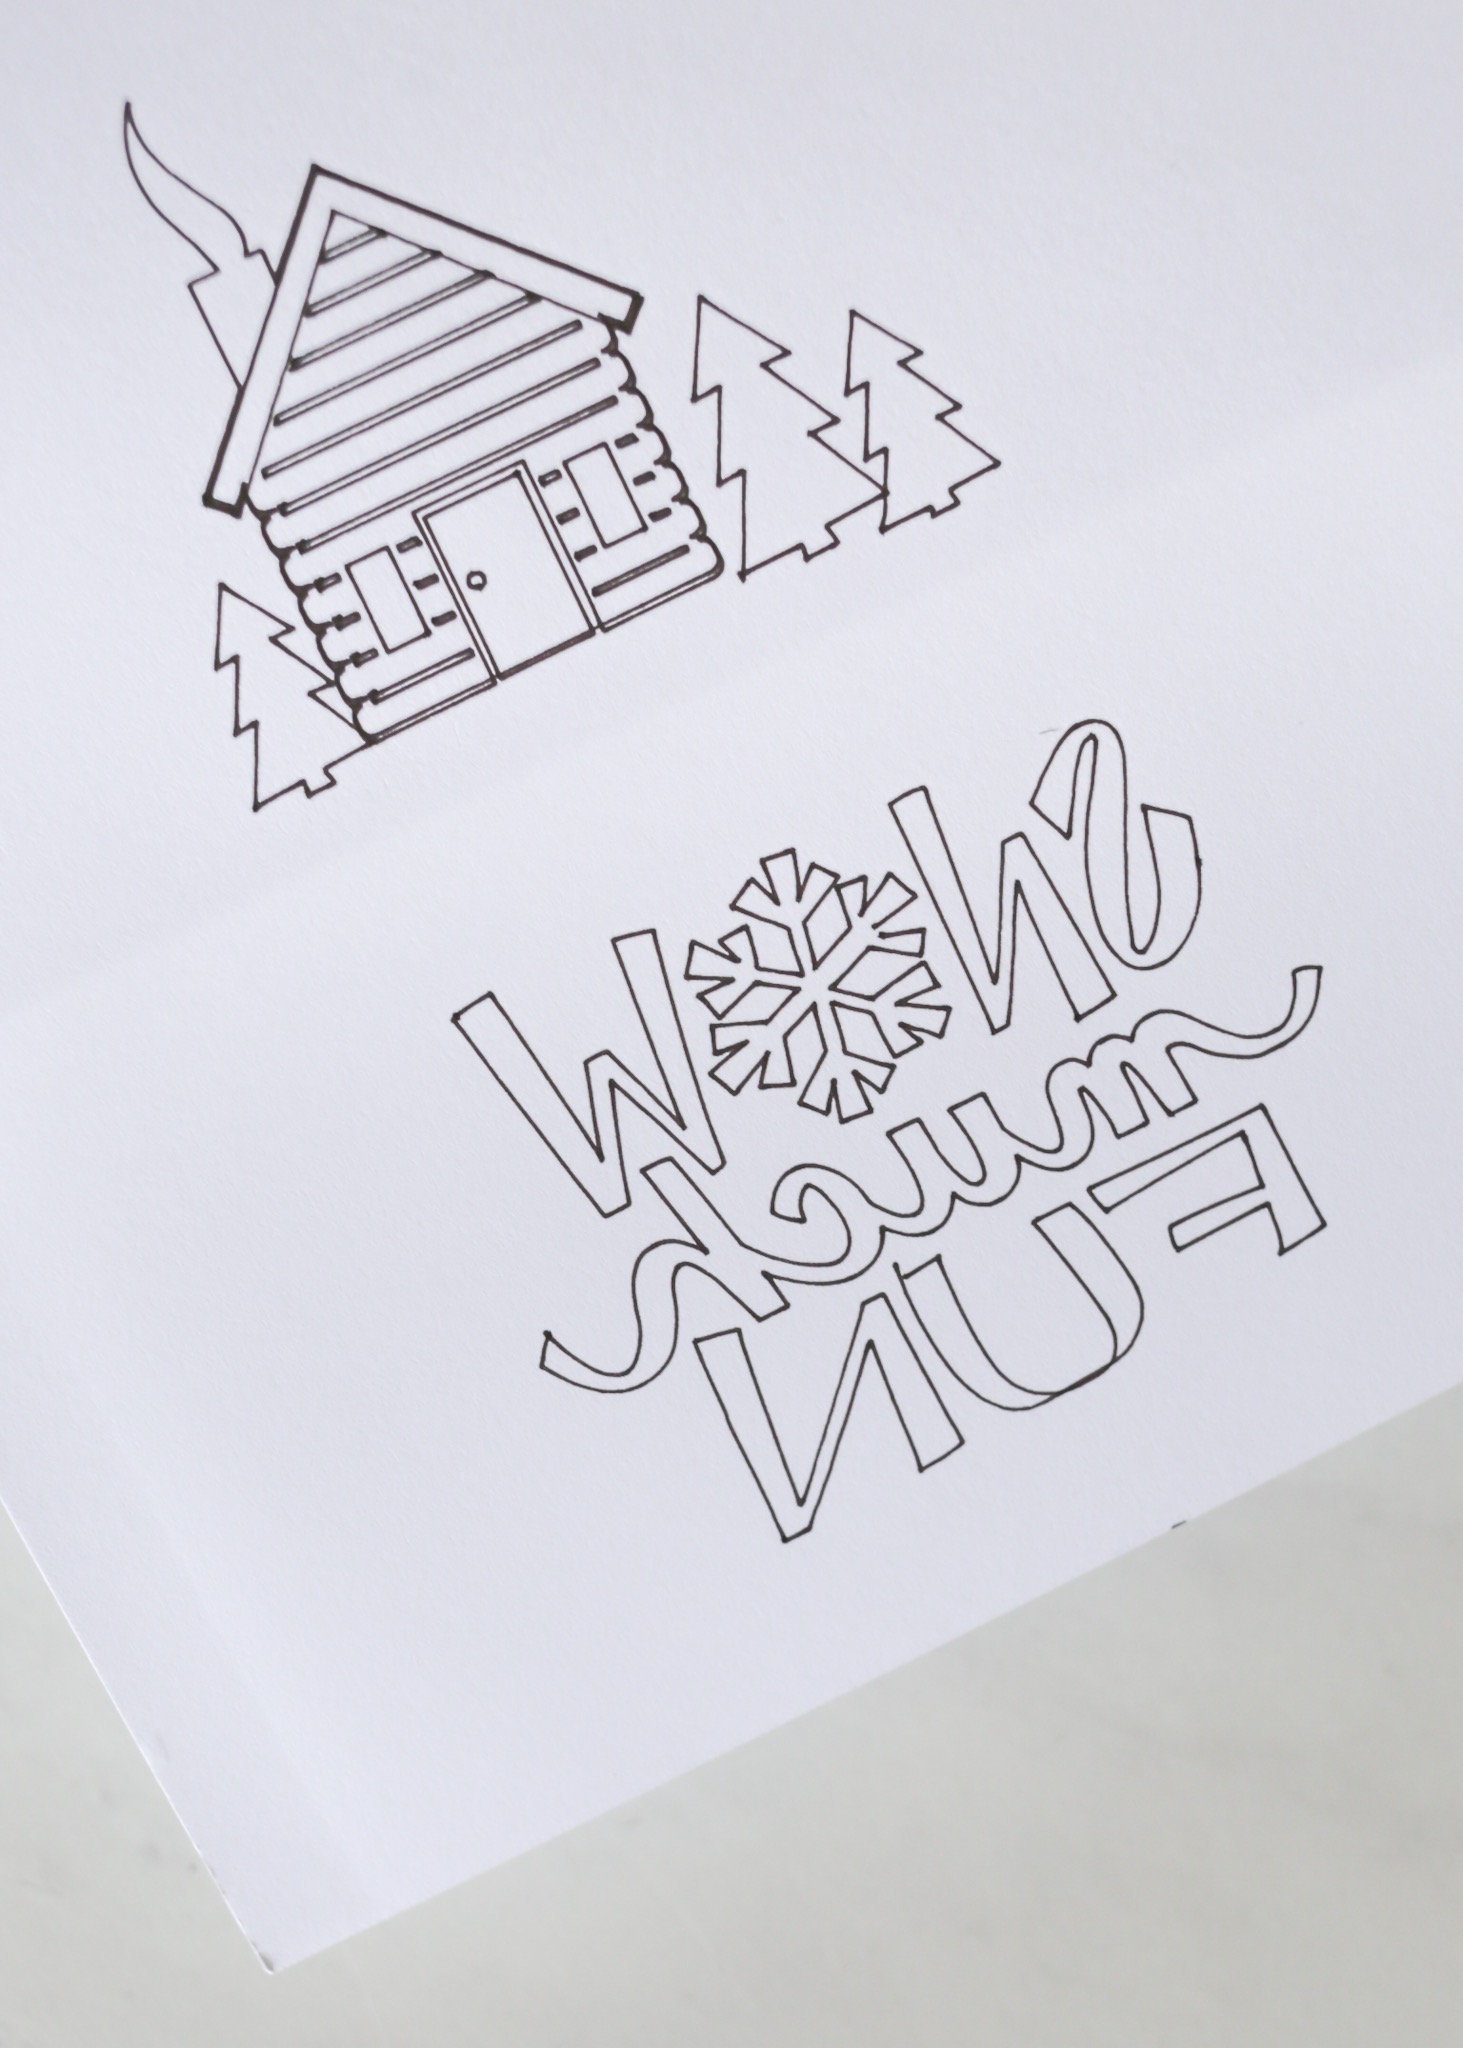
You can turn some of the Cricut design files into files that can be drawn. I changed some of these cut files into draw files using the drop down menu. Not all cut files can be converted, but if you like something, it is worth a try.
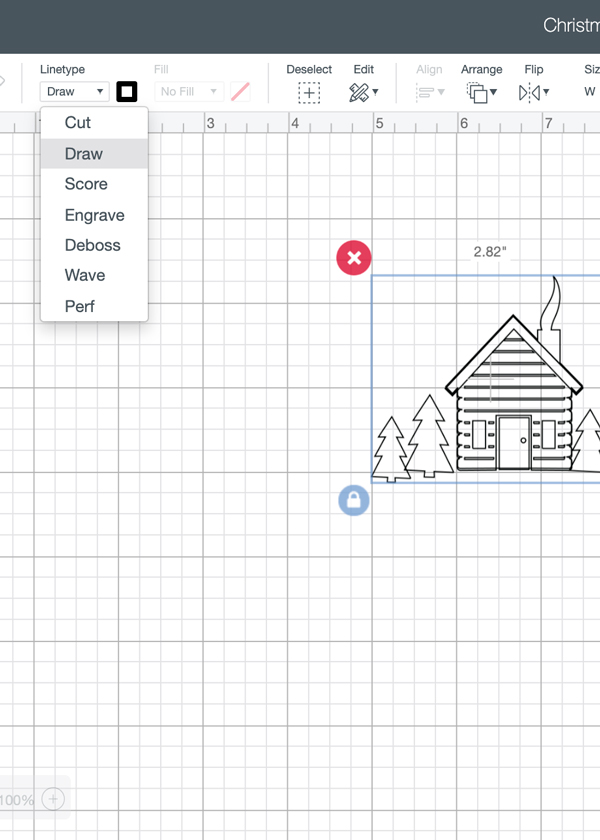
For example, I had to remove some of the layers from the log cabin to make it drawable. It is still mostly like the original with a little less detail and unnecessary overlap.
If you like these drawings, you can see the Cricut Project I made here.
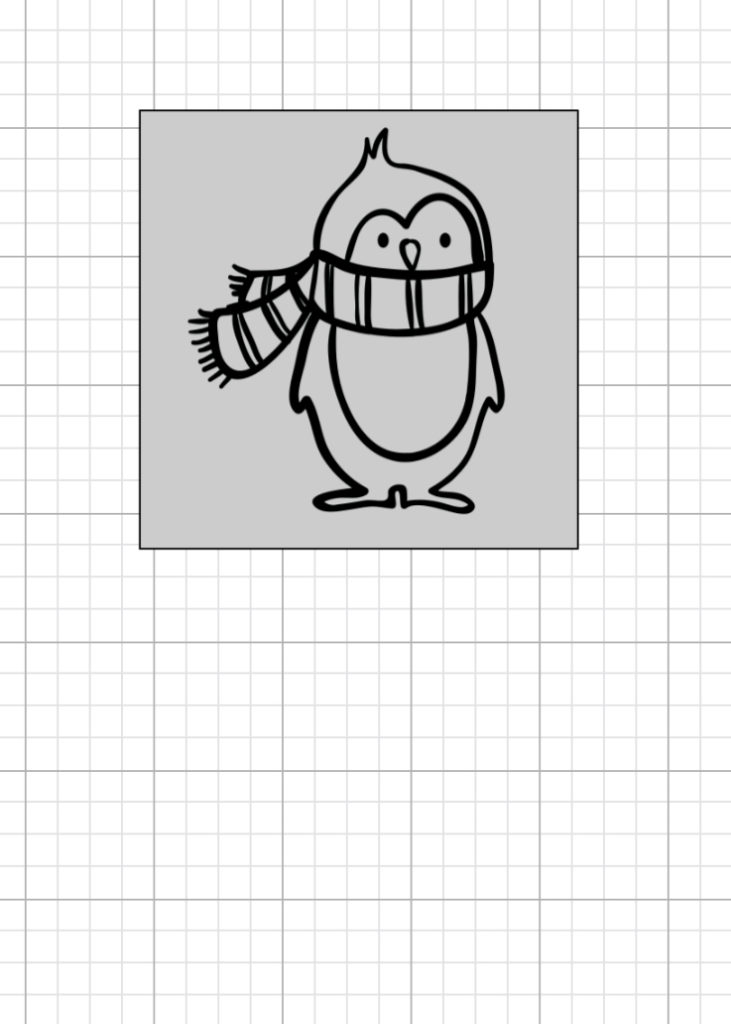
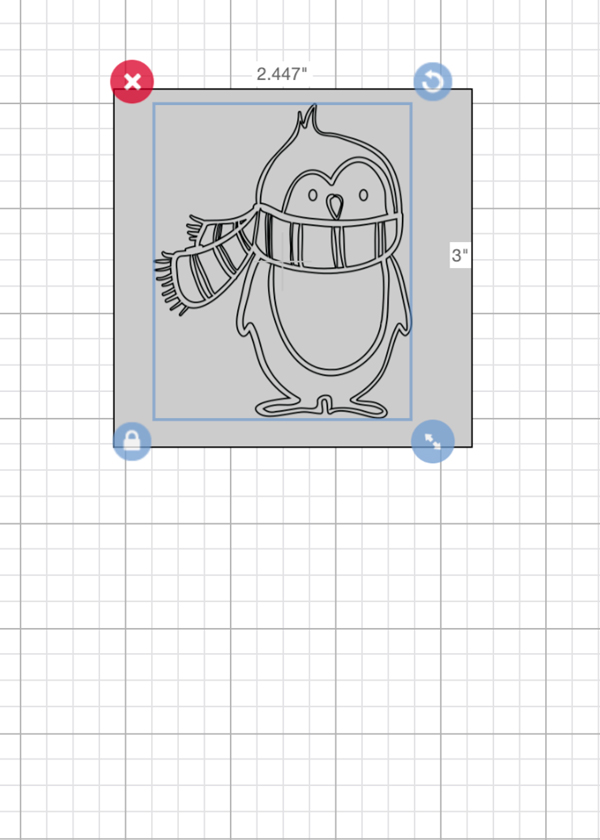
Size your project based on the coaster size and make them smaller than the available space. The Cricut Infusible Ink Blanks Coasters come in square and round. The round blanks coasters are 3.6 in diameter and and the squares are 3.4 inch wide and high.
Load the .4 black infusible ink pen into the Cricut Machine.
Lay the card stock on a light grib mat.
Next, load the card stock into the machine using the arrows.
The Cricut Machine will draw the design. Make sure to reverse the project if you are printing word in the Cricut Design Space printing area.
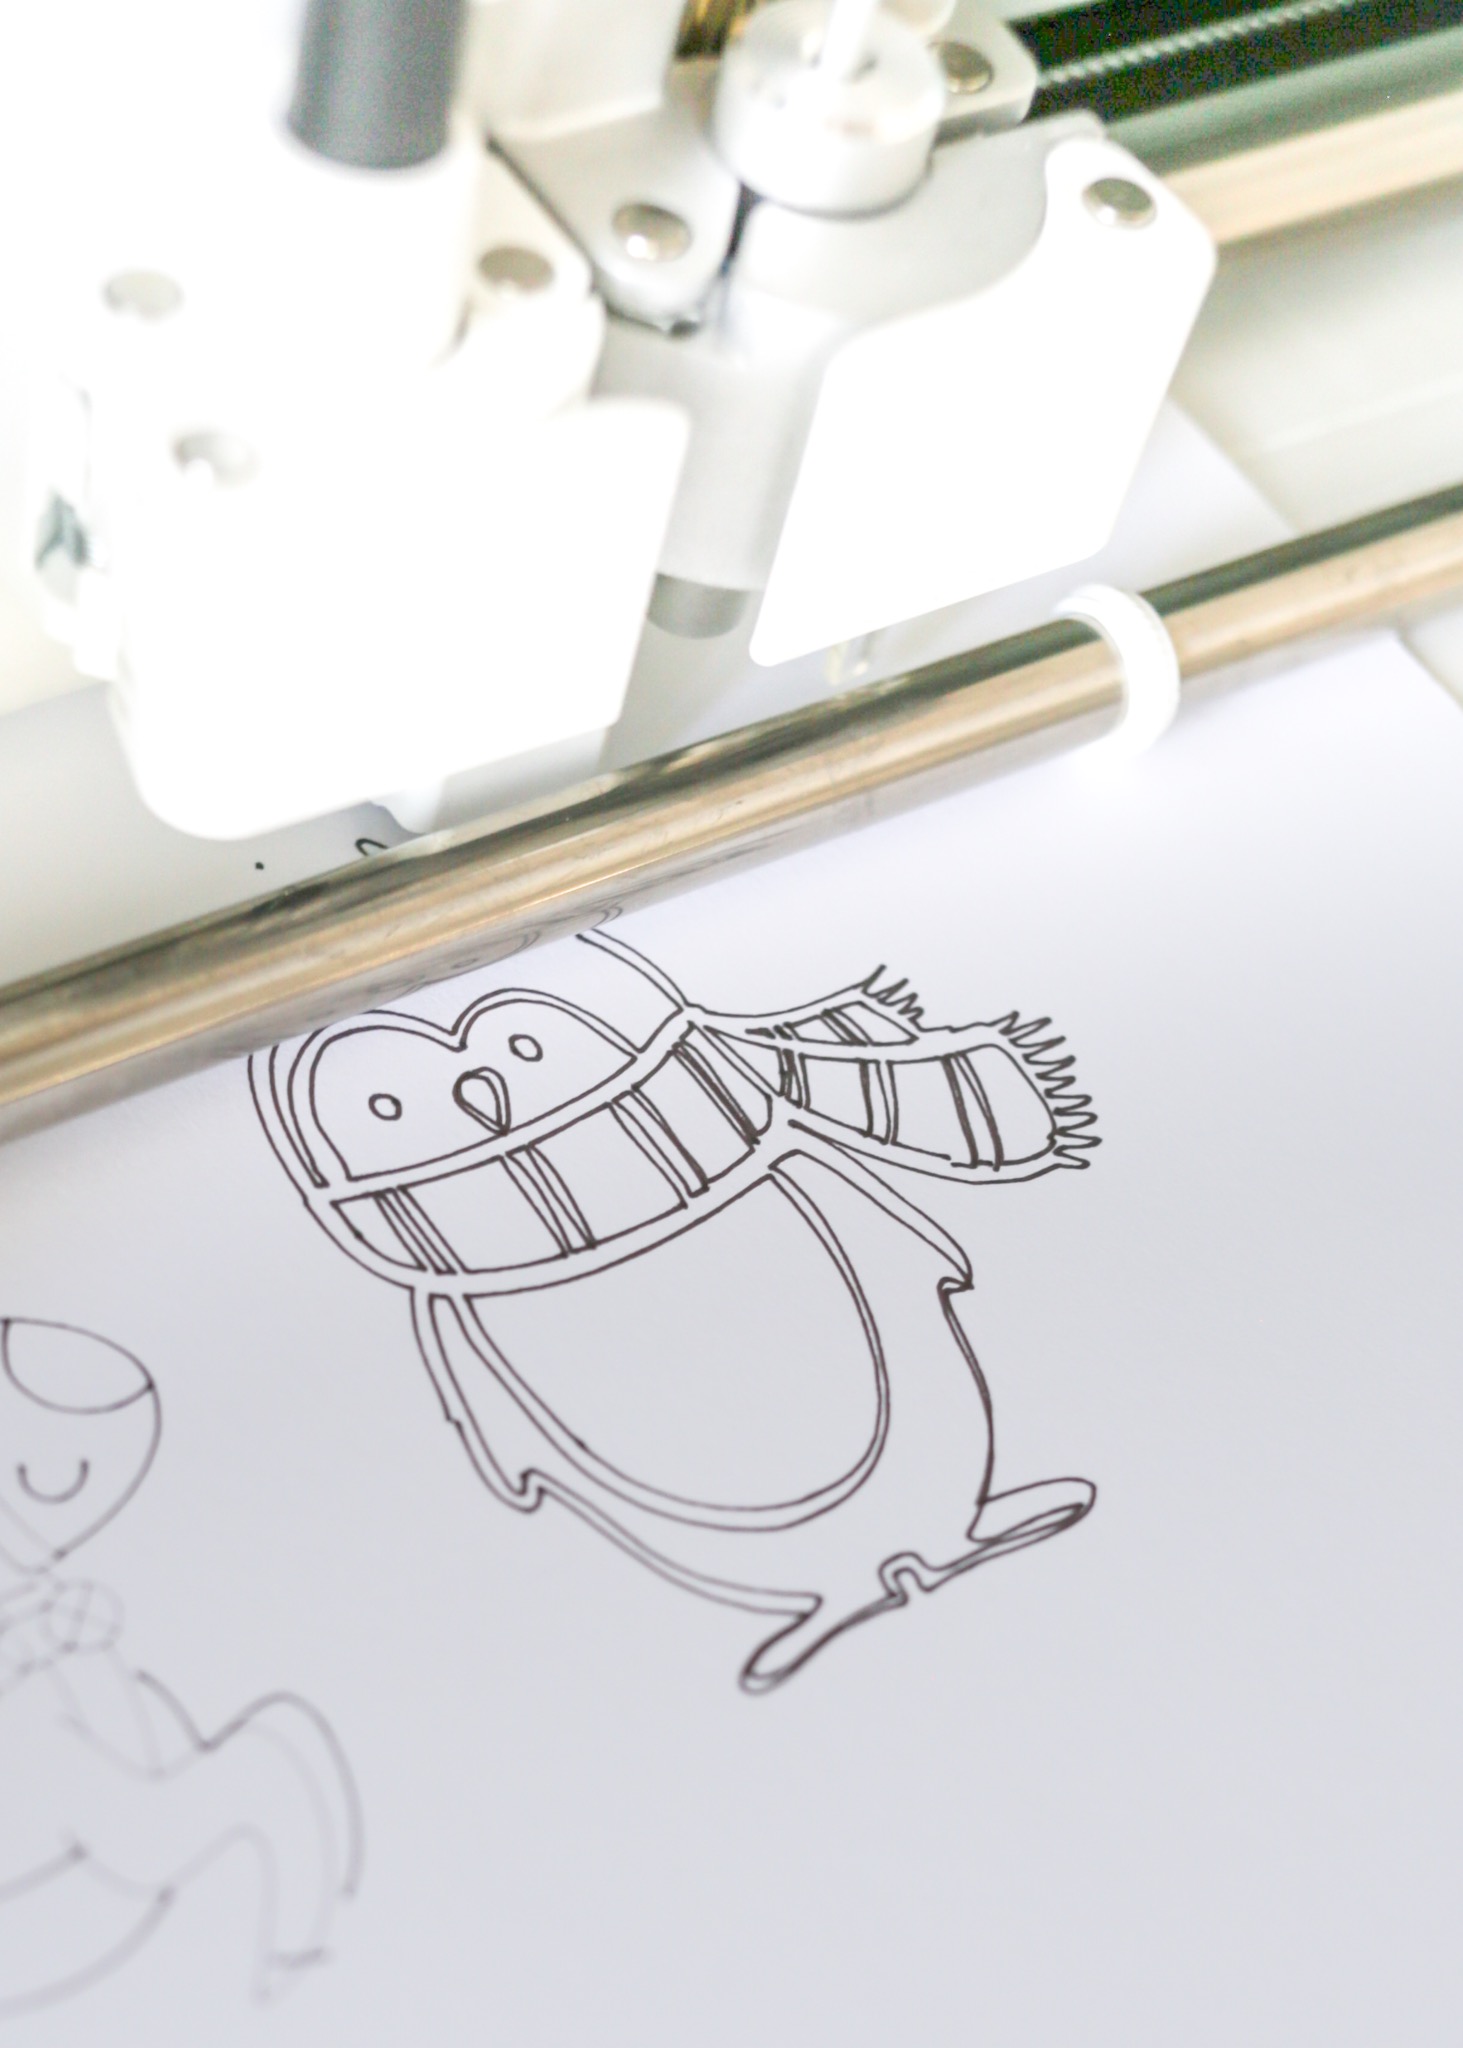
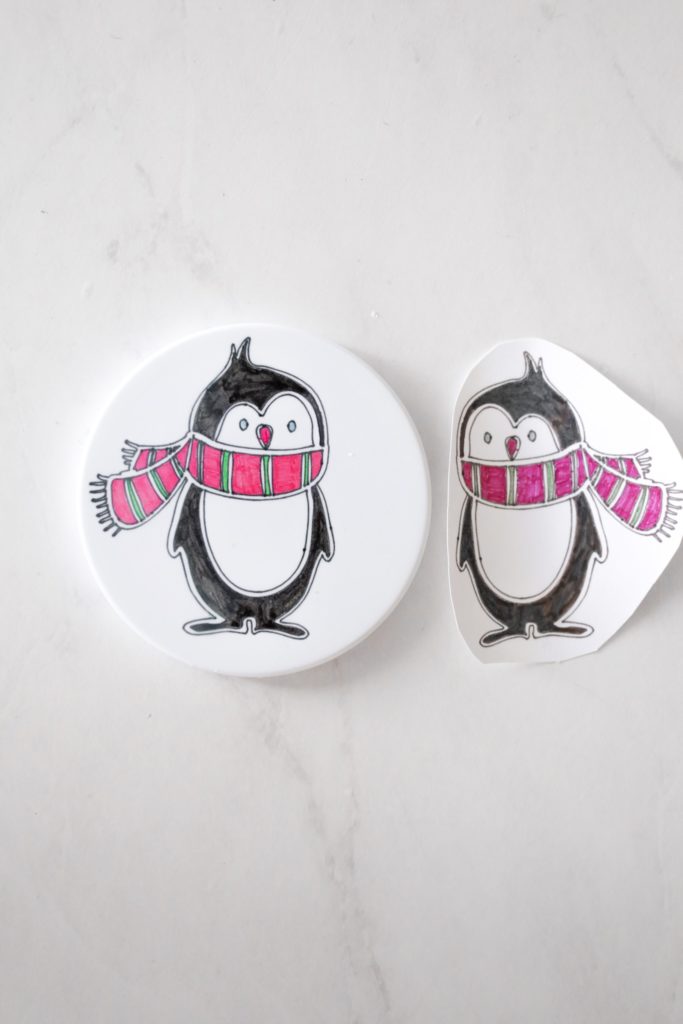
Then, my daughter and I colored in the designs in using the Cricut Infusible Ink Markers.
Next, we cut out the designs so that they would fit on to the coasters.
Applying the Infusible Ink to Cricut Blanks
Get out your Cricut blanks coasters, Cricut Easy Press 2, Easy Press mat, butcher paper, heat resistant tape, and the colored card stock.
Start heating the Easy Press 2 to 400 degrees F for 40 seconds.
Lay out the Cricut blanks coasters onto the Easy Press mat. The Cricut blanks are a must for this project as the infusible ink does not show up as well on other shirts. Buying Cricut Blanks ensures infusible ink compatibility.
Use a lint brush to go over the coaster to ensure the design will stick properly.
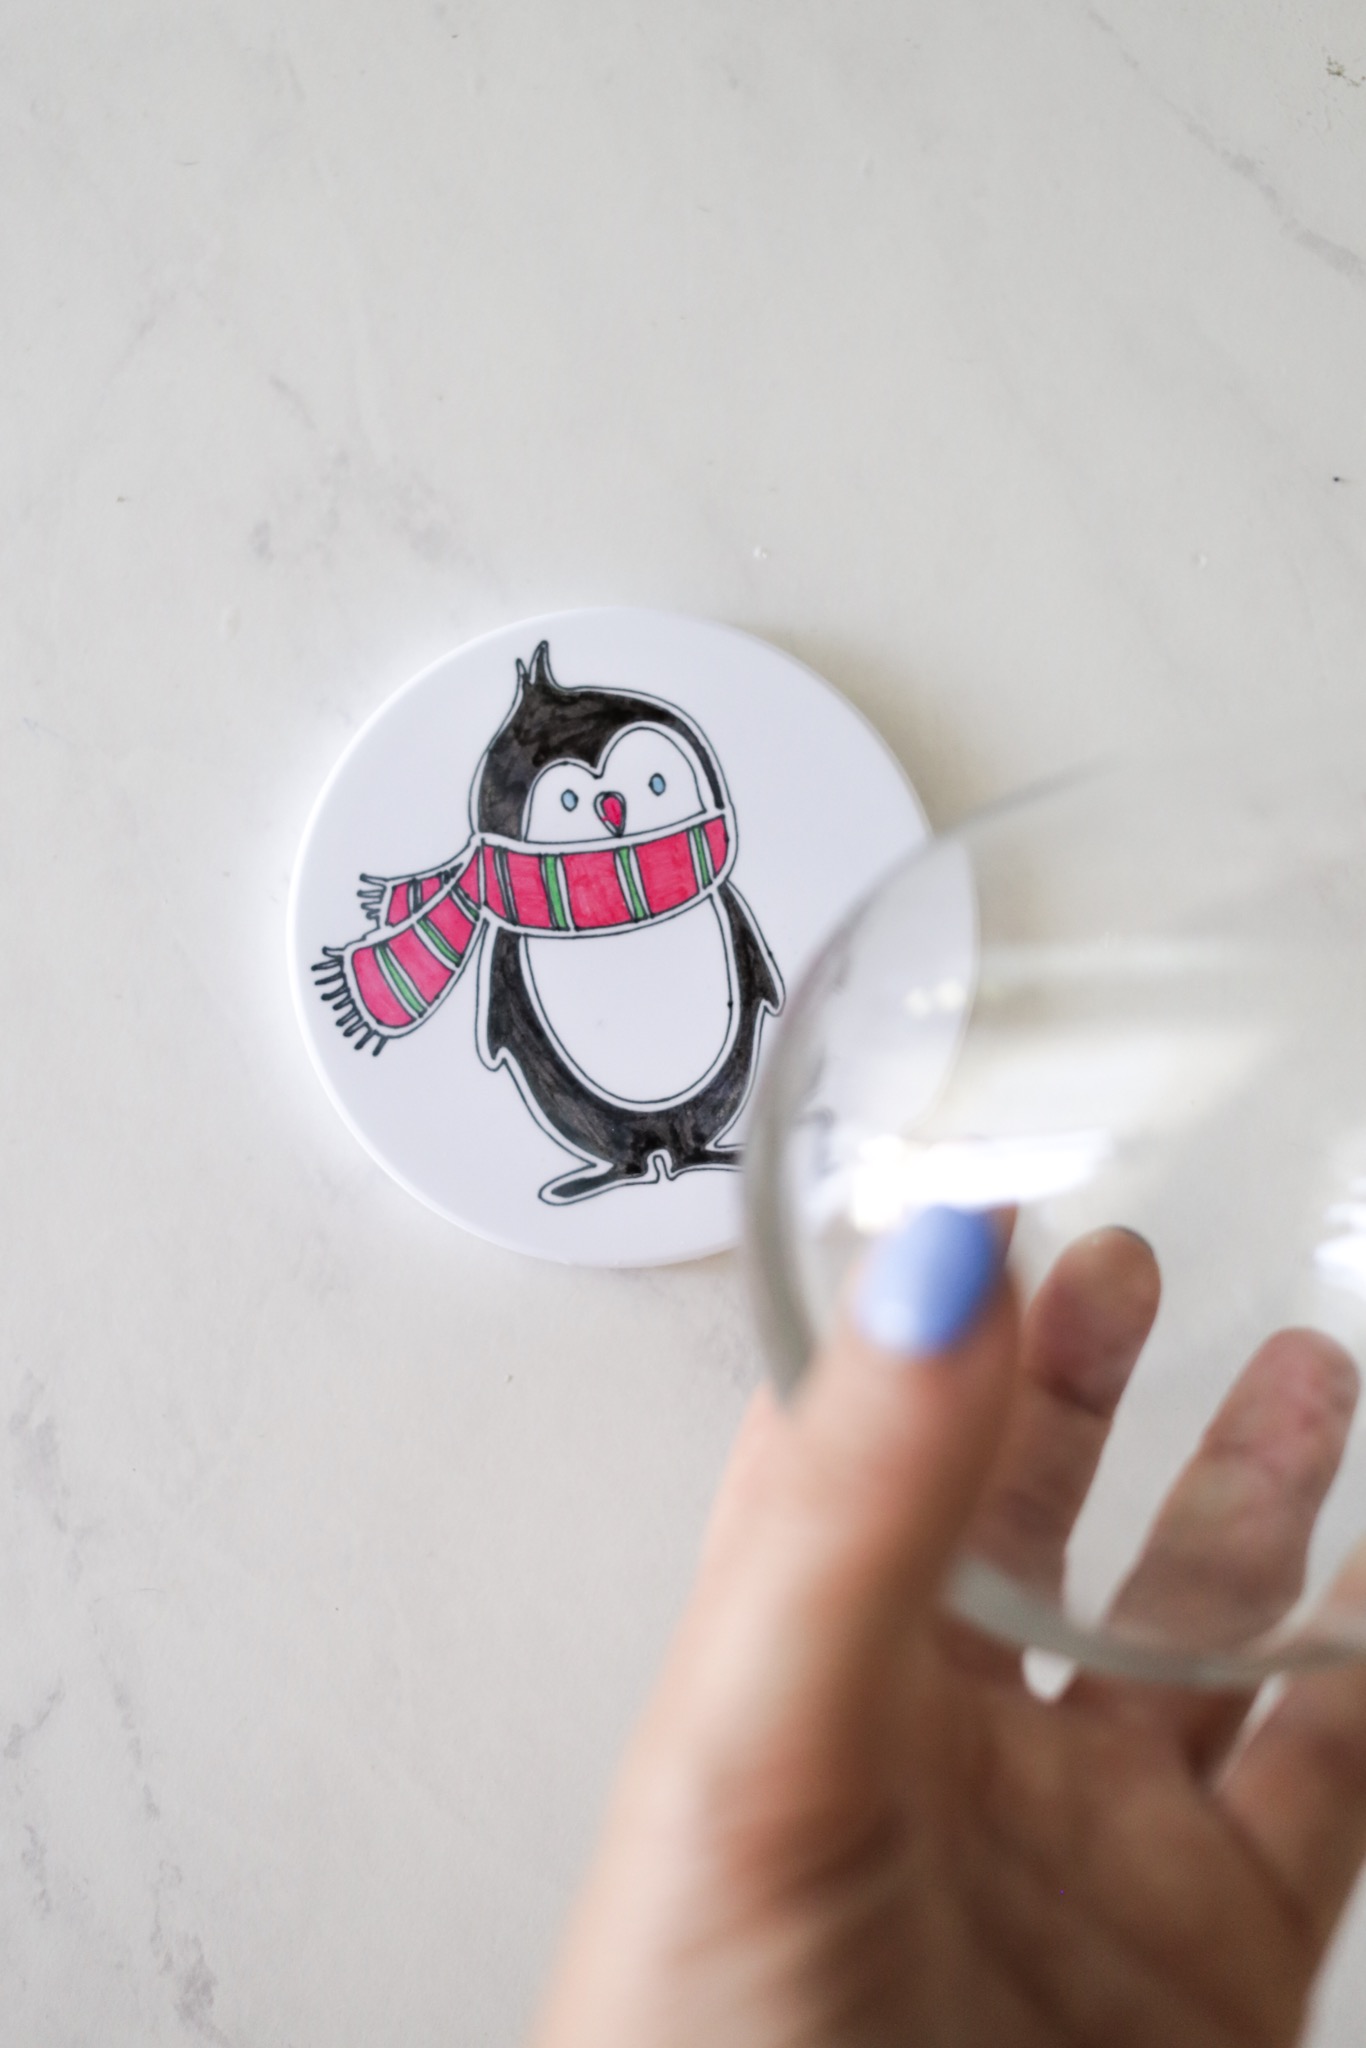
Set the design on to coaster where you want it with the print facing down toward the coaster.
Use heat resistant tape to keep the design in place. YOU have to use this tape for the coaster as it will definitely move if you don’t use the tape. I did it without the tape the first time and it ruined the coaster. 🙁
Put the butcher paper on top of the design.
Next, put the Easy Press 2 on top of the butcher paper with light pressure for 40 seconds.
Do NOT move the press as it will mess up the design. It is not like heat transfer vinyl ironing.
Remove the Easy Press 2 and let the coaster cool before touching it. 400 degrees is no joke and you should not touched unitl it is cooled down.
Then, peel away the tape and pull up the design to reveal the vibrant colors of the infused ink!
Repeat steps for the rest of the drawn designs.
More Cricut Projects to Make Now
- This coffee mug project is one of my favorite starter Cricut projects. It is simple and stylish.
- Make awesome shirts using Cricut Iron On Foil and Cricut Holographic Sparkle Heat Transfer Vinyl.
- You can also decorate your Kid’s Rain Boots with Cricut Everyday Vinyl.
- Did you know you can Decorate Mason Jars too?
- Get more Cricut Project Ideas HERE
4 thoughts on “Cricut Infusible Ink Coasters with Infusible Ink Pens”