This is a sponsored conversation written by me on behalf of Cricut. The opinions and text are all mine.
My daughter is starting first grade in August. Crazy right?! I am so excited for summer to be over and get back into the routine of the school year. I love the structure of school and getting to work while my daughter is learning in school. During the summer, we just are not as organized and it makes running my business and the household that much more difficult. We’ve been having fun, but it is time for SCHOOL!
Back to School Backpack
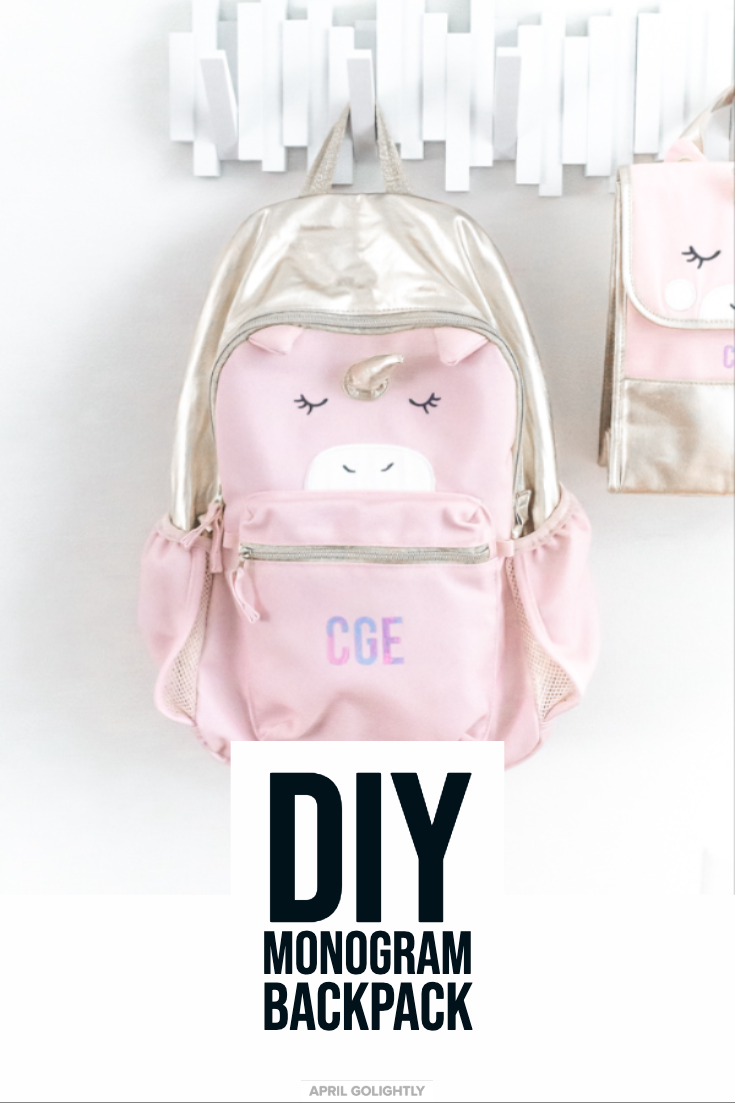
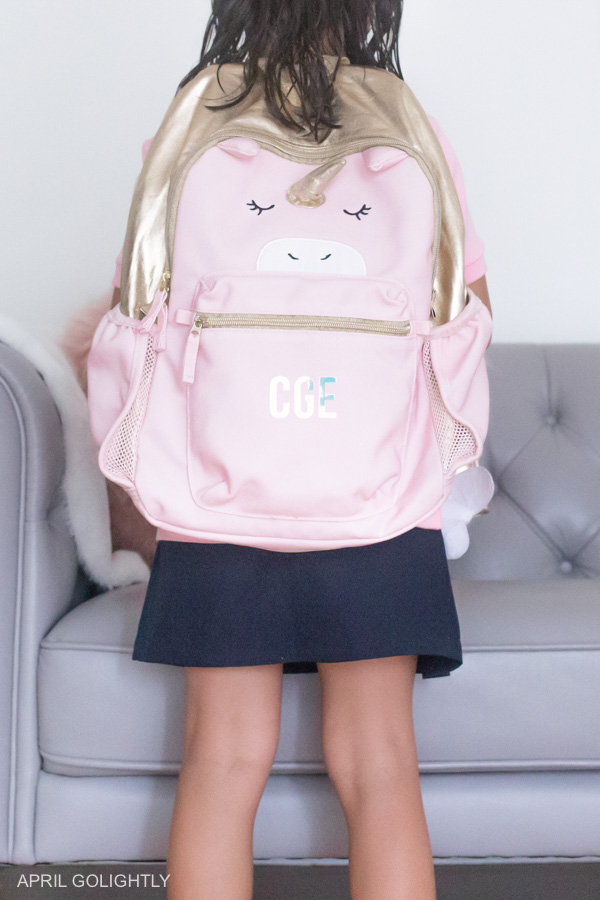
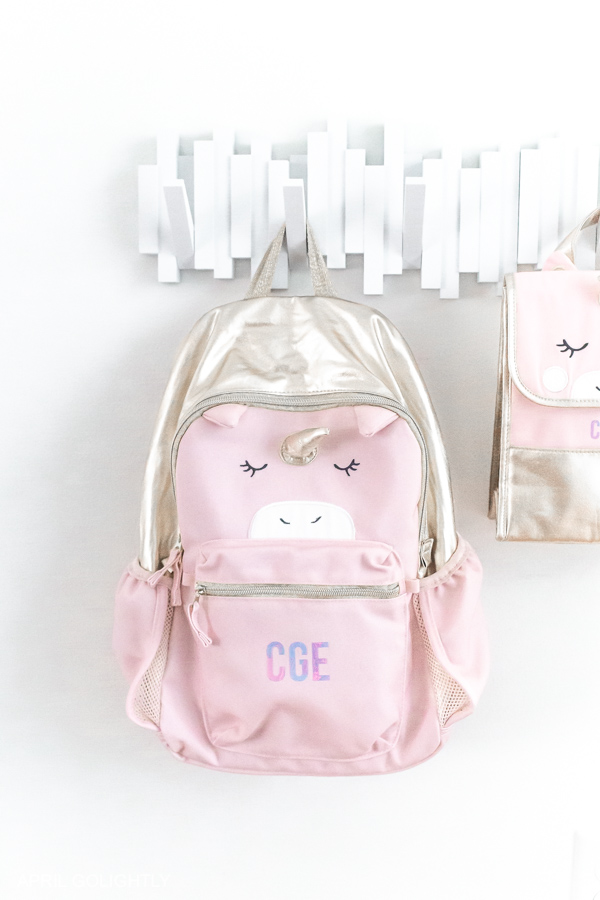
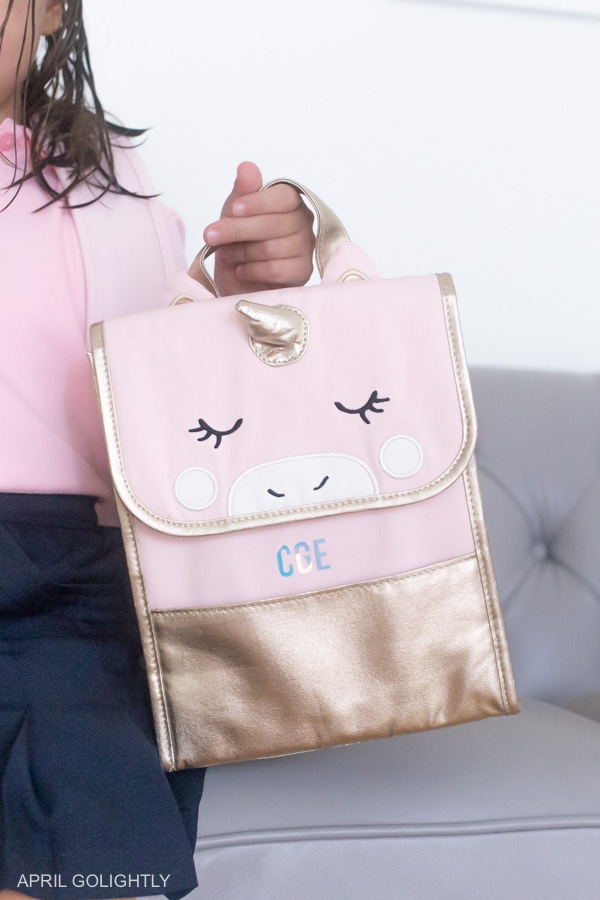
Every year, I have been getting my daughter a new backpack to start her school year off with something new and fresh. She gets excited to express her individuality with her chosen backpack. I had something in mind for her, but she did not like what I chose. Isn’t that how it always goes? She wanted a unicorn backpack and I had to steer her away from a lot of really cheap looking backpacks. The one she chose, I got on board with because it is lined really well and feels like quality material. If you are interested, you can get it here. We have purchased backpacks from them before and they definitely last. In fact, she doesn’t really need a new backpack. She could have very easily used the one from last year from the same brand.
Since this unicorn backpack, did not have all the bells and whistles of the more fun backpack, I decided to spice it up for her using my Cricut. That way we have fun holographic stuff without having to have a plastic or faux leather backpack that will make her sweat. I really wanted to use gold to match the details of the backpack, but she was dying for holographic! She calls it holo and is crazy about holo everything.

Holographic Iron On Vinyl
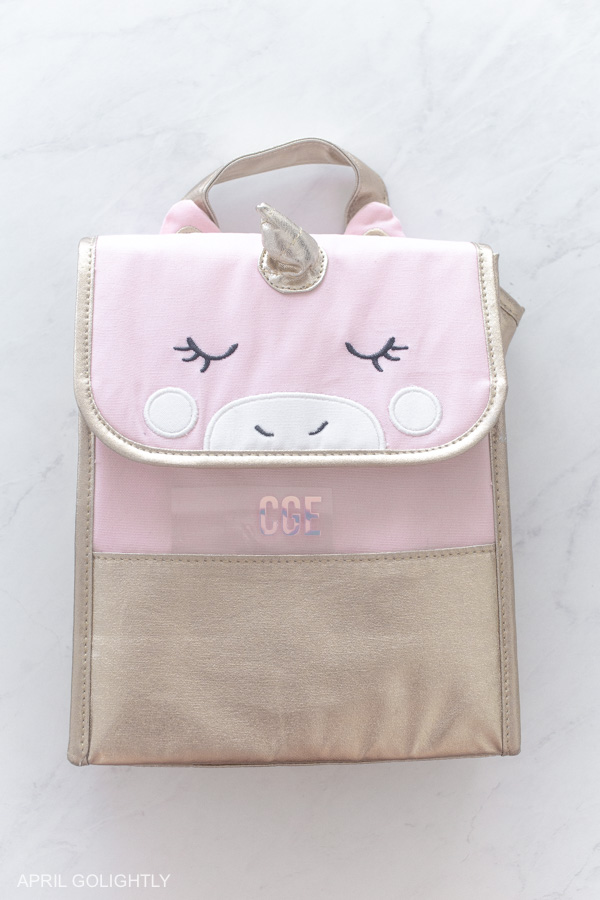
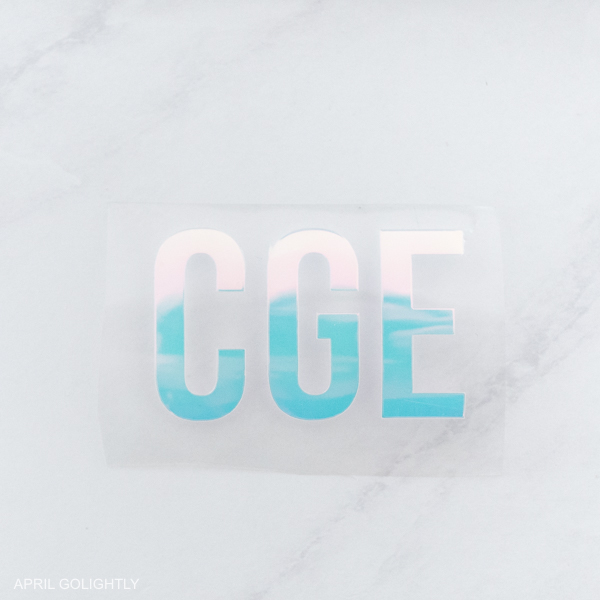
My daughter was immediately drawn to the Cricut Holographic Vinyl on material. It is so shiny and amazing. I didn’t think it was going to match with the gold because it appears to be more silver and blue, but I was happy to read that the Circuit Holographic Iron is slightly transparent. This makes it perfect for this light pink backpack because you can slightly see the pink through the letters. I was also considering adding more holographic unicorns on the bag to tie in the color more. After I added the initials, I realized it was not necessary and it looks great on it’s own.
I was also thinking that if you just have a plain backpack you can make it a unicorn backpack by adding a unicorn graphic. You can also incorporate the iron on vinyl to a back to school project like that. Work with your child to get creative with the colors of the unicorns hair and horn. That would be so much fun!
Add Monogram Initials to the Backpack
This back to school Cricut project is all about adding initials to your children’s backpack to make it special for them at school. It is also about distinguishing your child’s school bag from other children’s at school. A lot of parents shop at the same stores online and in person so this might happen to you. We definitely had duplicate bags, headphones, and water cups in pre-k and kindergarten. Great mom minds think alike and you don’t want your kid to grab the wrong bag. Clear identification is key!
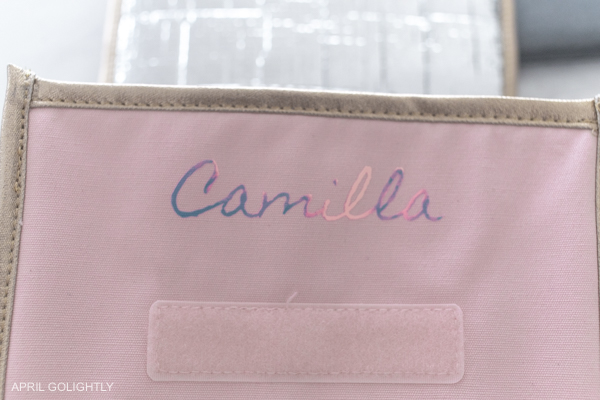
I have noticed that some moms like to add the child’s name to the bag rather than initials. I am not a fan of publicizing my child’s name to strangers. It is a safety concern for me and the initials are as far as I will go for monograming. To each is own and do what feels right for you and your child. If you want to add your child’s name with the Cricut,, you can add it inside like I did.

Tools & Supplies
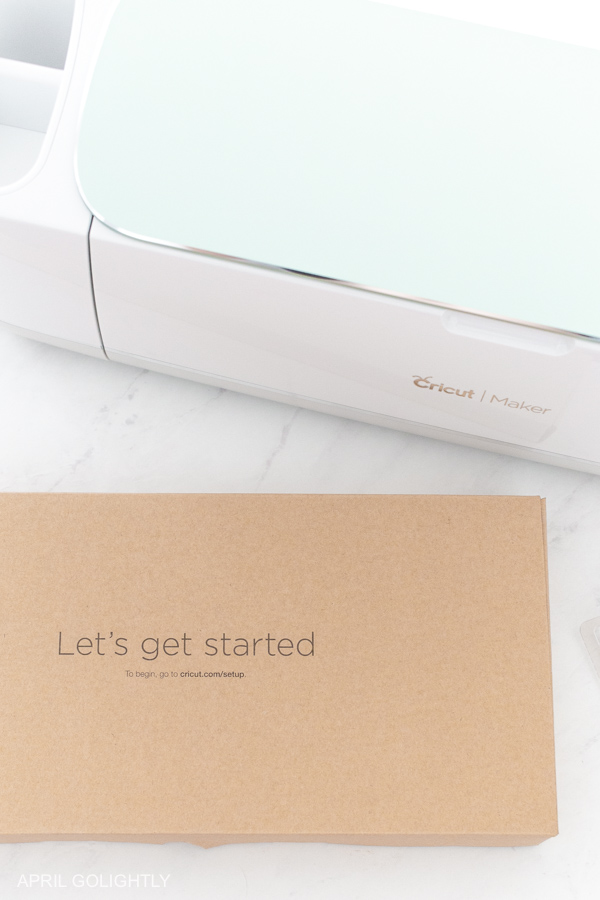
- Cricut Maker (get the mint one here)
- Standard Grip Mat (get it here)
- Acrylic Ruler
- Cricut Easy Press 2 (we have the 12″ x 10″ so that you can use it for any size project – check it out here)
- Cricut Holographic Iron On Vinyl (order it here)
- Towel or Cricut Easy Press Mat
- Weeding Tools
How to Make the Initials in the Cricut Design Space?
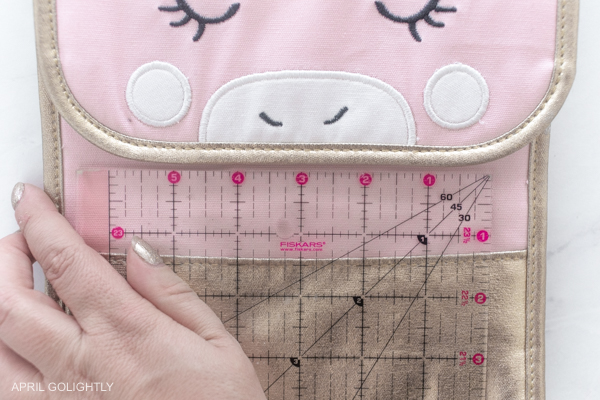
Take the backpack and measure the space to determine how large you want the letters to be.
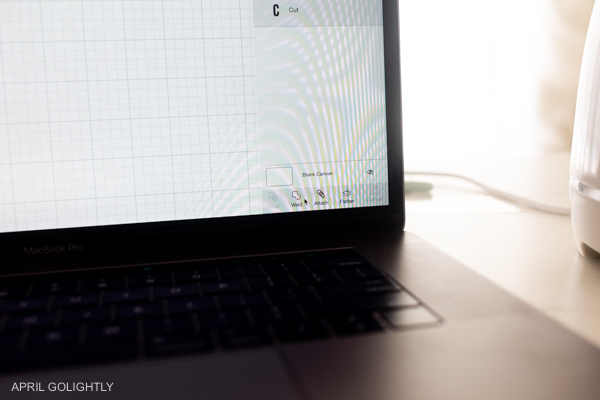
Open the Cricut Design Space on your computer. I am pretty sure you can do this from your phone and tablet too.
Add a text box to a new project.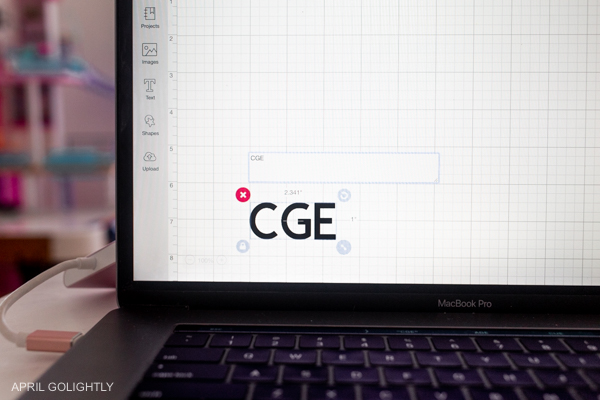
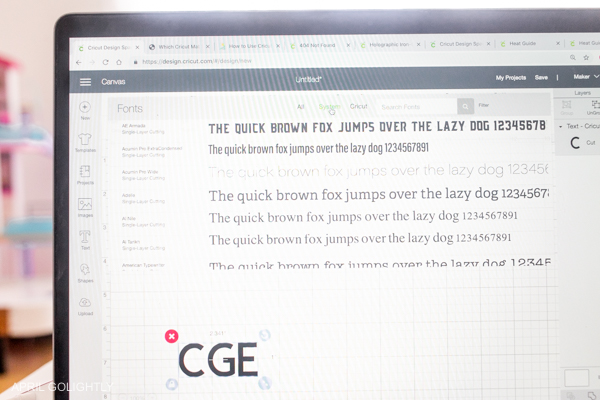
Select the text and choose a font. I chose a system font that I love Babes Neue.
Size the letters based on the measurements you took of the backpack.
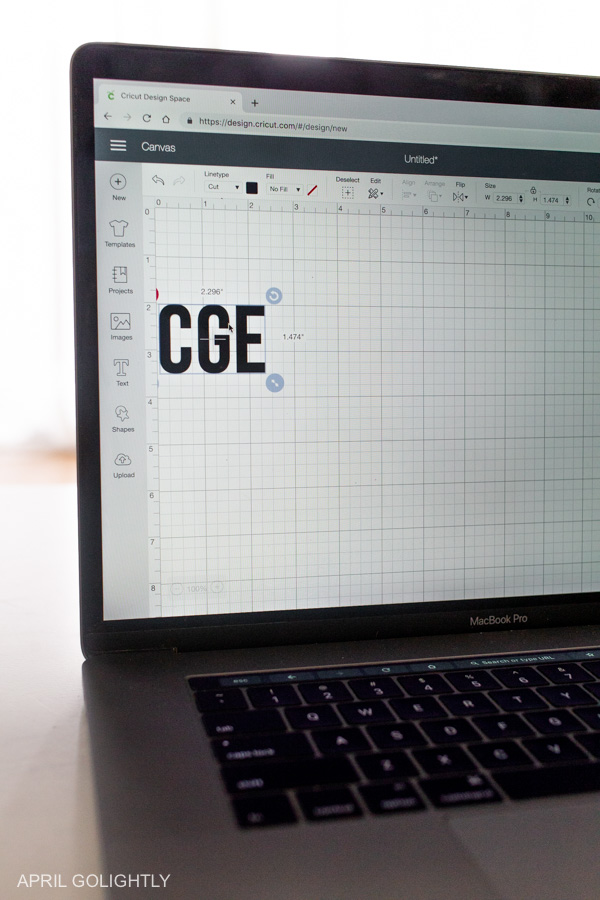
Ungroup the letters and remove or add space where you want to make the letters look the way you want them to. I removed space between the letters.

Try not to move the letters up and down as you want the initials to stay in a straight line.
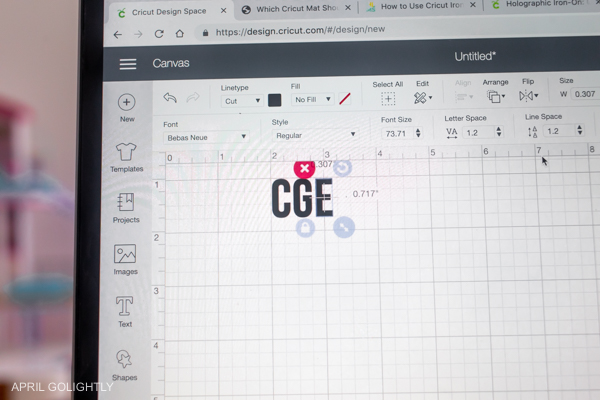
Drag a box over all the letters.
Then, hit couple them to get the to stay back together with the spaces you have made.
Next, you want to weld the letters together so that they will cut all in on group and you don’t have to try to straighten and space them later. Your spacing is saved and taken care of the easy and right way.
Now, hit make it in green in the upper right corner.
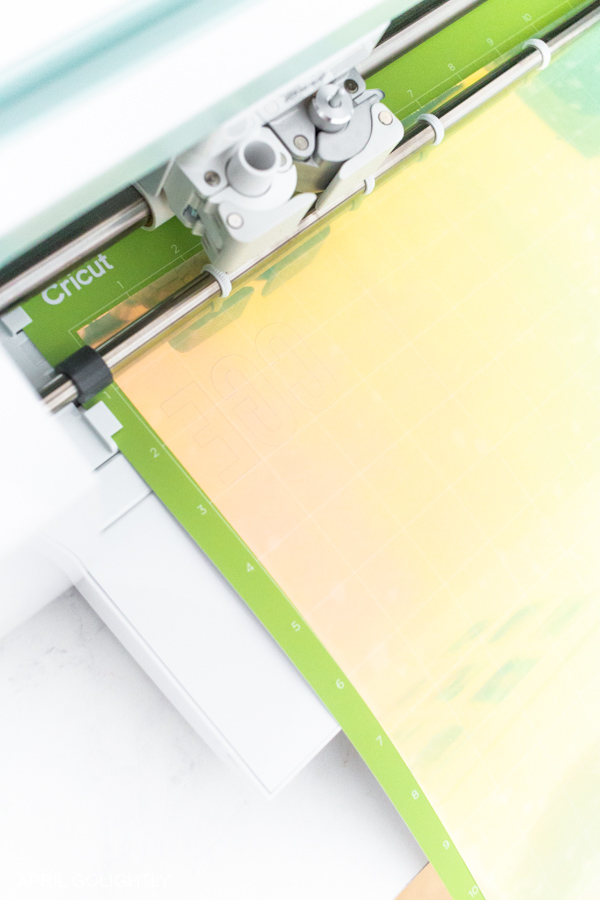
How to Print Using Cricut Holographic Iron On Vinyl
To use Cricut holographic iron on vinyl, you should use the green circuit sheet with the medium stickiness.
Place the vinyl shiny side down on the green standard grip Cricut mat. Make sure it is secure and try to avoid bubbles.
Load the green sheet with the holographic vinyl on it using the arrows and make sure the Cricut pulls it in properly.
On the computer, choose the machine and make sure that you are reversing the image.
Also, choose the type of Cricut holographic iron vinyl by selecting from the cricut database of material. There are so many – make sure you get the right one.
Ensure that the Cricut has space behind and in front so it can work properly.
When the C – Cricut symbol is flashing, press it and watch the Cricut cut the letters.
Remove the sheet with the arrows.
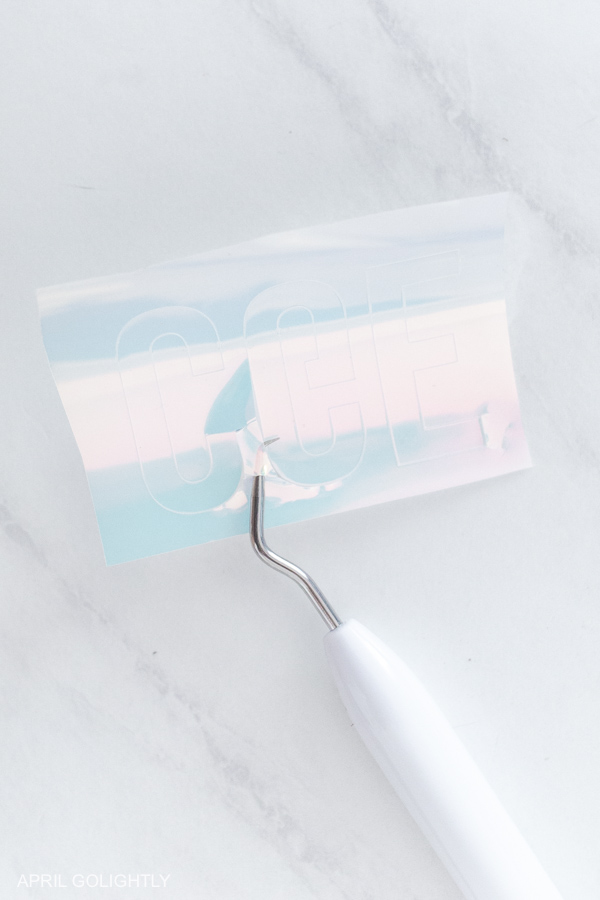
Pull off the Vinyl and cut the space where the letters are.
Remove everything except the letters from the sheet using the weeding tools.

How to Use the Cricut Easy Press 2 for Cricut Holographic Iron On
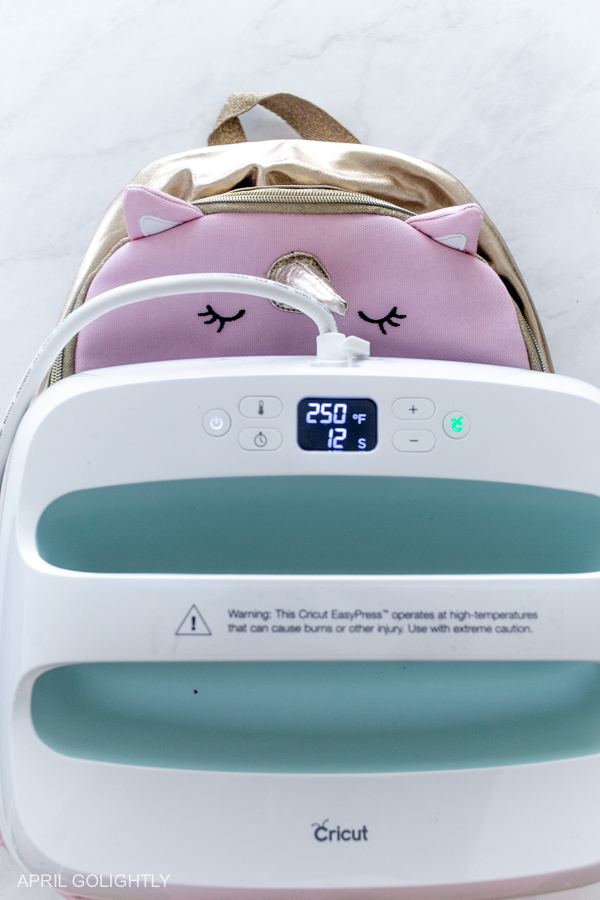
Set up your Cricut Easy Press 2 by following the directions.
Turn it on and make sure the timer is set to 30 seconds and hook into the computer so that you can choose which materials are using so that the Easy Press 2 knows what’s up.
Let the Easy Press 2 heat up while you prep the backpack.
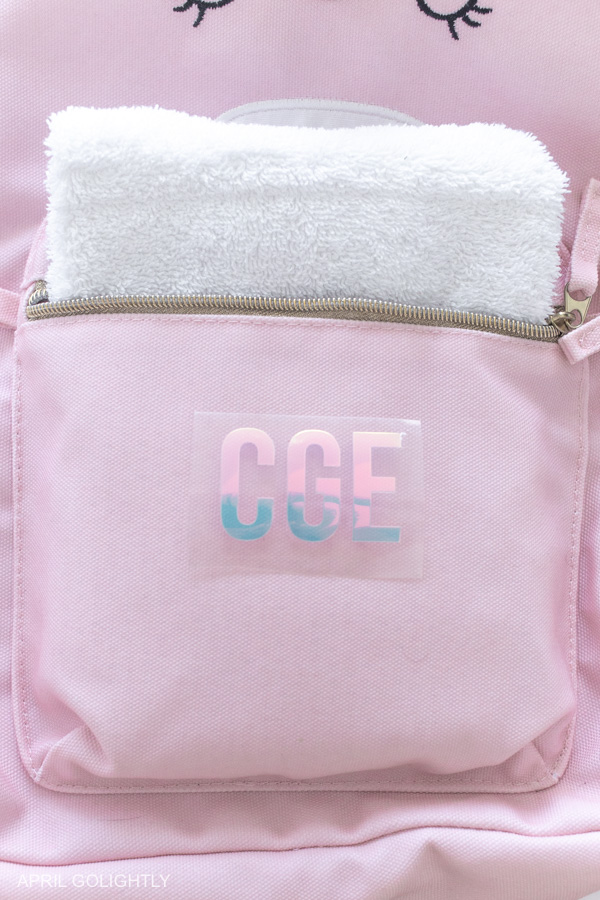
Add the towel to make sure the pocket where you are adding the initials is flat. Lay the backpack on flat surface like a table.

Heat up the area for 5 seconds where you will adding the letters.
Measure to make sure you have the letter centered and where you want them.
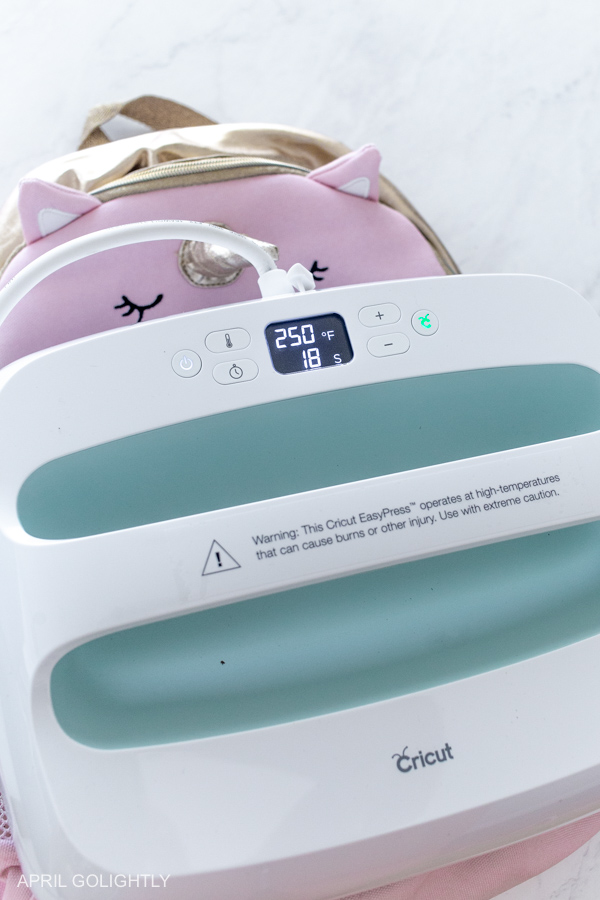
Place the press on top of the letters and let it is sit while you hold the machine for 30 seconds.
Remove the Easy Press and put it back on the cradle.
Wait a few minutes before peeling off the contact paper.
Why Cricut Easy Press 2 is better than the Iron?
The Cricut Easy Press 2 is much better than the Iron as the letter are much more evenly pressed into the fabric. It is extremely easy to use and you will be blown away by the increase in quality!
What Cricut projects are you doing for back to school? I have a list that I am planning for the next few weeks. Stay tuned!
4 thoughts on “Back to School Backpack with Cricut Holographic Iron On Vinyl”