This is a sponsored conversation written by me on behalf of Cricut. The opinions and text are all mine.
These awesome personalized Christmas shirts are made with my new favorite thing – Cricut Infusible Ink! I am gearing up for the holiday season by making personalized gifts instead of buying them for my family, friends, and my child’s teachers.

Using the Cricut Maker, I started with my family and also printed a teacher gifts as well. It is so much fun and the new infusible ink is just the coolest thing ever! It is not like the Iron-On Vinyl. It actually infuses into the shirt.
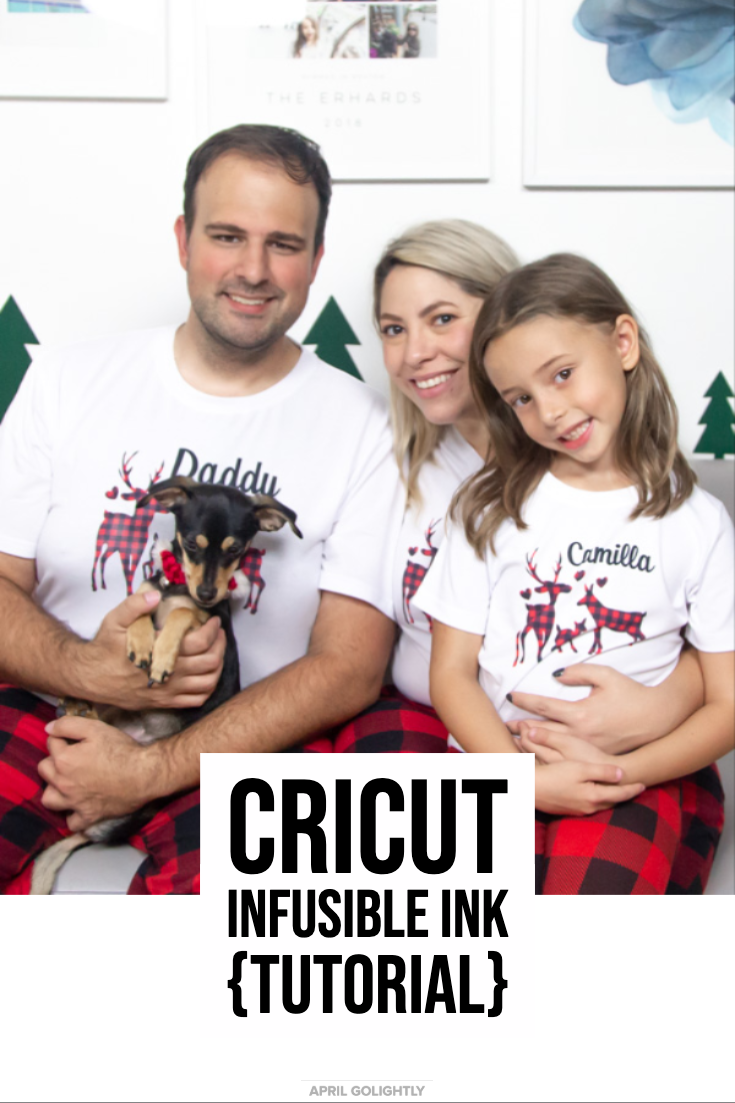
We took a picture of us in the living room with the shirts for our Christmas card. We set the camera up on a tripod and kept shooting until everyone was looking at the camera. This craft project was much easier and cheaper than getting a photographer.
Personalized Christmas Shirts
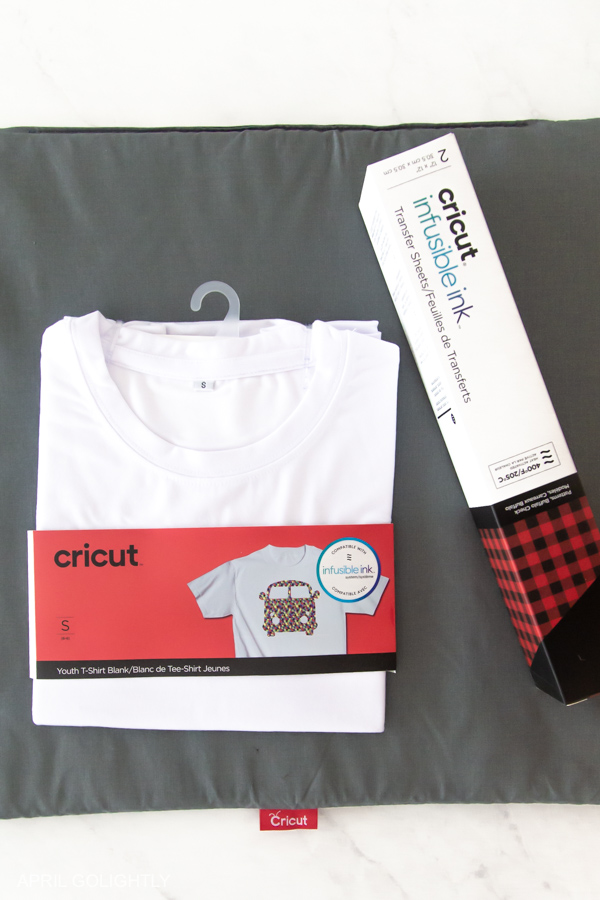
I ordered these buffalo print infusible ink sheets and made put together these super cute shirts for my husband, daughter, and for myself! I think Cricut infusible ink projects are the perfect Christmas gifts for family, friends, and teachers.
Tools & Supplies to Make
- Cricut Machine – whether it is the Cricut Explore 2 or the Cricut Maker (we have the Cricut Maker)
- Cricut Easypress 2
- Easy Press Mat
- 3 Infusible Ink Sheets (2 Buffalo Print & 1 Black that comes in the package with the Buffalo Print)
- Butcher Paper (comes in the infusible ink package)
- 3 Sheets Basic White Card Stock
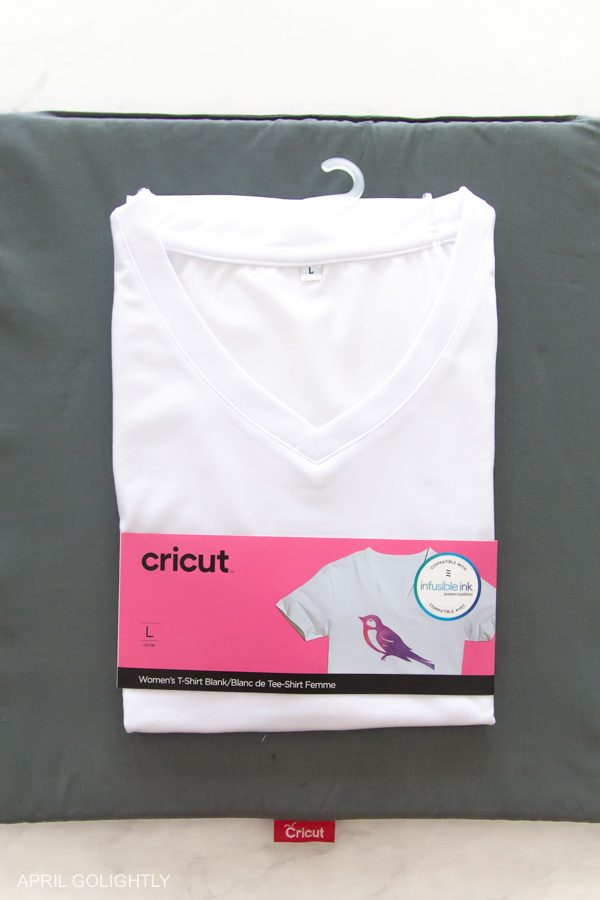
- 3 Cricut Blank Shirts
- Lint Brush
- Weeding Tweezers
- Green Standard Grip Mat
- Reindeer Cricut Design
How to Make Personalized Christmas Shirts with Cricut Infusible Ink?
Reindeer Family
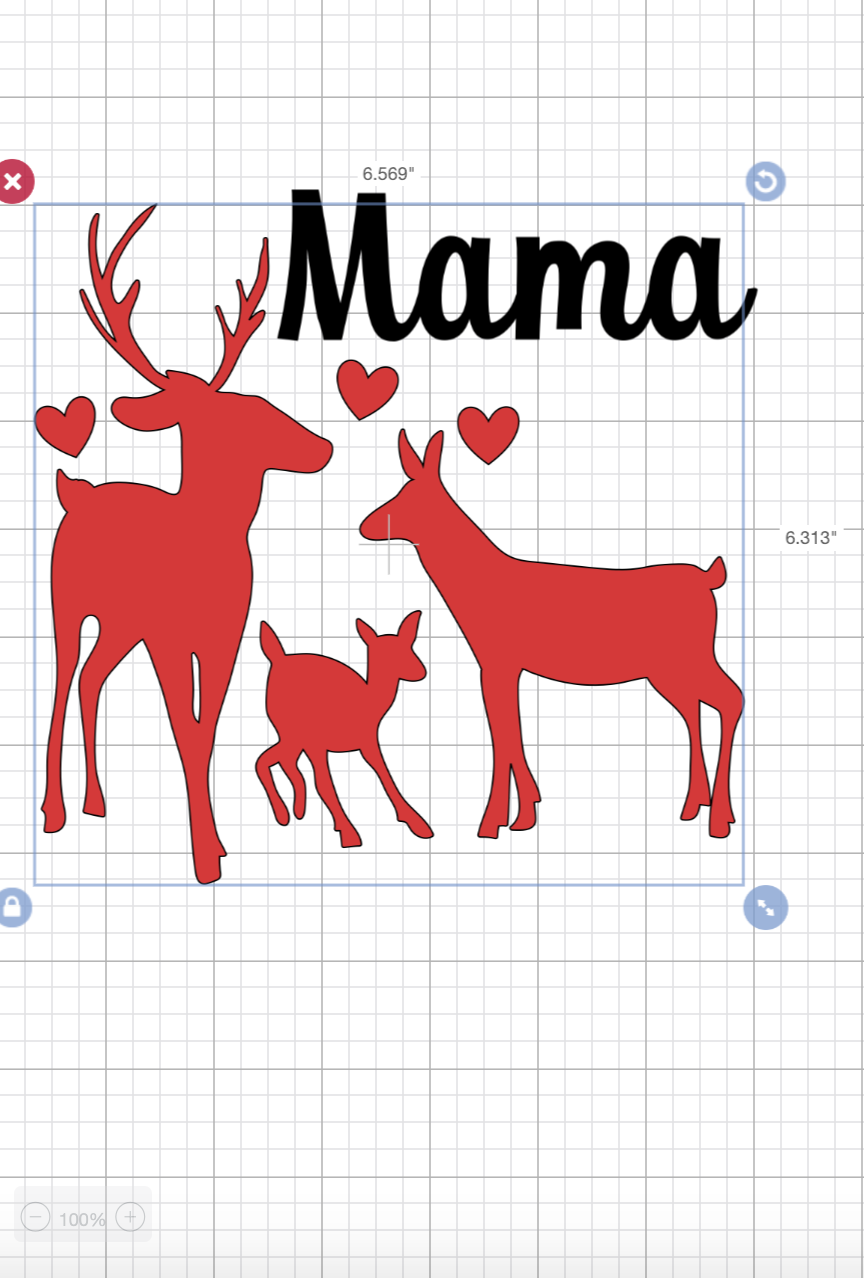
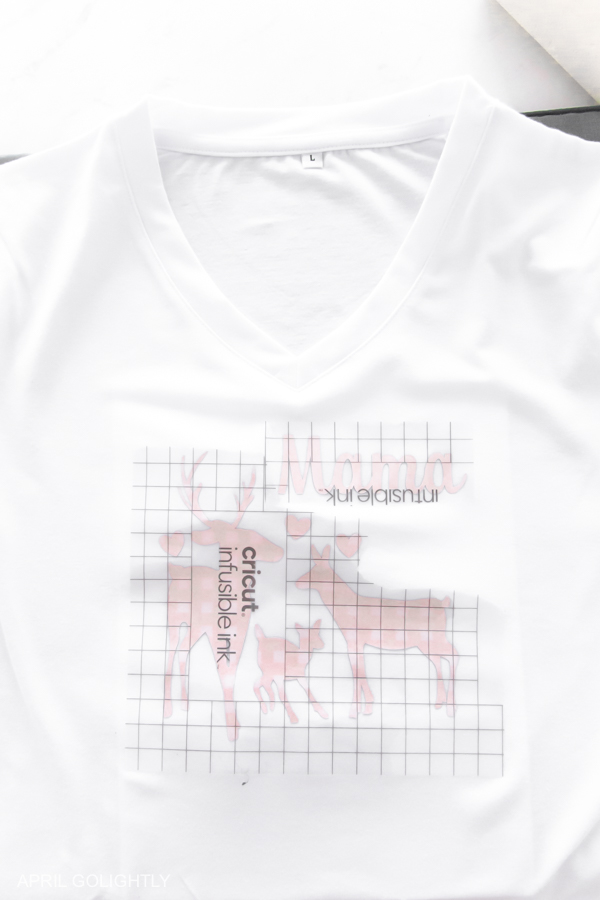
To make this shirt, I found a Reindeer graphic of a family and added the hearts for a little festive love. Since I had the buffalo print, I wanted to make a bold statement with the infusible ink. The package came with a buffalo check sheet and a black sheet to use for the lettering. I find that the Personalized Christmas Shirts look more customized when you use more than one color infusible ink or more than one color iron-on vinyl that just sits on top of the shirt.

I played with the sizes of the different reindeer groups so that I could fit as many on the 2 sheets of Buffalo Print Infusible Ink as I could. Then, I added a few more images to the sheet so that I don’t waist the infusible ink.
The reindeer image was 7 3/4 inches wide for an XL men’s shirt and for me and my daughter’s shirt, the reindeer image was 6 1/4 inches wide for placement on a small child’s shirt and a large women’s shirt. I choose to keep mine small because it was being places on a v-neck shirt. If it was a crew neck, I would have gone bigger.
Cricut Font
Then, I wrote out the names using the Cricut Font – Quirky Script. For my Christmas shirt, I wrote Mama, for my husband, I wrote Daddy, and for my daughter, I wrote her name. It is up to you how you want to personalize your Christmas shirts.
To make the name or words come together so that they look cohesive and in one group, you have to do the following.
Put the word on a line so you can easily move items without jumbling or misaligning the letters.
Select the word and hit ungroup.
Then, move the letter using the arrows on your keyboard. Y0u might be able to get them perfectly grouped with the arrows, but sometimes you might have to select the letter and move it with your mouse. For script words, you want to overlap the swishes as much as you can. For Daddy, I kept the capital D separate from the rest of the letters.
Once you have spacing you like, select the word by putting a box around it and hit weld. Now, the word is welded together and you can make it bigger or smaller based on the size of the shirt and the size of the reindeer image.
Infusible Ink Project
Reverse the project in the Cricut Design Space printing area and rearrange the images so you get the most out of your infusible ink sheet. Get close, but not too close and make sure that your projects are not overlapping.
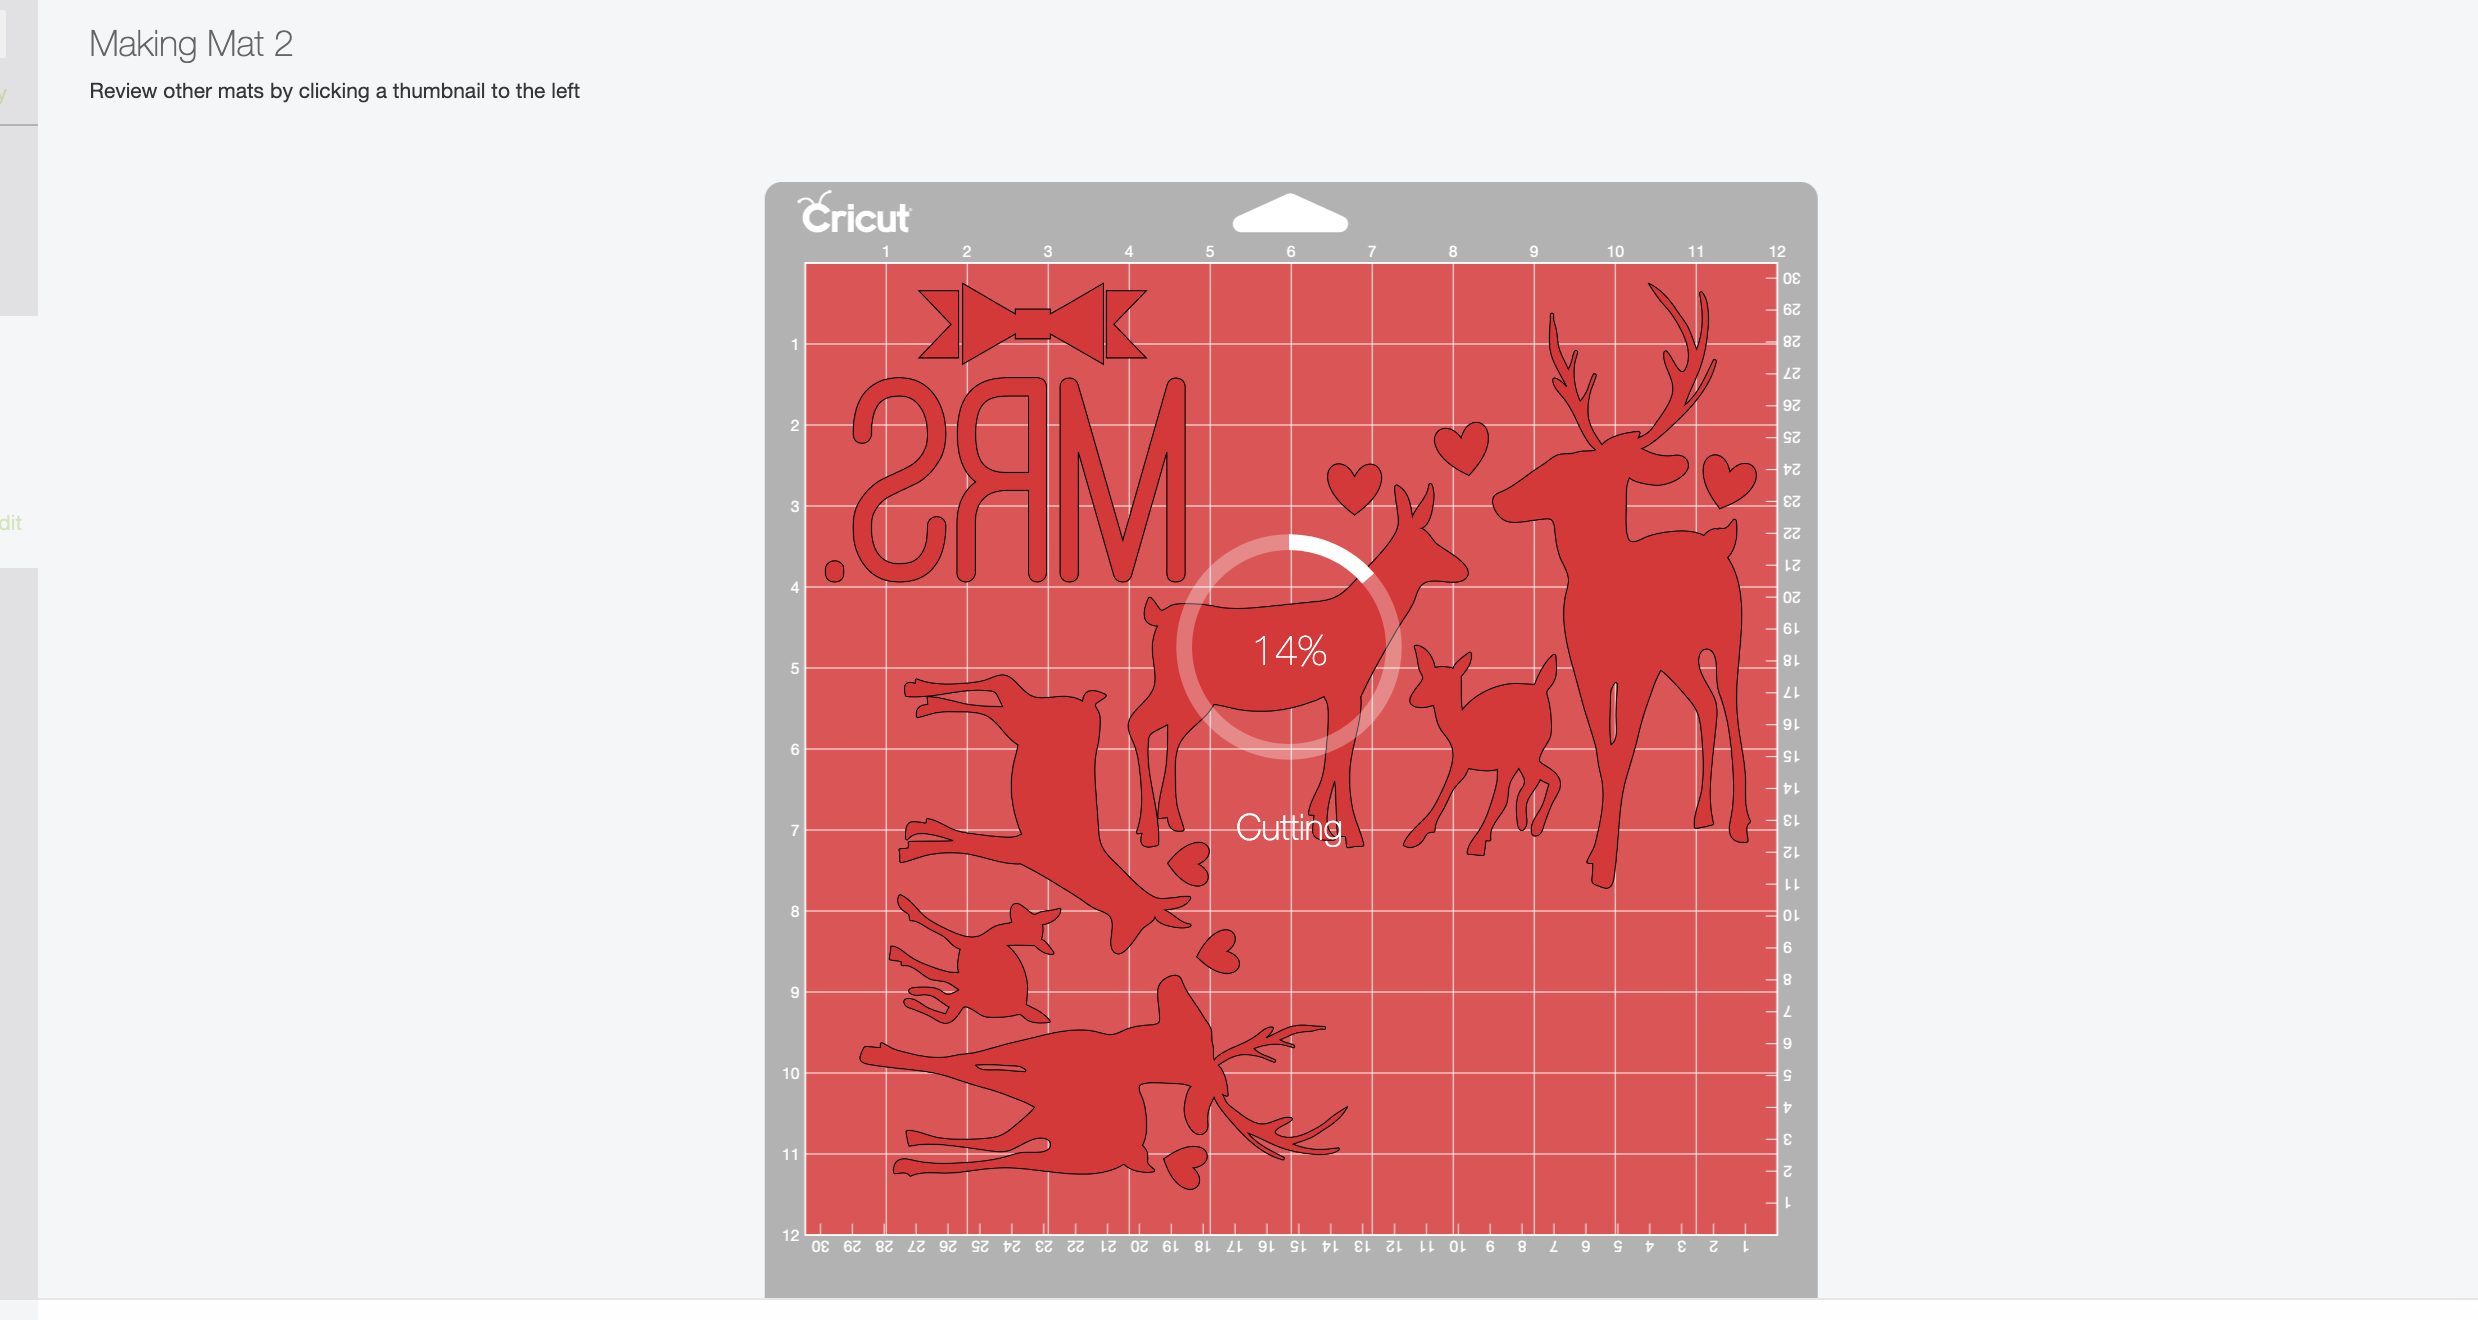
Then, choose infusible ink sheet and make the project using the Cricut Maker.
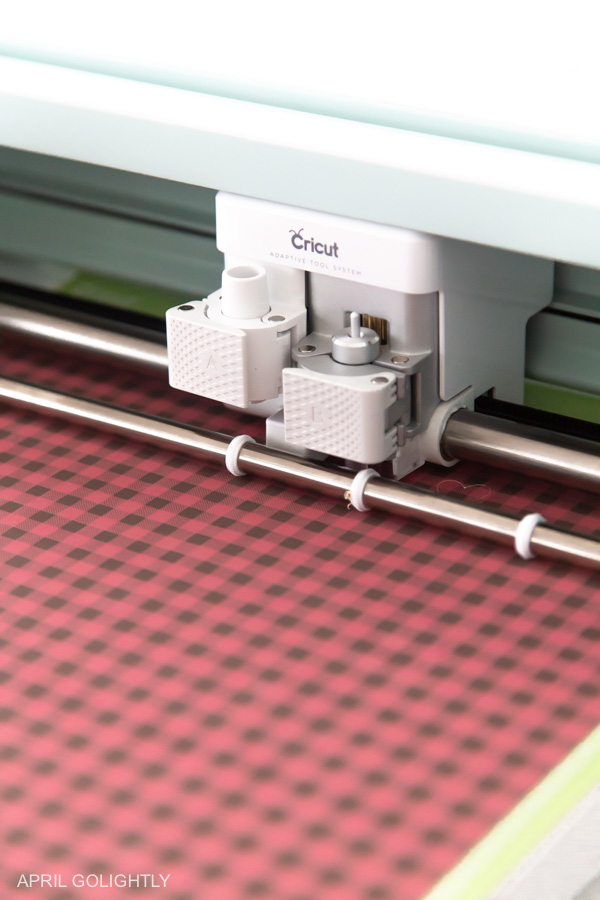
Once the project is printed, peel away the mat from the design. Don’t peel the design off. This will prevent issues your design.
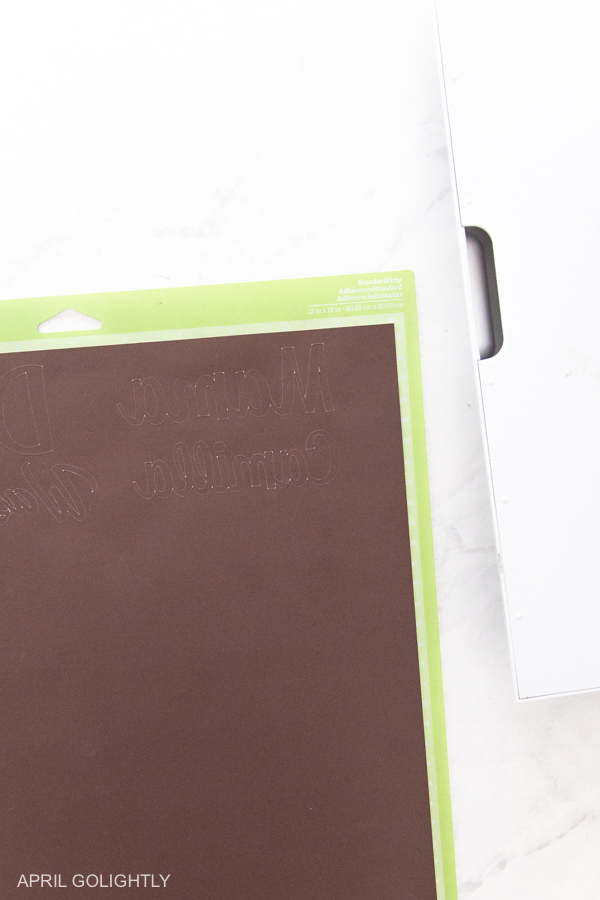
Next, use the weeding tweezers to weed the background of the project. If you are having trouble, bend the design and it will start to pull away from the background. Set the design aside as you prep the area to apply the design on Cricut blanks shirts.
Applying the Infusible Ink
Get out your Cricut blanks shirts, Cricut Easy Press 2, Easy Press mat, butcher paper, and card stock.
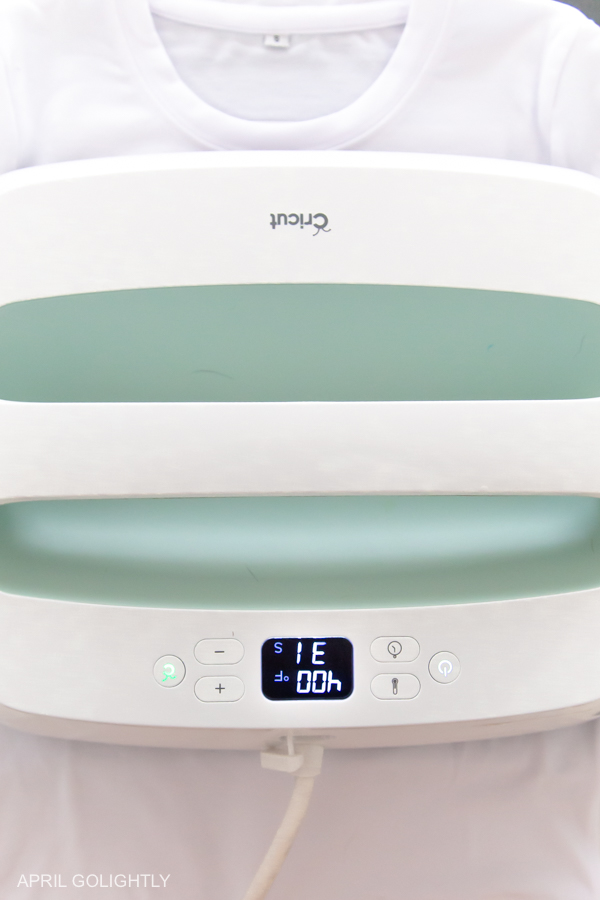
Start heating the Easy Press 2 to 400 degrees F for 40 seconds.
Lay out the Cricut blanks shirt onto the Easy Press mat. The Cricut blanks are a must for this project as the infusible ink does not show up as well on other shirts. Buying Cricut Blanks ensures infusible ink compatibility.
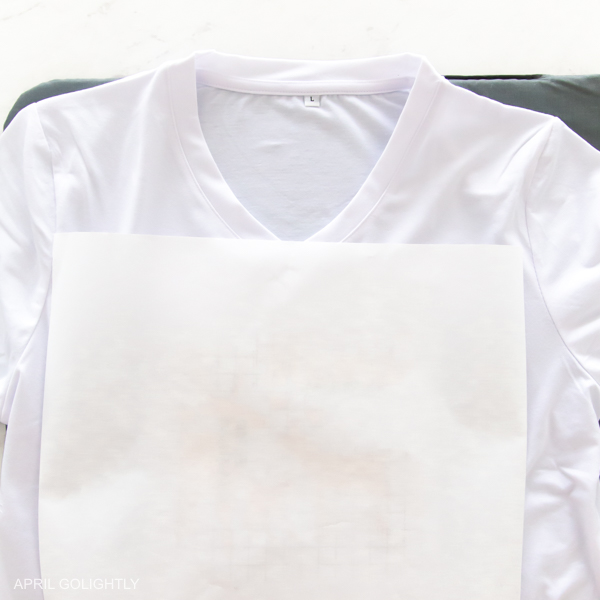
Put the card stock inside the shirt where you will be putting the design. Then, use the Easy Press 2 to iron out wrinkles.
Use a lint brush to go over the area where you adding the design to ensure the design will stick properly.
Set the design on to the shirt where you want it with the print facing down toward the shirt. If you feel like the design might move, use heat resistant tape to keep the design in place.
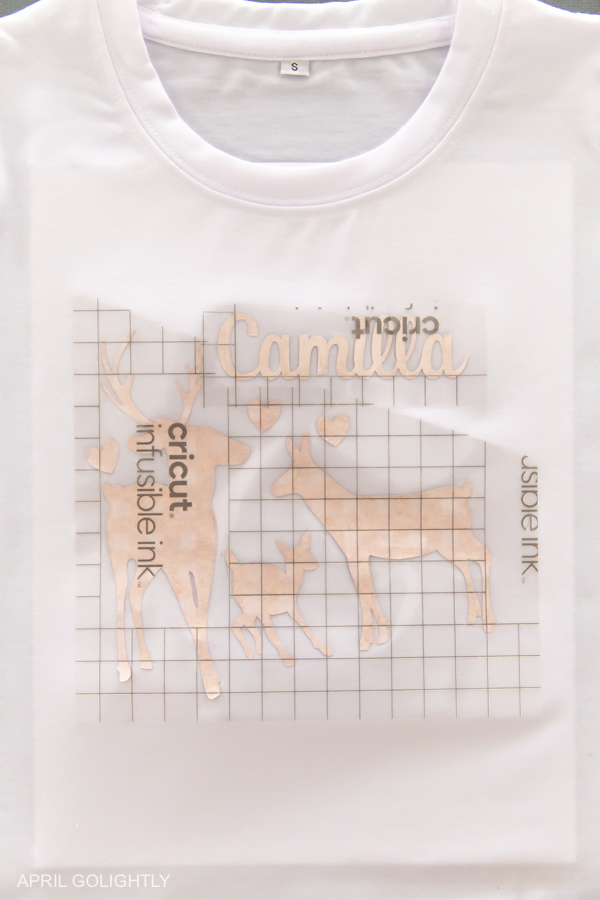
Put the butcher paper on top of the design.
Next, put the Easy Press on top of the butcher paper with light pressure for 40 seconds.
Do NOT move the press as it will mess up the design. It is not like heat transfer vinyl ironing.
Remove the Easy Press 2 and let the materials cool before touching them. 400 degrees is no joke and you should not touch unitl cooled.
Then, peel away the design to reveal the vibrant colors of the infused ink! It looks soo good!
Repeat steps for the rest of the designs.

Upcoming Projects
There are so many infusible ink products that we have played with and are dying to share the projects. Did you know that you can used the infusible ink pens markers to draw your own design and put the on shirts, coasters, and bags! My husband drew a festive pictures on laser copy paper and then I used the Easy Press 2 to infused the pictures into coasters we use in our living room. It’s so cool and I cannot wait to share them with you!
More Project to Make Now
- Cricut Iron On Foil Shirt Tutorial
- Decorate Kids Rain Boots
- Decorate Mason Jar Gifts
- Get more Cricut Project Ideas HERE
Comments submitted may be displayed on other websites owned by the sponsoring brand.
These enchantresses possess the charm, talents, and expertise to make you disregard your unhappy existence and tedious habits. They can serve as attentive listeners or affectionate conversational partners. Additionally, they can assist in calming you and enhancing your physical, sexual, and mental health. If you’ve been suppressing your sensual fantasies, our female performers will allow you to unleash your wild side without the fear of judgment.
I appreciate the tips on using Cricut Infusible Ink for Christmas shirts. I never thought of personalizing items this way. It sounds like a fun project for the holidays. I might try making some for my family. Do you have any favorite designs you recommend?