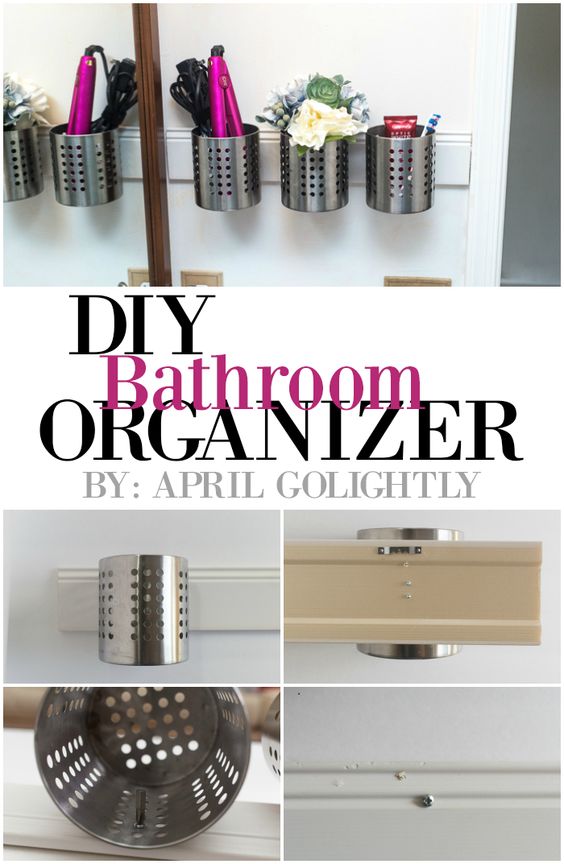
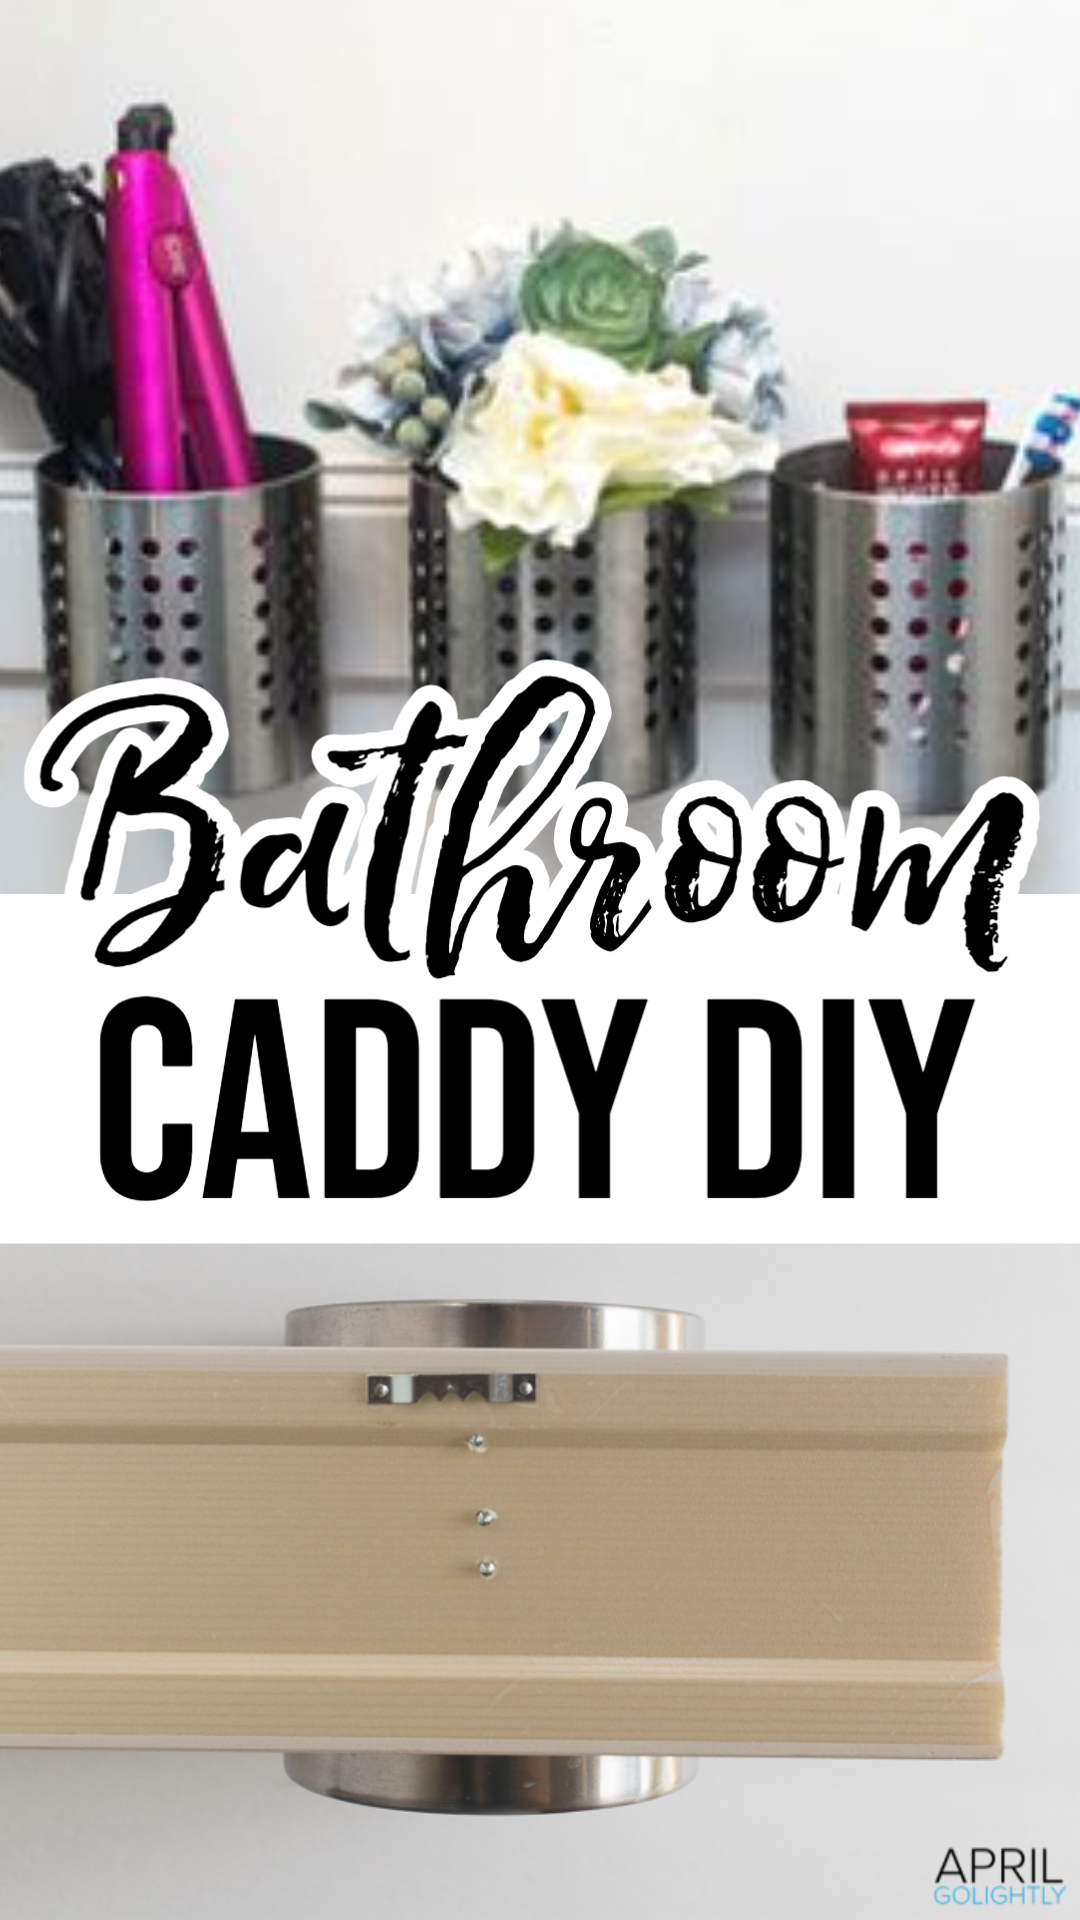
Speed up your morning routine by creating this DIY Bathroom Organizer. It is super simple and keeps everything tidy and easy to find.
As a new mom, I am always trying to find ways to save time and look better. I’ve found tons of amazing hair products that speed up my hair routine, but I haven’t found a way to get all my things off my bathroom counter, until now.
You know what I mean?
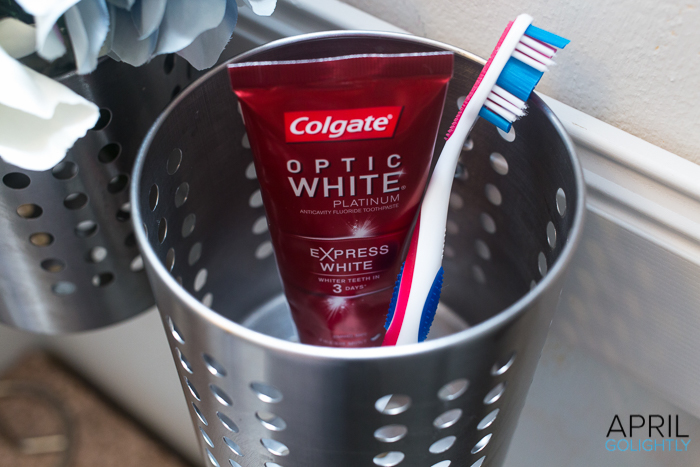
Everything just kind of crowds the sink. Toothpaste, mouthwash, hair brushes, and my flat iron – all take up a ton of space on the counter. It looks so cluttered and junked up.
Then I came up with a way to clean all of that up and get them off the counter and onto the wall.
Read on and discover how easy it is to make your own DIY bathroom organizer too.
How to Make A DIY Bathroom Organizer
Since I have some extra time on my hands now that I am spending less time primping and whitening, I put together this awesome DIY Bathroom Organizer.
This organizer hangs on the wall. So if you have a free space on your bathroom wall, this project is perfect for you. Even if you don’t have very much wall space available, you can still make a version of this organizer, just make it shorter.
The entire project takes only minutes to do, from start to finish. It will take longer if you want to decorate the caddies to match your bathroom’s color scheme.
What to Store in Your Organizer
These little caddies are perfect for holding toothbrushes, toothpaste, hairbrushes, and basically anything that clutters up your bathroom counter.
So get those things off your counter and organized. It’s so simple.
Tools & Supplies
This is what you will need before you start your project.
- Ikea Stainless Steel Flatware Caddy
- 6 – 1/2 inch screw with flared heads
- 2 Sawtooth Ring Hangers
- 2 Wall Hanging Nails
- Mini Hand Saw
- Baseboard Molding
- Hand Drill
- Hammer
- Ruler
- Pencil
DIY Bathroom Organizer Instructions
You have your tools and all your supplies. Now it’s time to get busy.
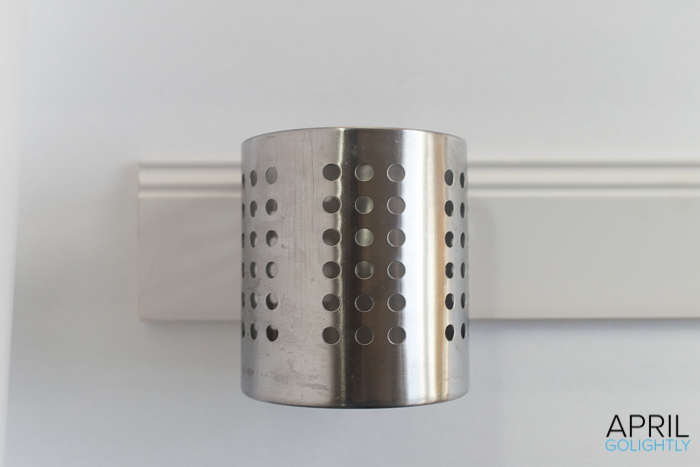
1.) Measure and cut the baseboard molding to the size of the way you want to put it on. It looks best if it meets the other molding or moldings.
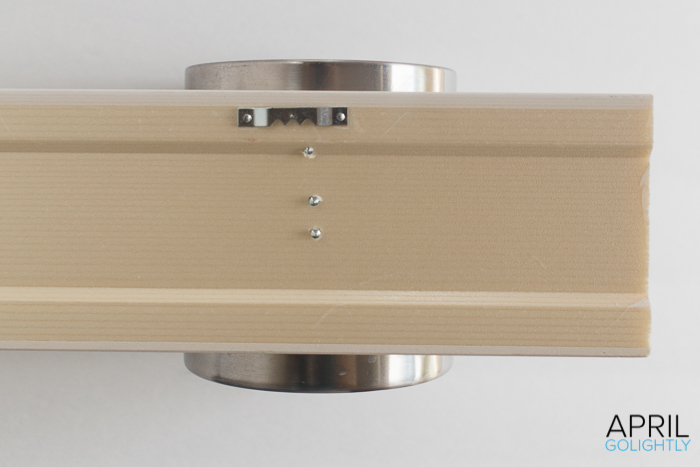
2.) Add two sawtooth ring hanger on the back of the board so that you can hang the DIY Bathroom Organizer.
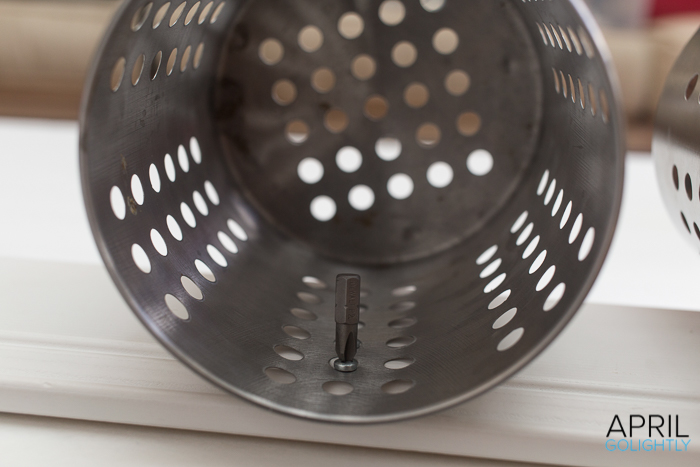
3.) Measure out three dots in the middle of the baseboard so that the flatware caddies will be evenly spaced. Use the drill to screw in 2 holes for each flatware caddy. Screw in and out a few times so that you can easily do it by hand later. The top screw will be at the top of the second hole in the caddy. The second screw will be at the top of the third hole in the caddy. Make sure to use the center strip of holes.
4.) Put the caddy on the screws before they are all the way screwed in. Then use a small screwdriver or the bit from the drill to get them in the last little bit.
Other Ways to Use The Caddies
These flatware caddies have been extremely useful over the past few years. They were originally light fixtures for my cocktail hour at my wedding.
You could also use them on your desk or in your home office to organize pens and other office supplies.
How to Decorate Your DIY Bathroom Organizer
These caddies are a plain silver color. This is fantastic if you like the stainless steel look. But if you like something with more color in it, here are some ideas for making it your own.
- Paint – Yup! You can paint the caddies to match your bathroom decor.
- Washi Tape – If you want something simpler (and quicker) use your favorite printed washi tape to add a little pizazz.
- Ribbons – These caddies have all those holes in them, which are perfect for threading ribbon.
- Gems – Use a hot glue gun and attach gems and beads to them.
- Silk flowers – Use one of the caddies to hold some silk flowers, or sea shells, or any other item that matches your bathroom’s decor.
Now that I have shown you how I am using my time savings, tell me how you are spending your extra time?
More DIY Projects
If you enjoyed this DIY bathroom organizer, you will love these projects too.
- DIY Bath Bombs – These are so luxurious!
- DIY Face Masks – Enjoy some pampering with face masks you made yourself.
- DIY Paper Towel Holder – This is perfect for the bathroom or the kitchen.

That is a super cute idea. I love how it came out 🙂
That’s so cool! I love the whole look of it. It’s sharp!
That’s a great idea! It looks great, and it’s super easy. Thanks!
That’s gorgeous! It’s the perfect combination of modern and whimsical.
You need your own HGTV show, because that is amazing! It seriously looks like something I’d see on a DIY show.
What a neat idea! I love how clean and modern it looks.
This is ridiculously awesome! I love crafty stuff and this would be trying my crafty hands. Thank you for sharing!
Oh my goodness I literally have all the things for this project! What a great idea!
Those turned out looking great. I’d love to have some more counter space in my bathrooms!
That turned out great!!! It seems something always sucks up any extra time I find it.
this is such a great idea!!! love it. going to have to have my husband do this.
I need to set this up in my bathroom too! How cool!
Excellent idea for storage. My hubby is always giving me grief over having too many products all over the bathroom. This will work great and look great in my bathroom. Thanks for the tip
I love the organizer! This would be great in my kids’ bathroom! #client