AFFILIATE DISCLOSURE: This post contains affiliate links. We earn a small commission from qualifying purchases.
DIY Card Coasters by April Erhard Editor in Chief of April Golightly
I love sending and receiving cards from my friends and family. I save all the cool cards that I receive during the holidays. The prints on the backs of the flat cards from Tiny Prints are so cool I could not bare to just toss them in the trash. That is how I came up with this DIY Card Coaster idea.
Tools & Supplies
- 4 x 4 inch white glazed tiles (found at Lowe’s for $.14 a piece)
- Cards (I got mine from Tiny Prints)
- Glossy or Regular (not matte) Mod Podge
- Paint Brush
- Scissors
- Acrylic spray gloss
- Pencil (I used a BIC Marker, but I would recommend a pencil as I got black marker all over the tile…meh!)
- Felt or Thick Fabric (you can even cut up a pair of old jeans)
- Acrylic Paint
Instructions
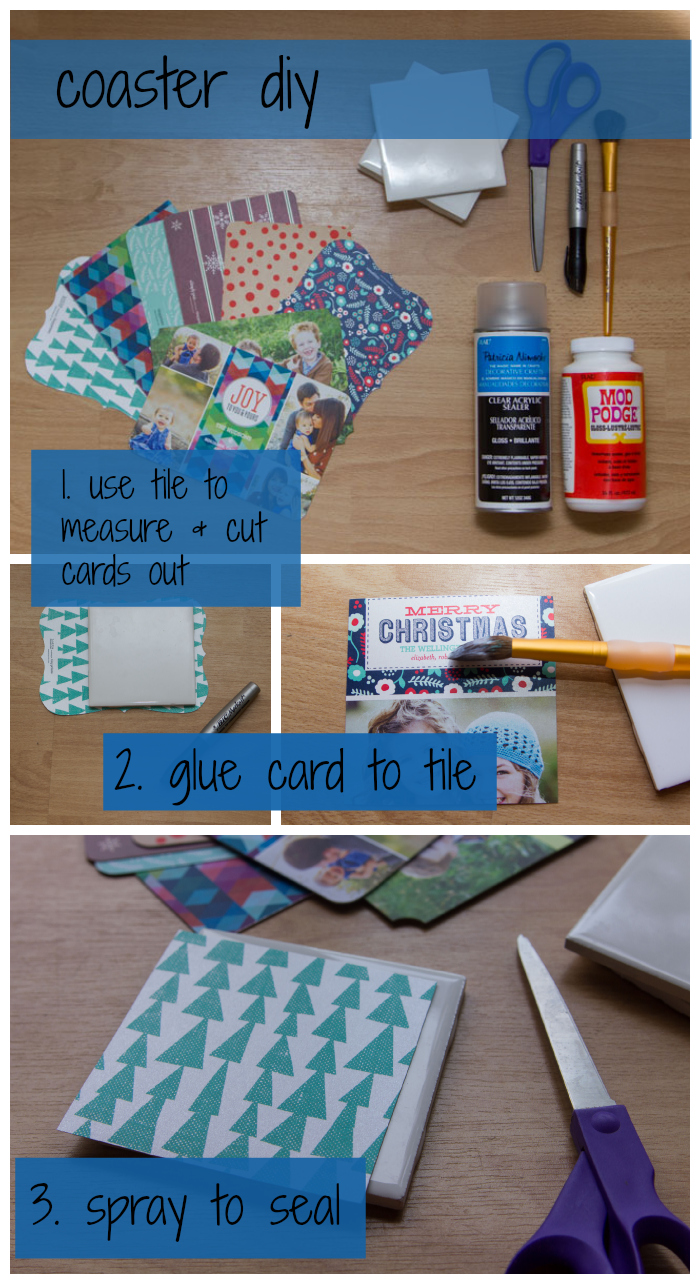
- Place the tile on top the card you want to use as your pattern. Trace your tile onto the patterned paper you chose and cut it out. You can measure and use xacto knife, but I was able to do it with scissor free hand. I believe in you! If you don’t believe you can do it on your own and it is a special card, do a test card. 😉
- Working on one tile at a time, apply a thin layer of Mod Podge with a foam brush to get the cut out card to adhere to the tile. If the card is thin, you might have to smooth it out so there are no bubbles. The goal is tight seal.
- Let the mod podge dry for at least 24 hours.
- Paint the sides and bottom edge of the tile with acrylic paint. Let dry for the period of time that it says on the paint.
- When the tiles are dry, spray on a couple of layers of acrylic or polyurethane coating. Follow the direction on the can, but if no direction are available make sure to space out each coat about 5-10 minutes apart.
- While the tiles dry, cut out your thick material. I used an old pair of jeans.
- Use the Mod Podge to glue the fabric to the bottom of the coaster.
Notes
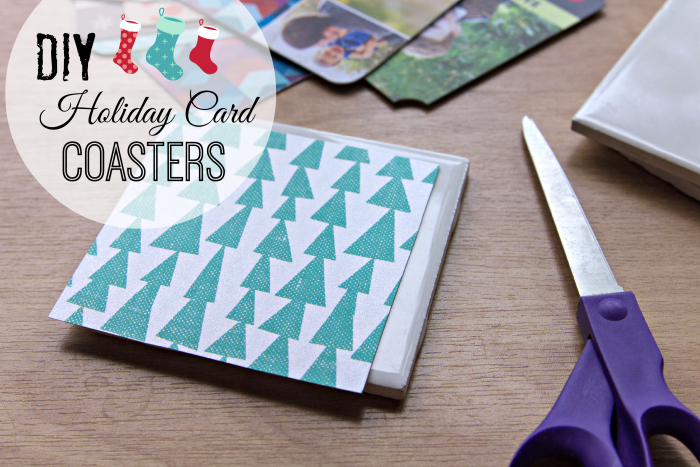
I would wait a week before using hot liquid on the DIY coaster. If the coaster seems at all wet, give it another day to dry completely.
Let me know if you have any questions.
Happy crafting!
These are so cute! I have been looking for the perfect coasters forever, but I can’t seem to find any that I like in stores, I am totally making some of these!
Glad you like them! They were really easy to make. 🙂
Can’t wait to try it myself!
So pretty! 🙂