This Elf on the Shelf Accessories DIY is easy to make with a couple of paper towels and glue dots to make the Christmas Tradition special.
The Elf on the Shelf is an awesome Christmas tradition to start with your kids. This is our first year and we love it!
It reminds the kids to be good because the Elf on the Shelf is watching and reporting back to Santa in the North Pole each night.
We also pose the Elf in cute ways to remind kids to do certain things like wash their hands and take a shower or bath at night time.
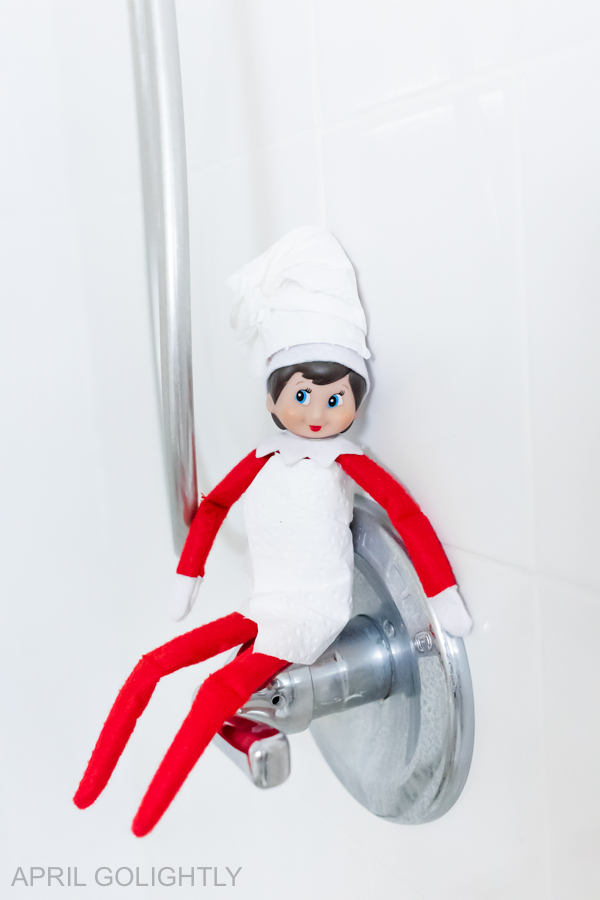
I have put together this super simple tutorial on how to make it look like your Elf is wearing a towel and hair towel after the bath.
Elf on the Shelf Accessories DIY
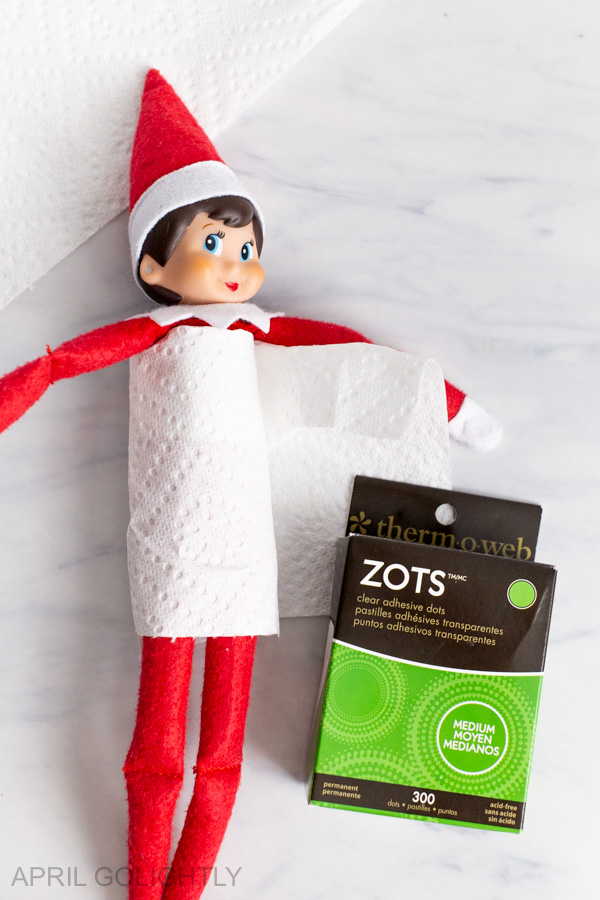
Here are the tools and supplies you will need for this simple DIY. If you only have full sheets of paper towels, you will also need a scrissors.
Tools & Supplies
- 2 Paper Towels Halves
- Glue Dots or Glue
How to Make Towels for Your Elf on the Shelf?
Start with 2 halves of a solid white paper towel.
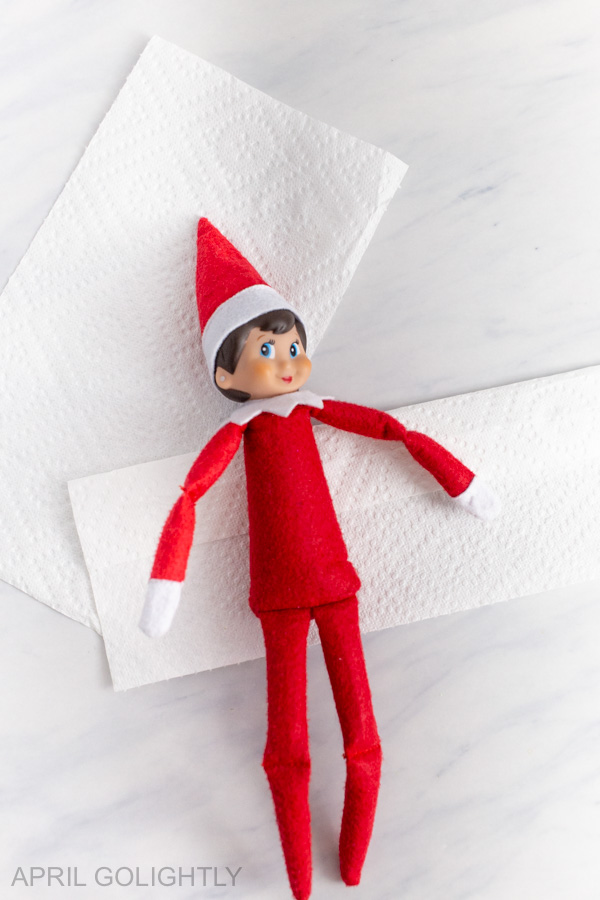
If you are working with a full size paper towel sheet, you will need to cut the paper towel in half.
If you use paper towels that break off into half sheets, you will need 2 half sheets.
Then, fold the first paper towel over on the long side about 1 inch.
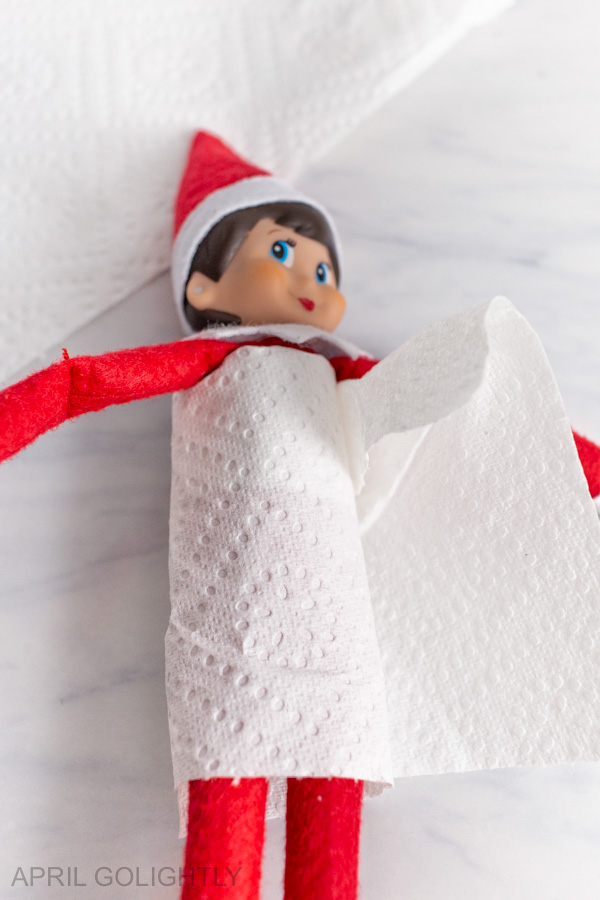
Next, wrap the Elf in the paper towel putting the top of the towel in the chest area.
When the towel is done being wrapped, use a glue dot on the corner of the paper towel to secure it.
If you do not have a glue dot, you can use a dab of Tacky glue or Elmers glue. I like to use a glue dot because there is no waiting time for it to dry.
If you use real glue, secure it with a paper clip or some sort of pin until it is dry. It takes about 30 minute for Elmers glue to dry and 1 to 4 hours for tacky glue to dry.
To make the hair towel, wrap the long part of the paper towel around the Elf’s head securing it with a glue dot on the paper towel.
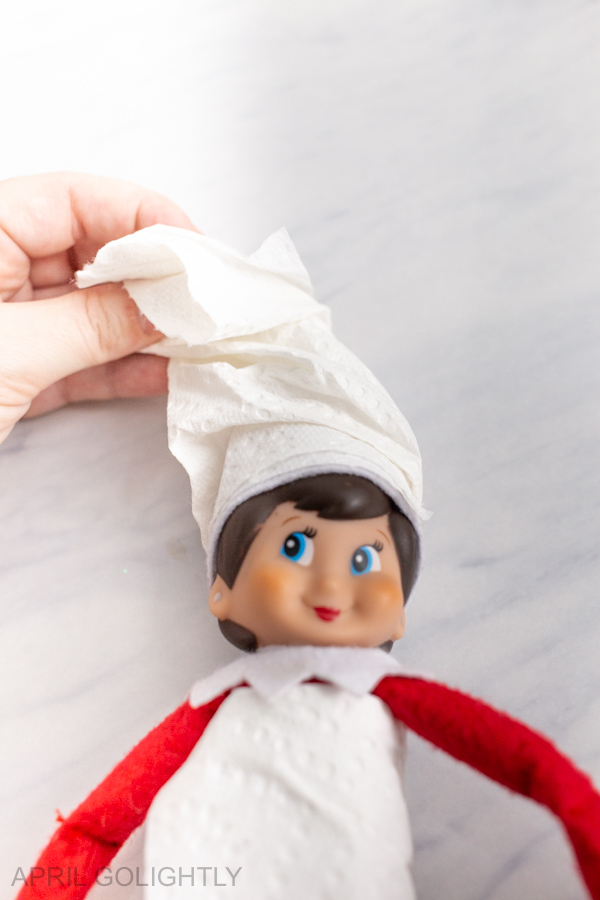
Then, twist the paper towel into a cone leaning to one side.
Secure the point of cone to back base of the paper towel at the back base of the Elf’s neck.
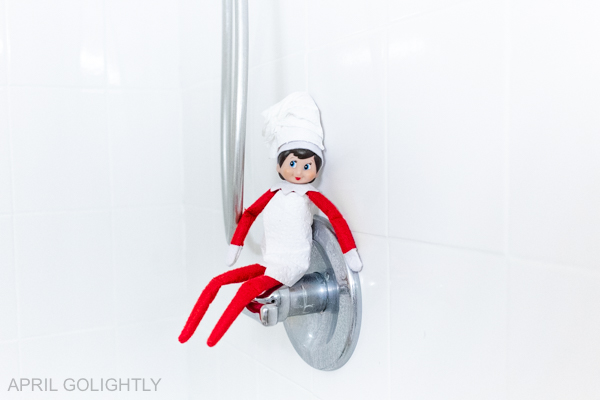
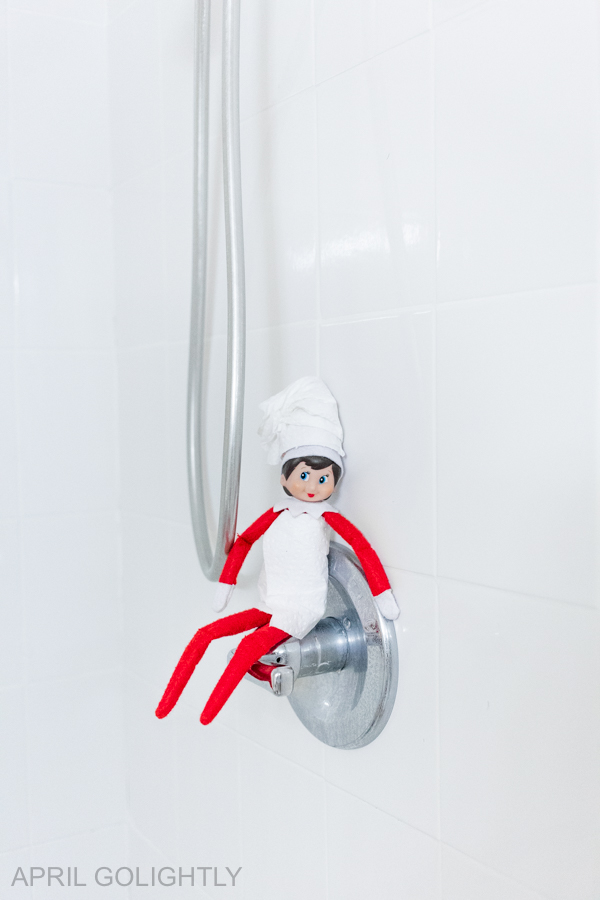
Finally, display the Elf in the bathroom in a dry place. If the shower drips, don’t put it there.
You can use a towel to dry an area in the bathroom so that the will stay dry and fresh for your kids to see in the morning.
Places to Put Your Elf on the Shelf
Here are more idea on how to pose your Elf on the Shelf. We have come up with some really cute and cool ideas.
- Mug Rack
- Above the Stockings
- In a Wreath
- With the Family Photos
- In the Toy Box
- Hanging from the Christmas Tree
- In the Doll House
- Tucked in Flowers
- On top of the Fridge
- Hanging from the Banister
- Among the Board Games
- On the Bed Post
You can see all of our Elf on the Shelf Ideas here.
More Elf on the Shelf Accessories
If you want to buy some fun accessories for your Elf on the Shelf, here are some super cute ideas.
Thanks for this easy to do DIY list! Hey! This is a great do-it-yourself idea; many thanks for sharing. These pieces of art are beautiful in both quality and design, and they’re sure to turn heads. For my kids room, something is already in the works. I like to spend quality time with my family. Even if anything doesn’t work out, I can always go back and review this DIY to see what I missed the first time around.
Can you be more specific about the content of your article? After reading it, I still have some doubts. Hope you can help me.
Thanks for sharing. I read many of your blog posts, cool, your blog is very good.
Your article helped me a lot, is there any more related content? Thanks!
I have read several excellent stuff here. Definitely price bookmarking for revisiting.
I surprise how much effort you put to make the
sort of magnificent informative web site.
Hello there! I know this is kinda off topic nevertheless I’d figured I’d ask.
Would you be interested in exchanging links or maybe guest authoring a blog article or vice-versa?
My blog addresses a lot of the same topics as yours and
I believe we could greatly benefit from each other.
If you’re interested feel free to send me an e-mail. I look forward to hearing from you!
Excellent blog by the way!
You ought to be a part of a contest for one of the
finest blogs on the internet. I will recommend this web site!
It’s a shame you don’t have a donate button! I’d without a doubt donate to
this excellent blog! I guess for now i’ll settle for book-marking
and adding your RSS feed to my Google account.
I look forward to fresh updates and will talk about this site with my Facebook group.
Chat soon!
If you wish for to improve your experience simply
keep visiting this site and be updated with the most up-to-date information posted here.
I’m not that much of a online reader to be honest but your sites really nice, keep it up!
I’ll go ahead and bookmark your website to come back down the
road. Cheers
Wonderful post! We will be linking to this great post on our site.
Keep up the good writing.
Thank you for the good writeup. It in fact was a amusement account it.
Look advanced to more added agreeable from you! However, how
could we communicate?
It’s in point of fact a great and helpful piece of info.
I am happy that you just shared this helpful info with
us. Please keep us up to date like this. Thank you for
sharing.
I enjoyed every part of this post. The attention to detail and helpful explanations made it a worthwhile read.
Great post! I like how everything was explained step by step. It’s refreshing to find content that’s both helpful and easy to follow. Thanks for sharing your knowledge.
This is an excellent piece of writing. It answered all the questions I had on the subject and even gave me a few extra ideas to think about.
Informative content presented in a simple and readable way.
You did a great job explaining the topic in a way that’s easy to follow. I do think there are a few points where a different perspective might add more clarity, but it’s still a strong post. Appreciate the effort put into this.
Helpful write-up with interesting details presented in a simple way
Informative content with valuable insights presented clearly.
Thanks for putting this together. It’s rare to find content that is both engaging and actually practical!