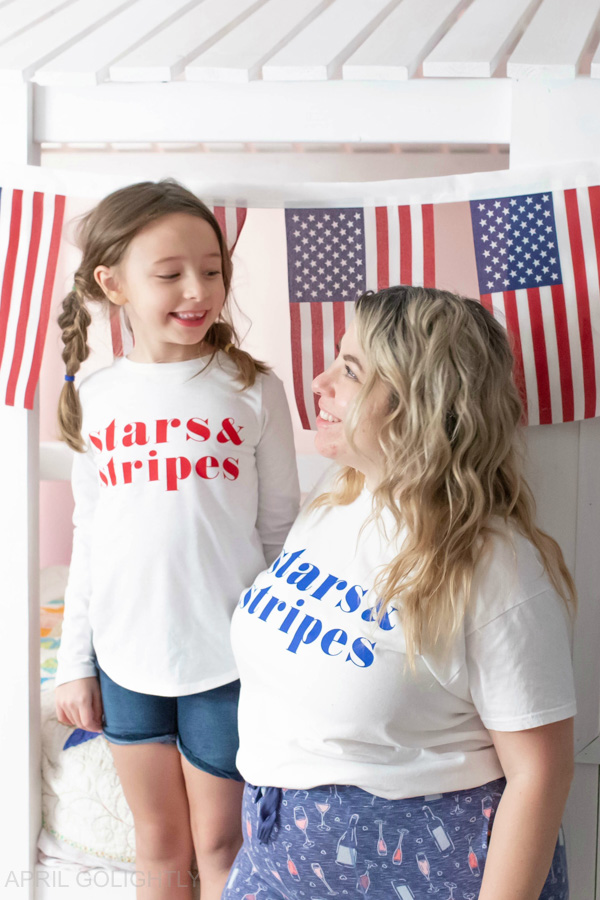
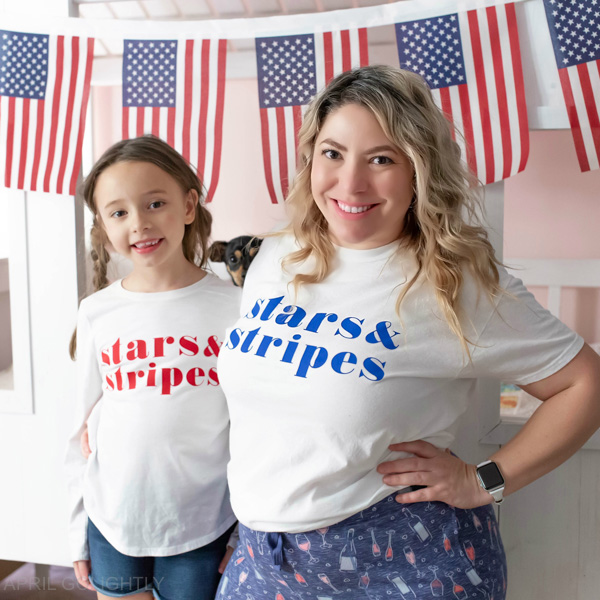
You can lay on the cuteness with Mommy and Me 4th of July outfits and matching shirts with the help of your Cricut Machine.
I have made these mother and daughter 4th of July shirts with the Cricut Maker. You can easily make it on any Cricut machine you have. With the Cricut Joy, you will need to size down the design so that it fits on the Smart Iron On Vinyl.

Mommy and Me 4th of July Shirts
Tools and Supplies
- Cricut Machine (Cricut Joy, Cricut Maker, or Cricut Air 2)
- Standard Grip Mat (get it here)
- Cricut Iron On Vinyl
- Easy Press 2 (we have the 12″ x 10″ so that you can use it for any size project – check it out here)
- Cricut Easy Press Mat
- Weeding Tools
- Lint Roller
- White T-Shirts
- Cricut Design File
How to Make Matching Shirts with Iron On Vinyl?
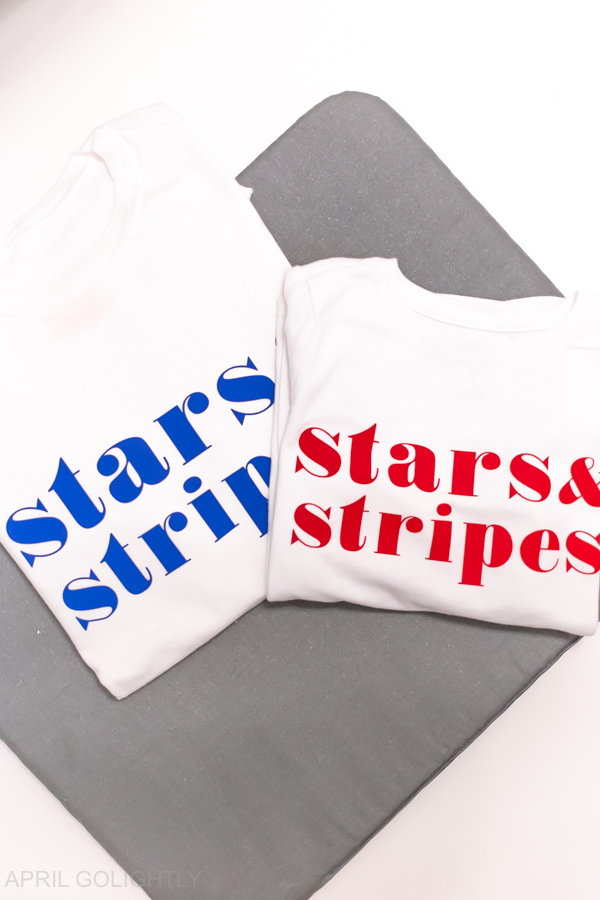
Firstly, start with 2 blank white t-shirts. Iron and use the lint roller to remove any lint, dust, or hair.
The Cricut website recommend that you wash the shirts before you apply the iron-on vinyl.
Wash and dry t-shits and make sure not to use fabric softener liquid or dryer sheets. This will impede the proper adhesion of the iron-on.
Secondly, use this Cricut Project to size the design down or up based on size.
Cut down the vinyl using the material cutter. You can get both your weeding tools and the slicer here.
Add the iron-on vinyl shiny side down to the standard mat and use the brayer to smooth it down.
If you use the Cricut Joy, you can just load the Smart Iron On Vinyl.
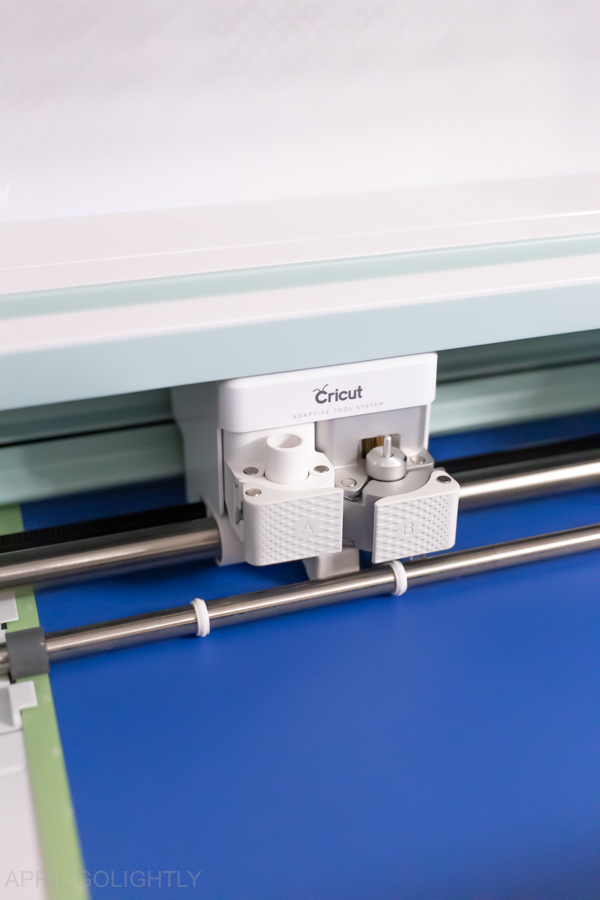
Then, load the green standard mat with the iron-on vinyl on it using the arrows and make sure the Cricut pulls it in properly.
On the computer, choose the machine and make sure that you reverse the image.
Also, choose the type of Cricut iron-on vinyl by selecting from the Cricut database of material. There are so many – make sure you get the right one.
Ensure that the Cricut has space behind and in front so it can work properly.
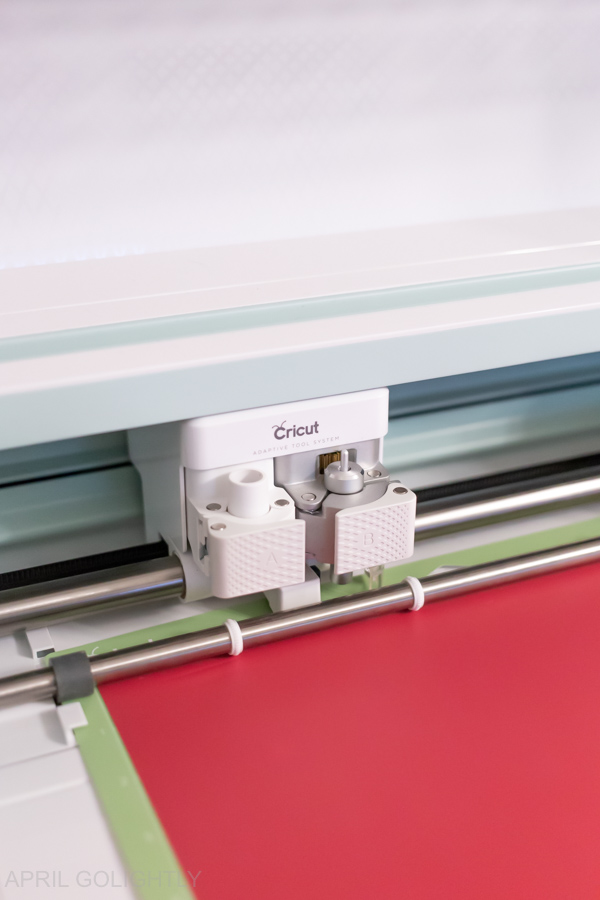
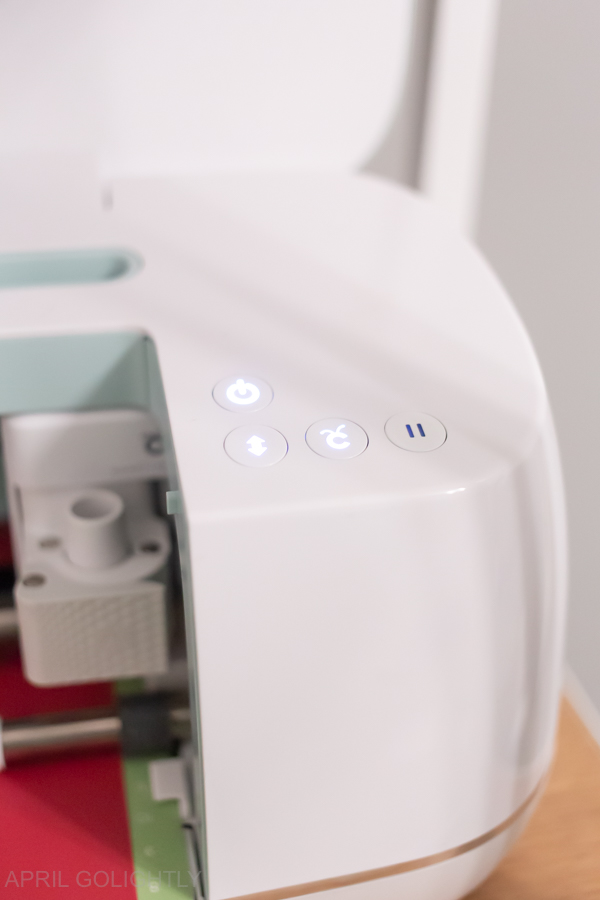
When the C – Cricut symbol is flashing, press it and watch the Cricut cut the design.
Once the cut is done, remove the green mat with the arrows.
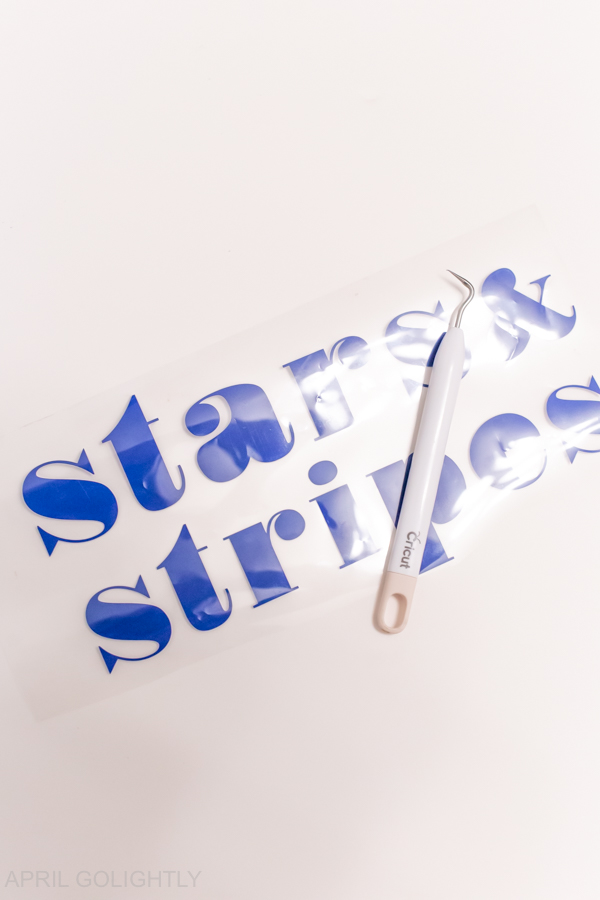
Then, pull the vinyl off the green mat.
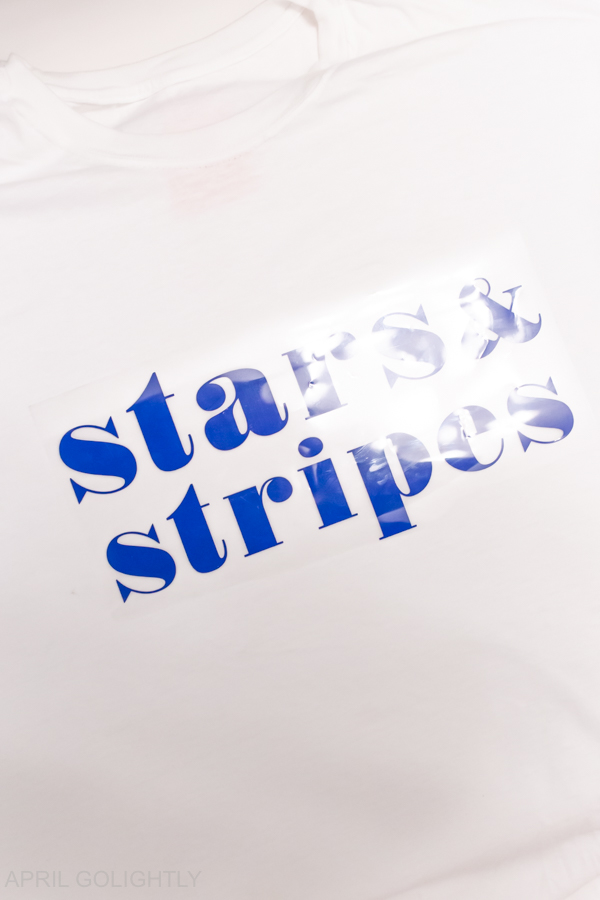
Finally, weed the vinyl around the design using the weeding tools.
Iron On Vinyl with Easy Press 2
Firstly, set up your Cricut Easy Press 2 by following the directions and keeping it in the cradle.
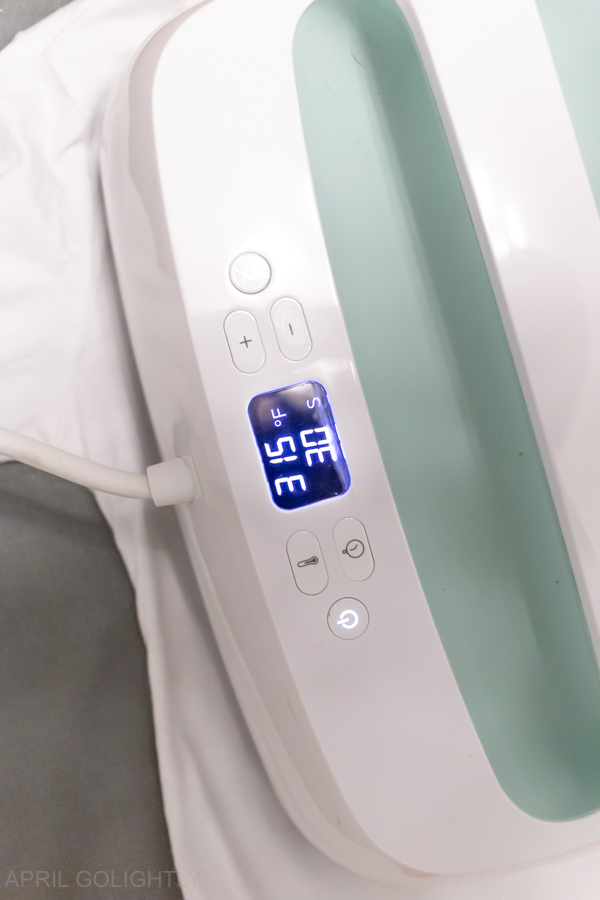
Secondly, turn on the Easy Press 2 and make sure the timer is set to 30 seconds.
You can hook into the computer so that you can choose which materials are using so that the Easy Press 2 or you can use the heat guide.
The Iron On Vinyl heat settings are 315 degrees F for 30 seconds on the front and 15 seconds on the back.
Let the Easy Press 2 heat up while you prep shirts.
On a flat surface, place the Easy Press Mat down.
To prep the shirt for application, lint roll the shirts and use the Easy Press to heat the shirt for 5 seconds where you will adding the design.
Measure to make sure you have the design centered and where you want them.
Place the Easy Press 2 on top of the design and let it is sit while you apply light pressure on the machine for 30 seconds.
Remove the Easy Press 2 and put it back on the cradle.
Then, flip the shirt over and press the area where the design is for 15 seconds. You don’t have to go inside the shirt. The outside of the shirt will do.
Wait a few minutes and allow the design to cool before peeling off the contact paper.
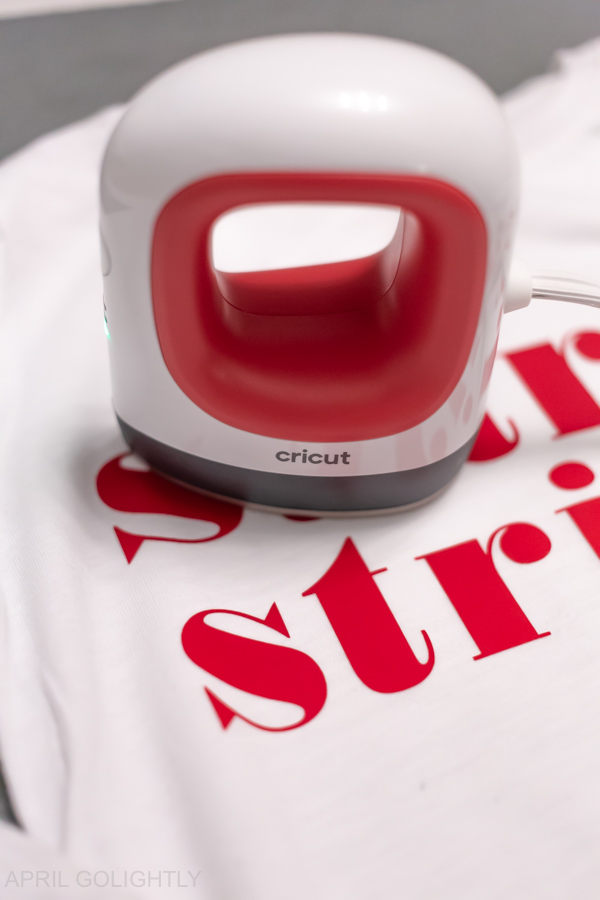
I have noticed that this fonts edges need an extra ironing. I used the Cricut Mini Press on the lowest setting to ensure that the skinny edges are adhered to the shirt.
More Cricut Projects
If you love these Mommy and Matching shirts, you will adore these Cricut Projects.