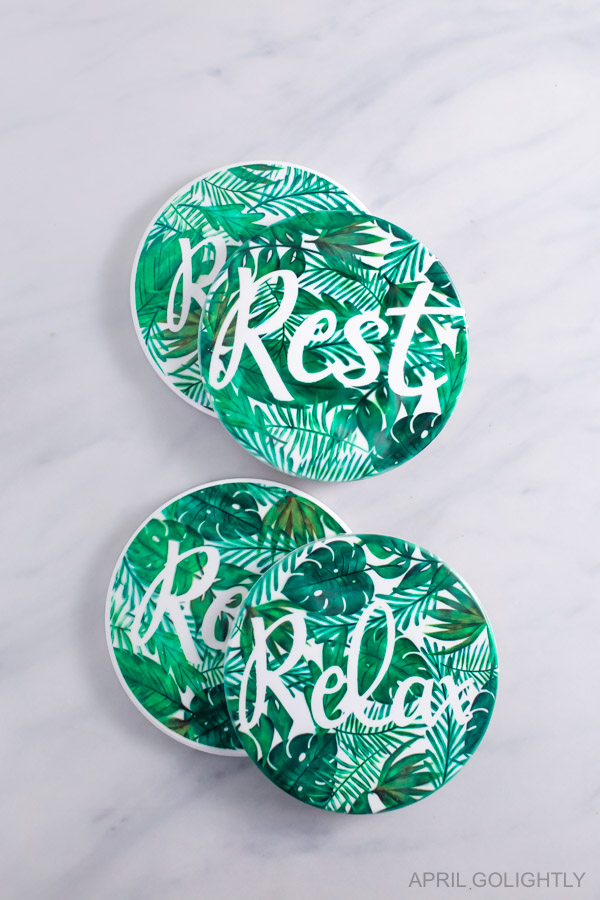
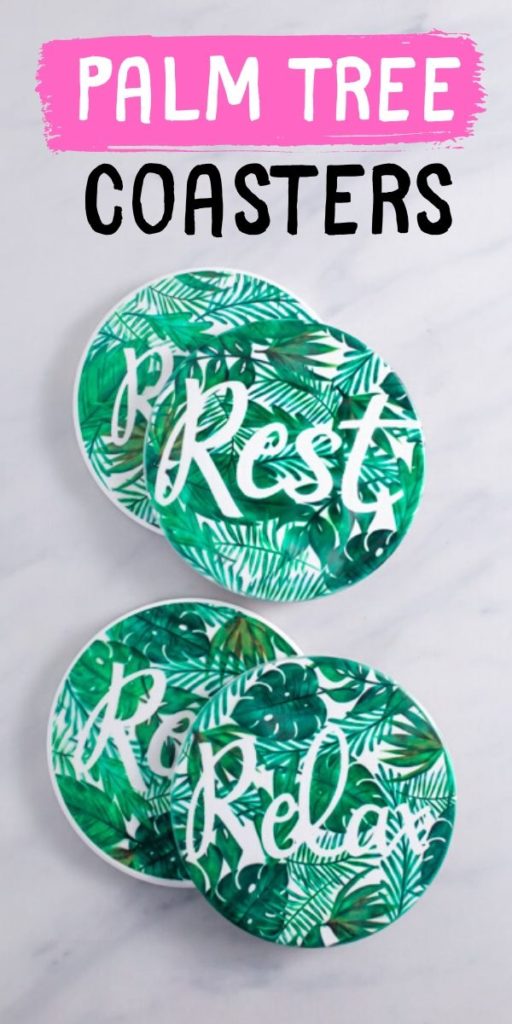
Make these DIY Palm Tree Coasters for a feel of a spa in your living room or bedroom. They are also awesome for summer decor.
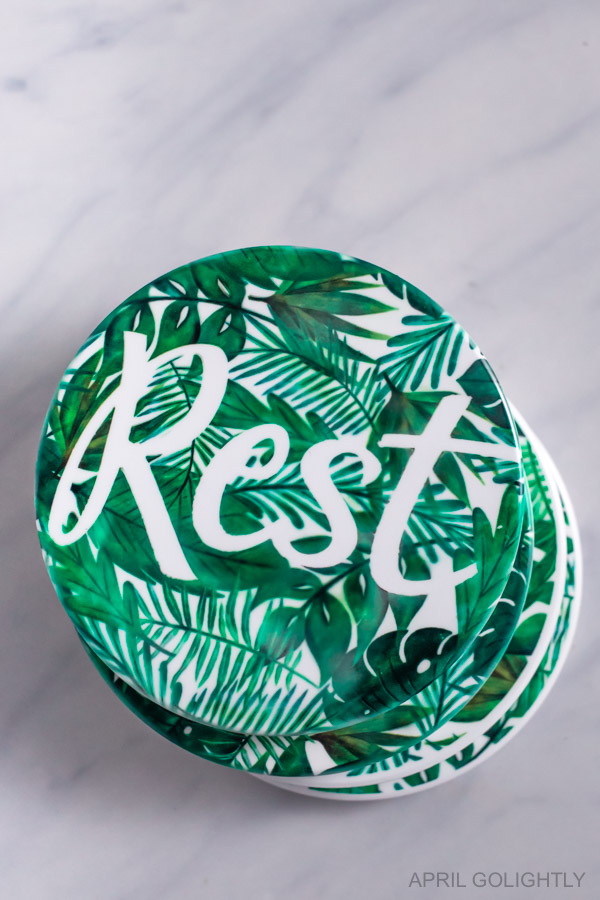
We are absolutely in love with the new infusible in sheets and pens. Its fun that you can draw or color something in yourself and then infuse the ink into Cricut blanks of coasters, shirts, and tote bags.
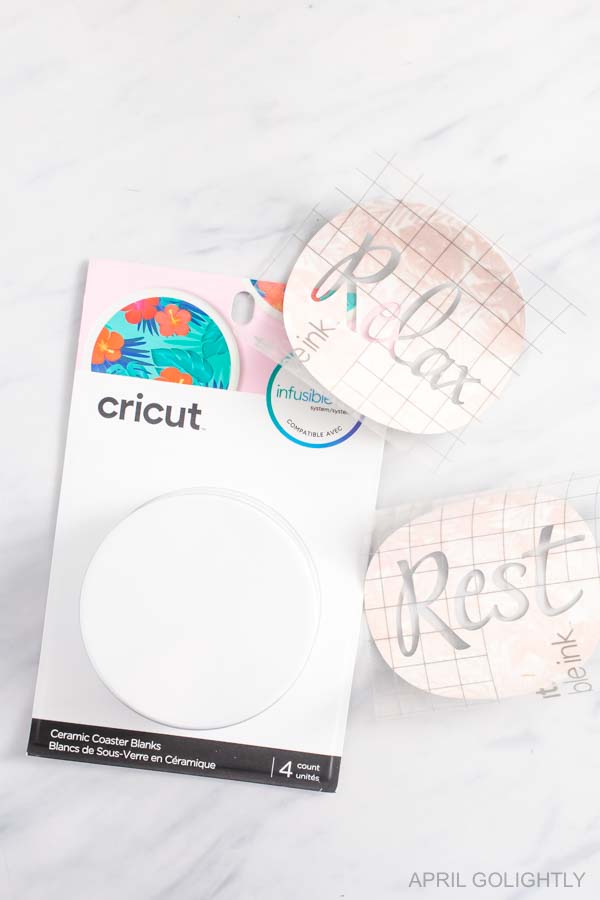
We made Cricut Infusible Ink Coasters with Infusible Ink Pens and Cricut Infusible Ink – Personalized Shirts so far. These palm tree coasters are our newest project.
Palm Tree Coasters
These DIY Palm Tree Coasters are perfect for a spa feel in your bedroom.
I was hunting for cute coasters for my bedroom and haven’t found anything that really speaks to me.
That is when I decided to use my palm tree infusible ink sheets from Cricut to make infusible ink coasters.
To make these super fun Palm Tree Coasters, you will need your Cricut and an Easy Press 2 and a heat proof mat.
We have the Cricut Maker, but you can also make this project on the Cricut machines.
Tools & Supplies
- Cricut Machine – whether it is the Cricut Explore 2 or the Cricut Maker (we have the Cricut Maker)
- Cricut Easypress 2
- Easy Press Mat
- Palm Tree Infusible Ink Sheet
- Butcher Paper (comes in the infusible ink package)
- Blank Coasters
- Lint Brush
- Weeding Tweezers
- Green Standard Grip Mat
Cricut Project File
Cricut Font
I wrote the words relax and rest using the Cricut Signature Script Font – Ginger.
To make the words come together so that they look cohesive and in one group, you have to do the following.
Put the word on a line so you can easily move items without jumbling or misaligning the letters.
Select the word and hit ungroup.
Then, move the letter using the arrows on your keyboard.
You might be able to get them perfectly grouped with the arrows, but sometimes you might have to select the letter and move it with your mouse.
For script words, you want to overlap the swishes as much as you can.
Once you have spacing you like, select the word by putting a box around it and hit weld.
Now, the word is welded together.
If you want to use the words we chose, you can just use this Cricut Design Project.
Infusible Ink Sheets
For the infusing part of the Cricut project, I extremely high heat of 400 degrees F.
We have and love the Cricut Easy Press 2 and an Easy Press Mat that makes doing these projects so much easier than trying to pull it off with an iron.
To make the infusible ink work, you will need butcher paper to go between the infusible ink design and the Easy Press 2.
Some of it comes in the infusible ink transfer sheets, but not with the makers. I save scraps of the butcher paper for the infusible coaster projects.
If you don’t have butcher paper, you can use copy paper.
How to Make DIY Palm Tree Coasters?
The Cricut Infusible Ink Blanks Coasters come in square and round.
The round blanks coasters are 3.6 in diameter and and the squares are 3.4 inch wide and high.
Lay the infusible ink sheet print side up on a green standard grip mat.
Then, hit make on Cricut Design Space.
Reverse the project in the Cricut Design Space printing area.
Next, load the green standard grip mat into the machine using the arrows.
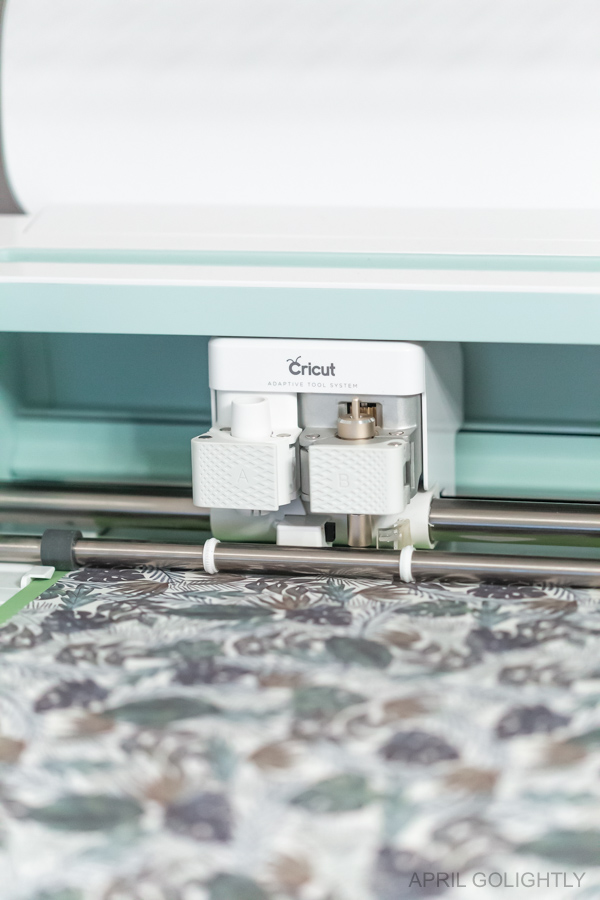
If you are using the Cricut Maker, choose the infusible ink material.
Then, hit the C button to start the make.
The Cricut Machine will cut the design. Make sure to reverse the project if you are printing word in the Cricut Design Space printing area.
Remove the sheet from the Cricut Machine by hitting the arrows.
Once the project is printed, peel away the mat from the design. Don’t peel the design off. This will prevent issues your design.
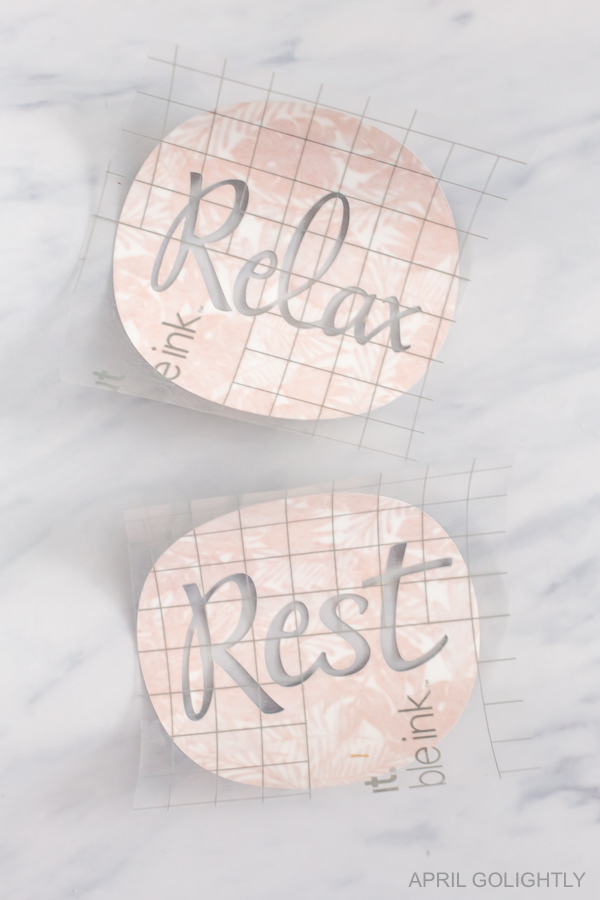
Next, use the weeding tweezers to weed the background of the project.
If you are having trouble, bend the design and it will start to pull away from the background.
Set the design aside as you prep the area to apply the design on Cricut blanks coasters.
How to Apply the Infusible Ink to the Coasters?
Now, you will need Cricut blanks coasters, Cricut Easy Press 2, Easy Press mat, butcher paper, and heat resistant tape.
Start heating the Easy Press 2 to 400 degrees F for 60 seconds.
Lay out the Cricut blanks coasters onto the Easy Press mat.
The Cricut blanks are a must for this project as the infusible ink does not show up as well on other coasters. Buying Cricut Blanks ensures infusible ink compatibility.
Use a lint brush to go over the coaster to ensure the design will stick properly and any hairs will not obstruct the design.
Set the design on to coaster where you want it with the print facing down on top of the coaster.
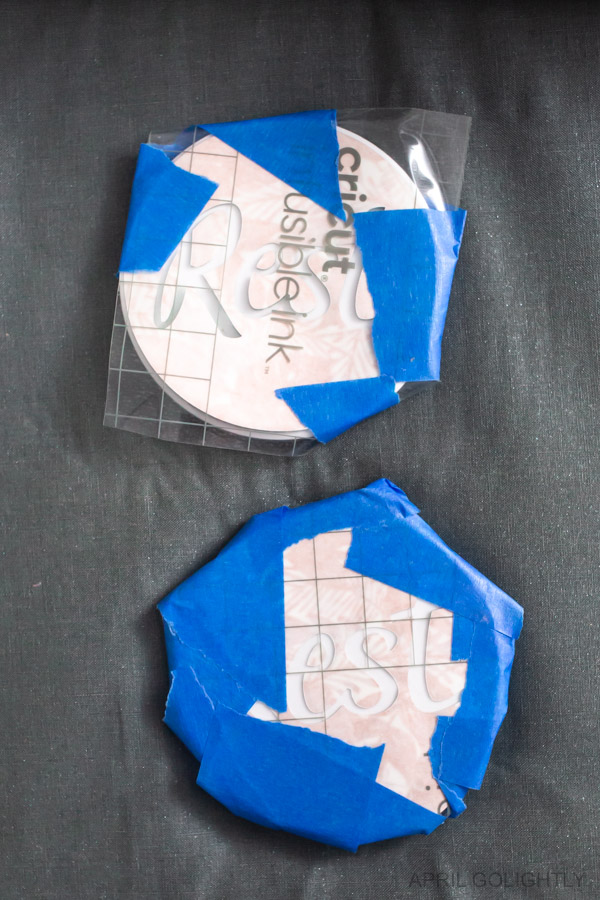
Then, use heat resistant tape to keep the design in place.
Put the butcher paper on top of the design.
Next, put the Easy Press 2 on top of the butcher paper with light pressure for 60 seconds. Do NOT move the Easy Press 2 as it will smudge and blur the final design.
Remove the Easy Press 2 carefully.
Let the coaster cool fully before removing the design or moving in any way. You can still mess up and blur the design until it is cooled completely.
Then, peel away the tape and pull up the design to reveal the vibrant colors of the infused ink!
More Cricut Projects
We absolutely love creating with our Cricut. Here are some of our favorite projects.
